Laser-based SLAM and path planning on the robot with WebGUI#
Pre-requisites#
Before you start mapping, make sure the robot is undocked. Otherwise the robot will not move for security purposes. Follow the undocking section to do so.
Creating a new map with Laser Scanner#
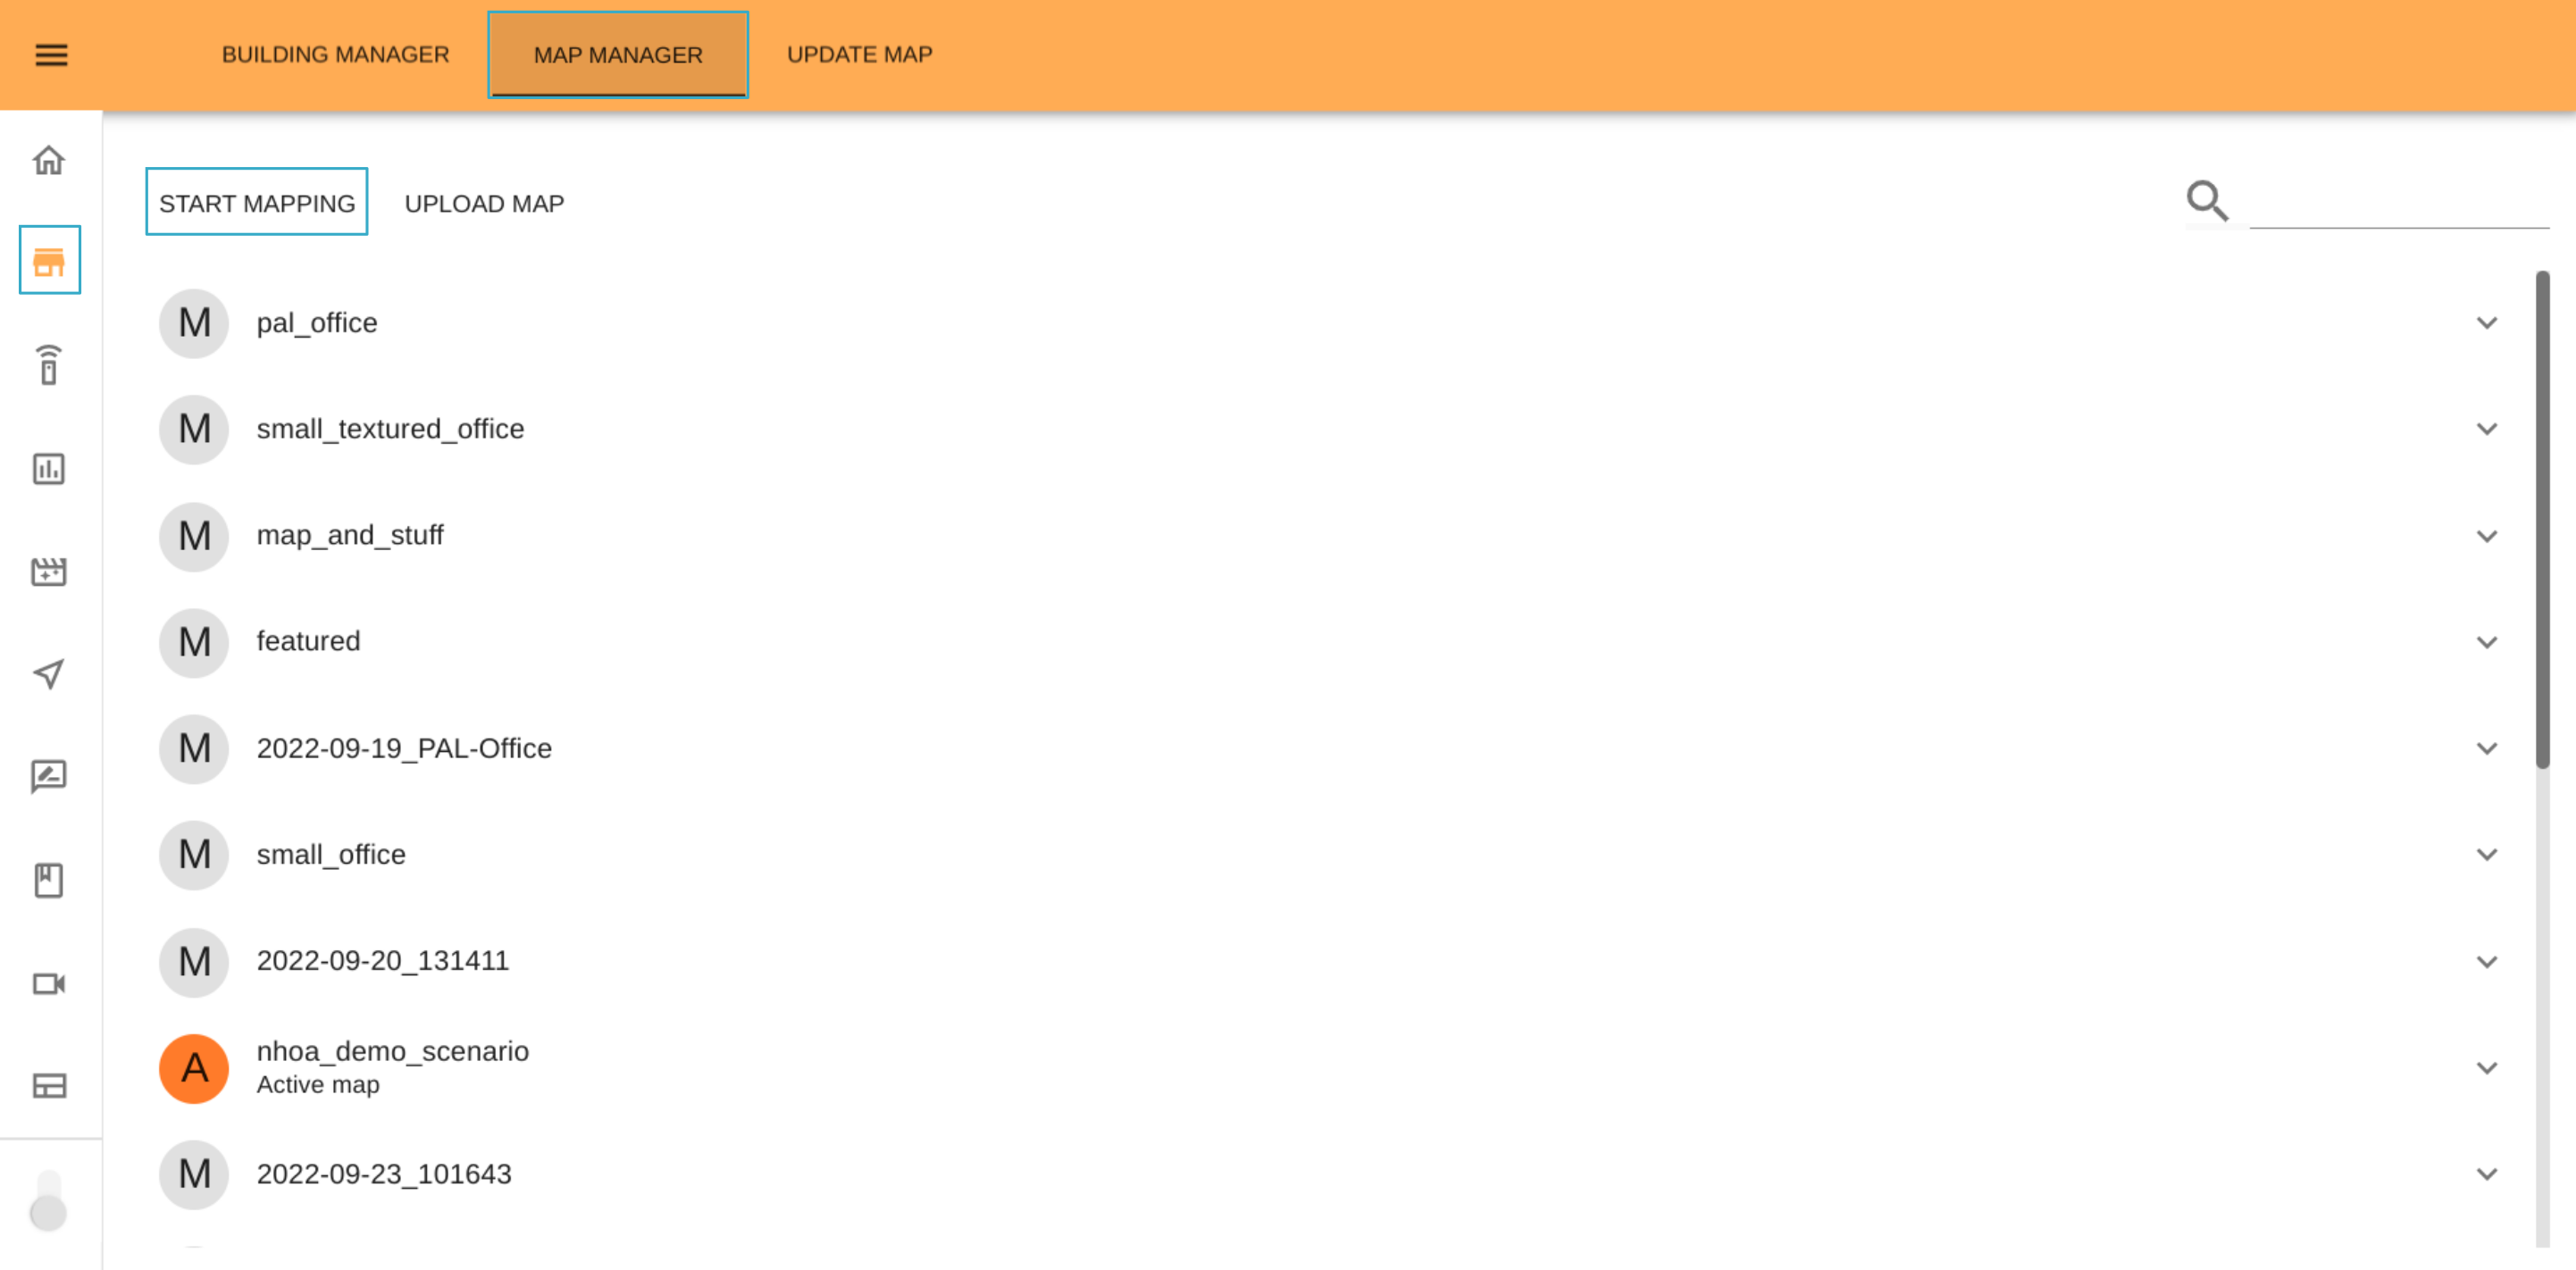
Step 1. Start the mapping process. Open WebGUI and click the Building option and then select the option in the top menu.
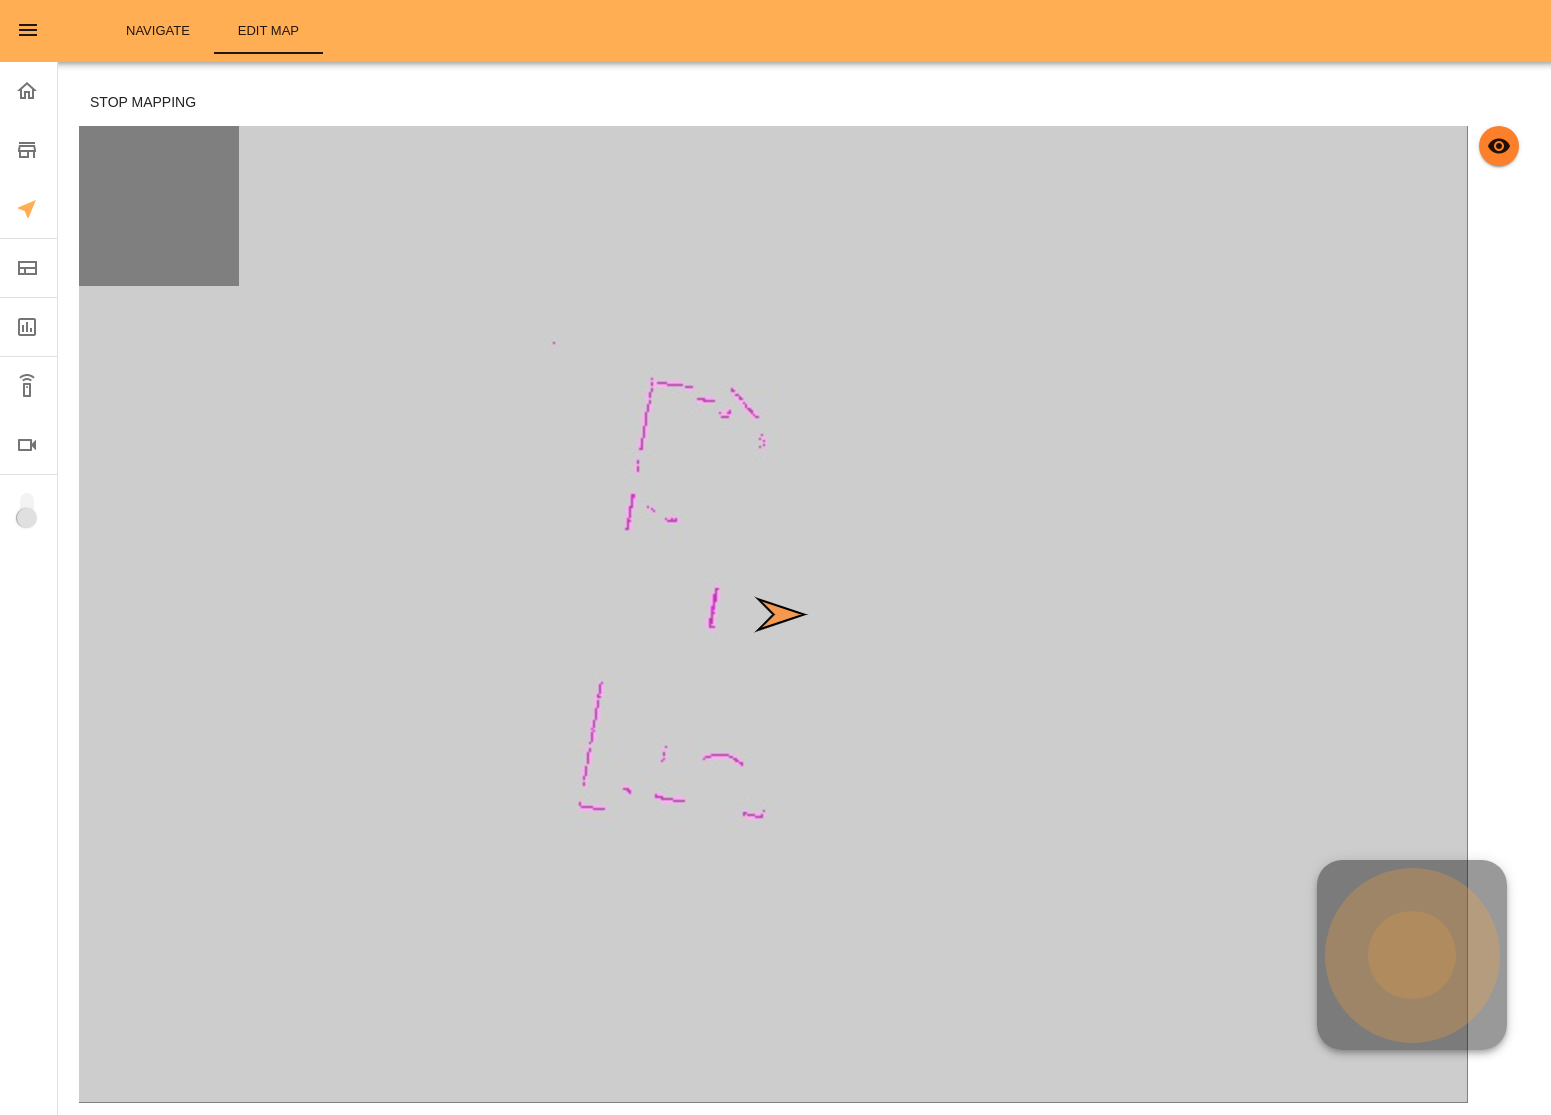
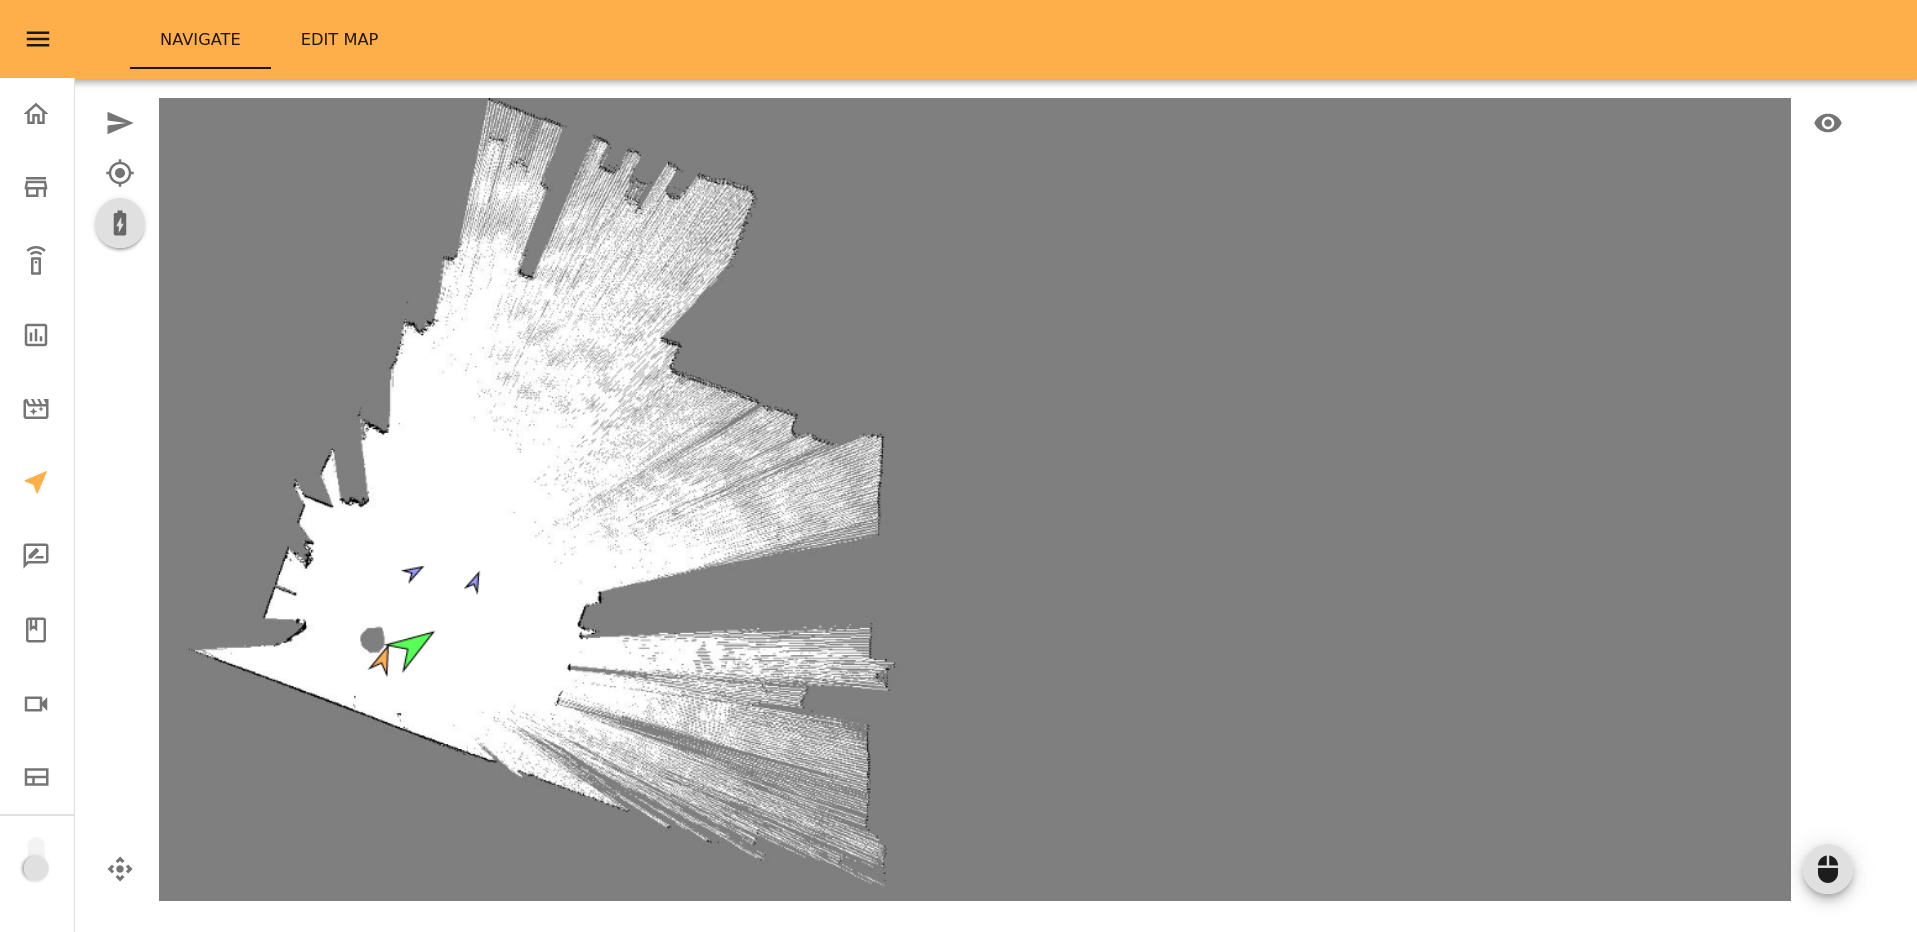
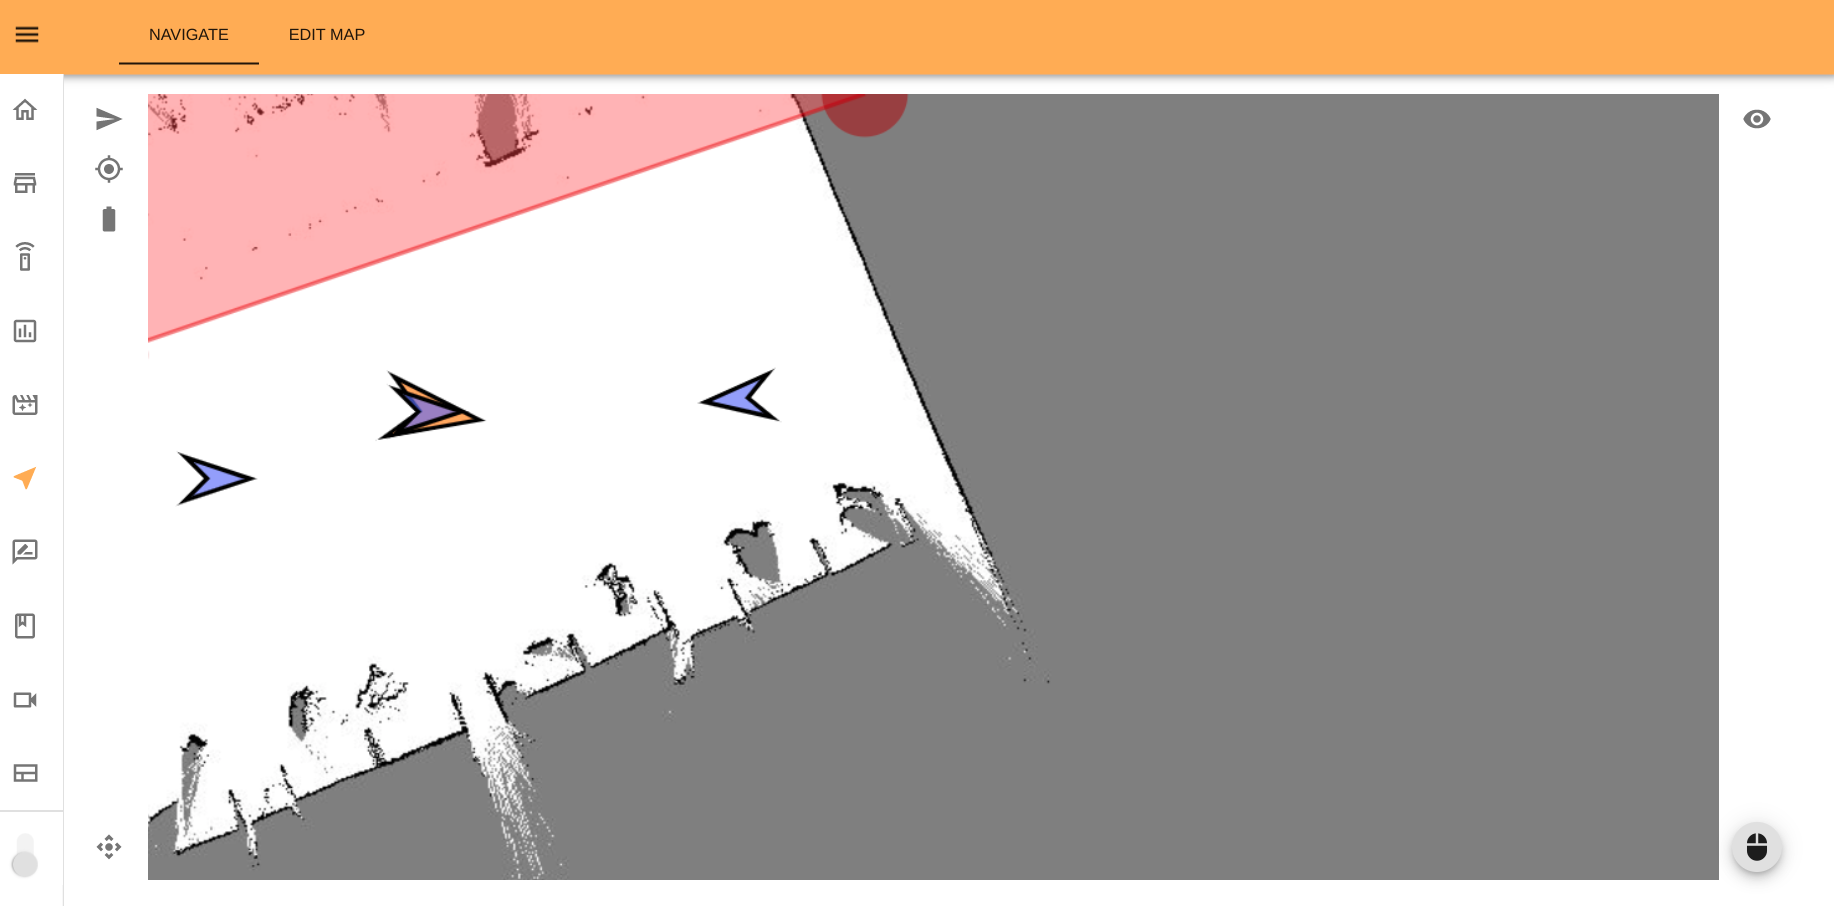
The interface will automatically switch to Navigation page where the current
map state will be shown. An arrow represents the robot and the current readings
of the laser are depicted in pink.
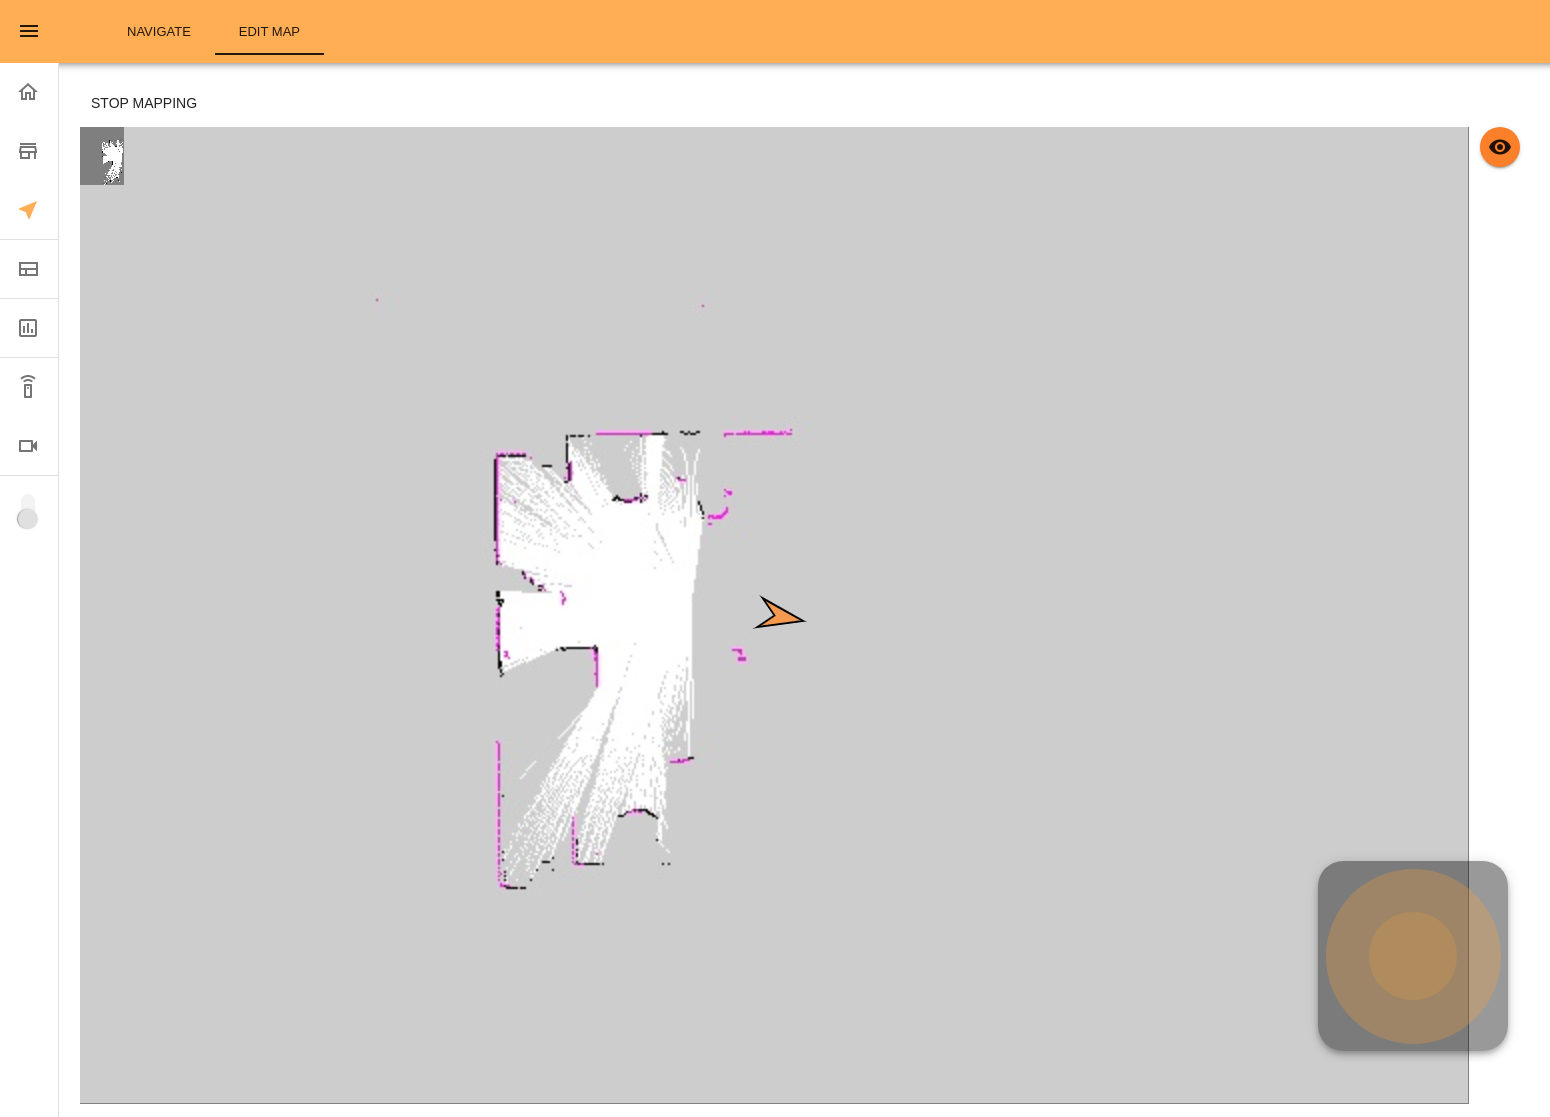
Step 2. Map the area Move the robot around the area to be mapped using the WebGUI joystick on the right side. The map will be constantly updated with the laser readings. It is possible that the robot stops moving at some point, due to a full processing queue, in this case it will be able to move again in few seconds.
Step 3. Stop mapping. Once all the desired area has been covered, press the STOP MAPPING button. A window will popup asking you to name the current map. Afterwards, you will be taken to the EDIT MAP tab, where you can add features to the map configuration.
Localization with Laser Scanner#
Once the mapping process has been completed, the new map will be loaded and the robot will be localizing in it. Note that the correct localization of the robot in the map is a main requirement in order to safely perform the navigation of the robot in the map. This allows the user to specify a goal or a set of goals in the maps and the robot will plan a trajectory to navigate safely through them while performing obstacle avoidance. Therefore, before proceeding to path planning, ensure that the robot is well localized in the map.
Go to the Navigation page in the WebGUI and verify the localization accuracy
of the robot by observing its reported position (orange arrow) in the map. For
more accurate information about the localization of the robot, check the
Localization with Laser Scanner page.
If the robot is not properly localized, then proceed as follows:
Step 1. Press the localization option. Press the Localize Robot
button on the left panel of the Navigation page.

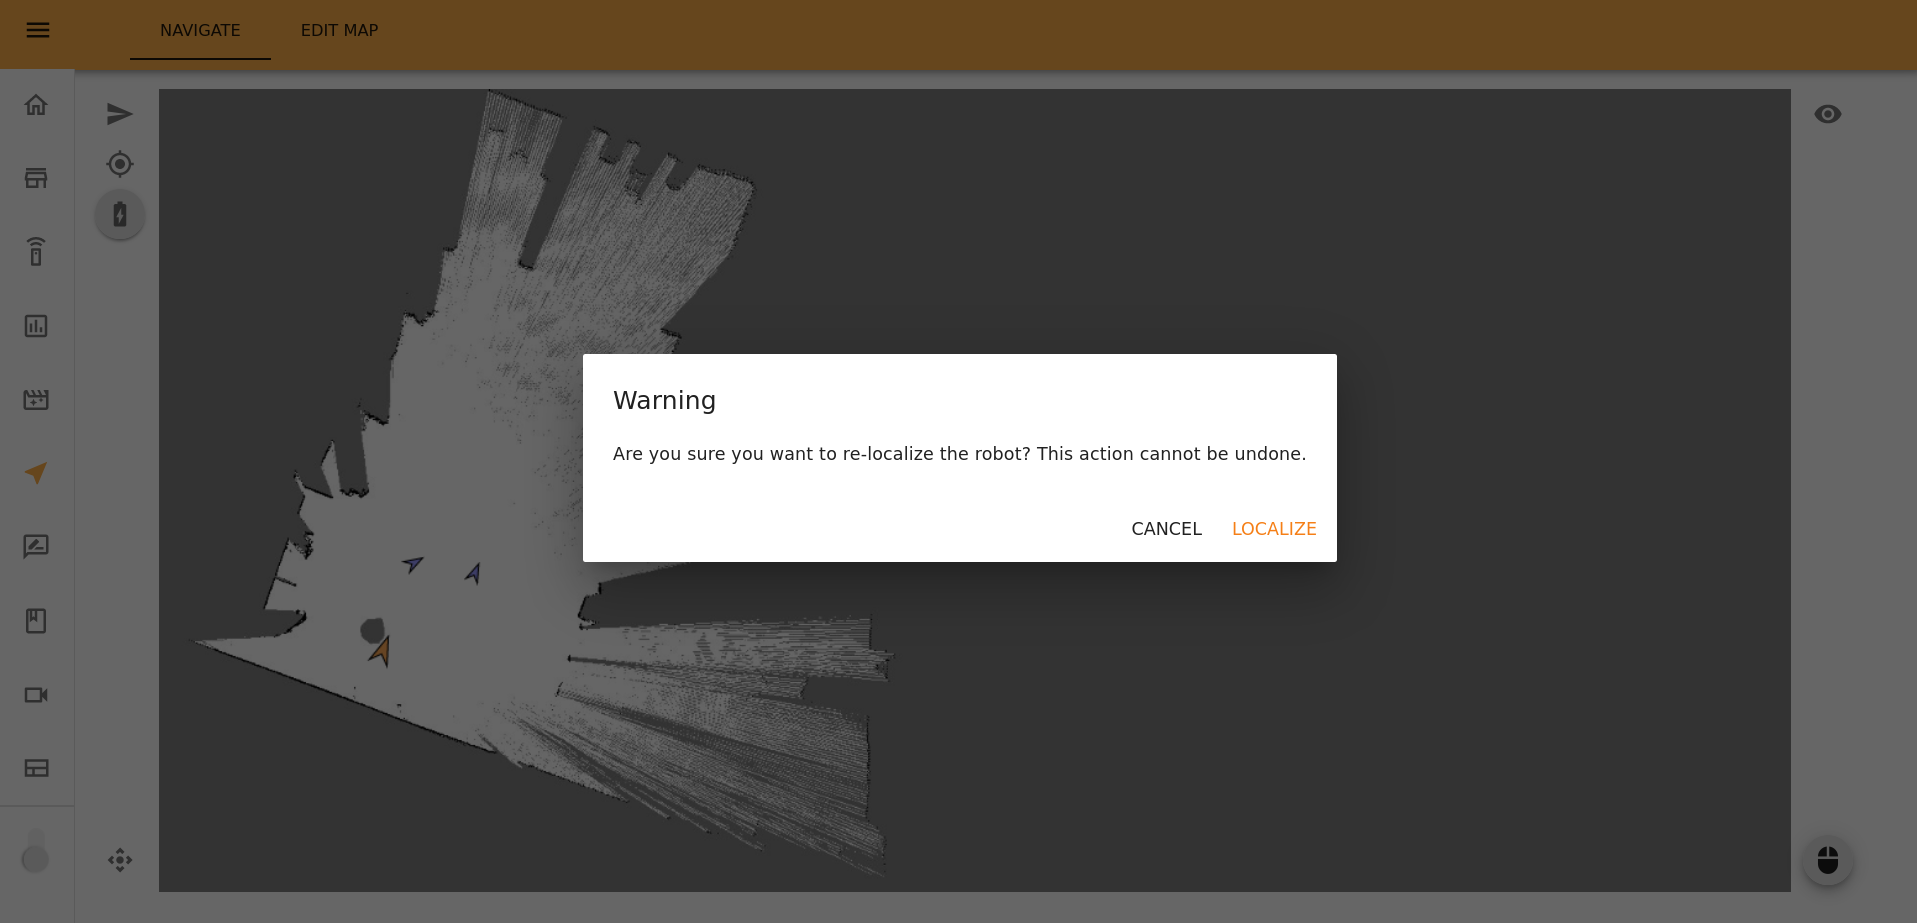
Step 2. Confirm the localization process. A pop-up will ask you to confirm whether you want to proceed with the process.
Step 3. Set the new location of the robot. Left-click the mouse at the point where the robot is actually located in the map, while dragging the mouse to set the robot’s orientation.
Once the mouse is released, the updated location of the robot will be displayed in the map.
Navigating using the WebGUI#
Now that you have created your map and added features to it, you are ready to send your robot to navigate around.
Step 1. Press the Send To button on the left panel of the
Navigation page.
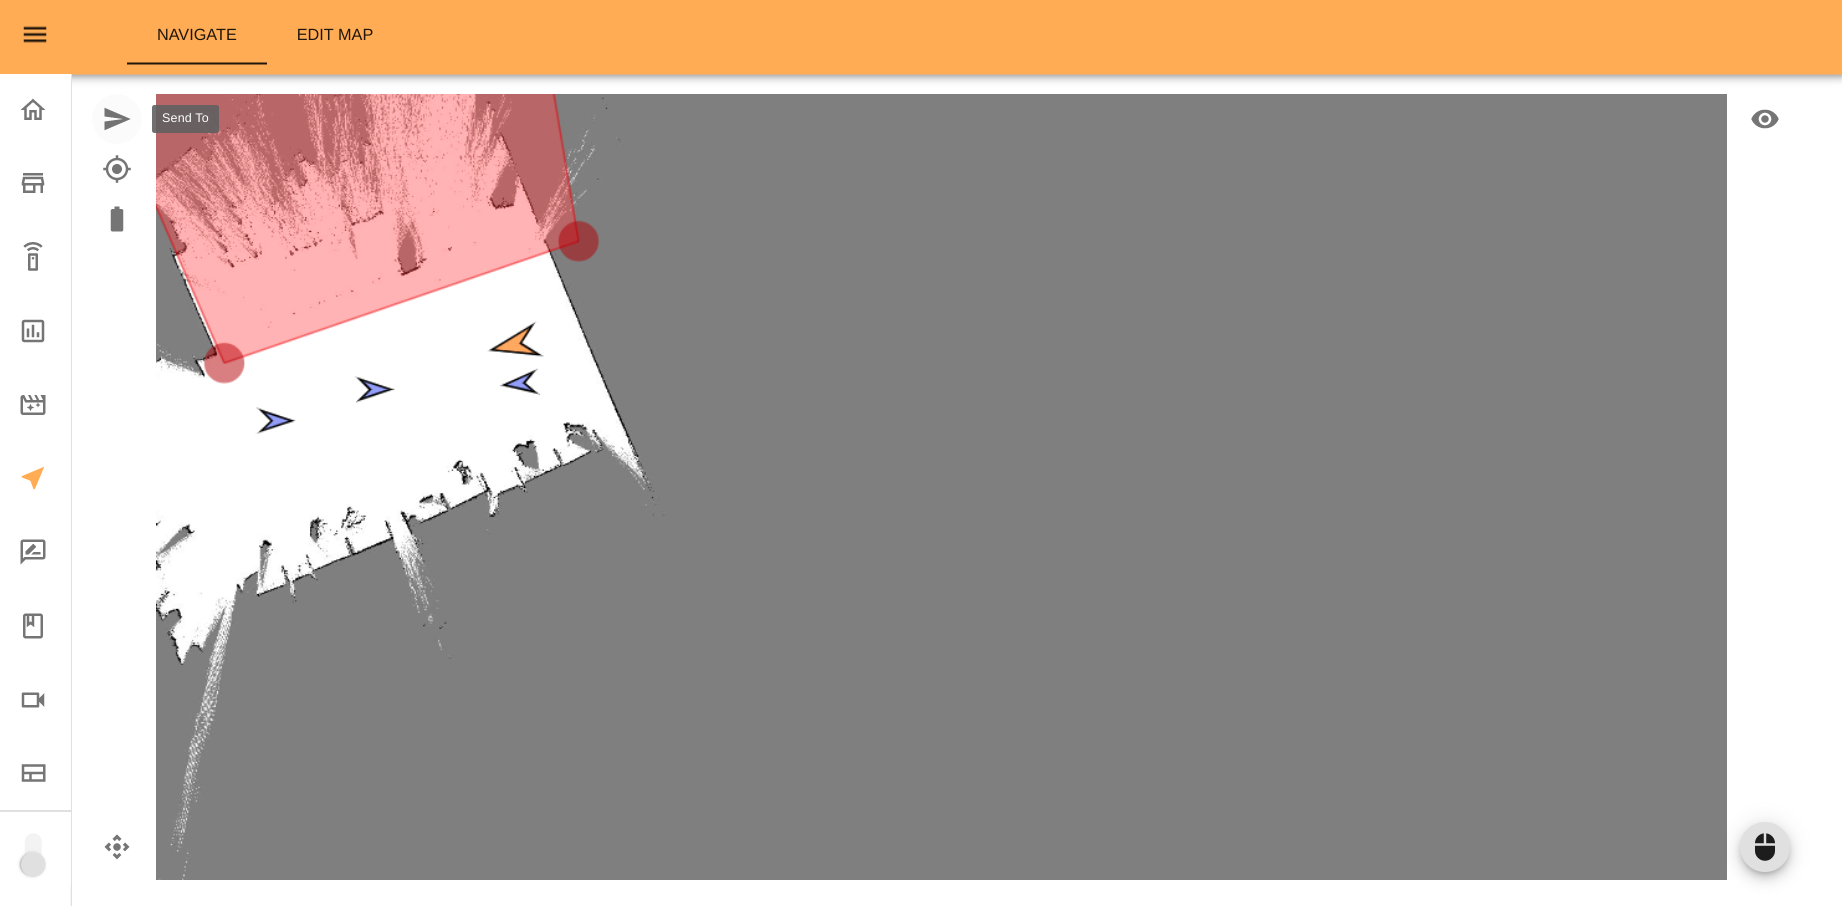
Step 2. You can either send the robot to an existing POI, Send To POI option, or to an arbitrary point in the map, Send To Custom Pose. In the first case, you will be asked to select the POI to reach. In the second case, you will be asked to click on the map to indicate the point to reach.
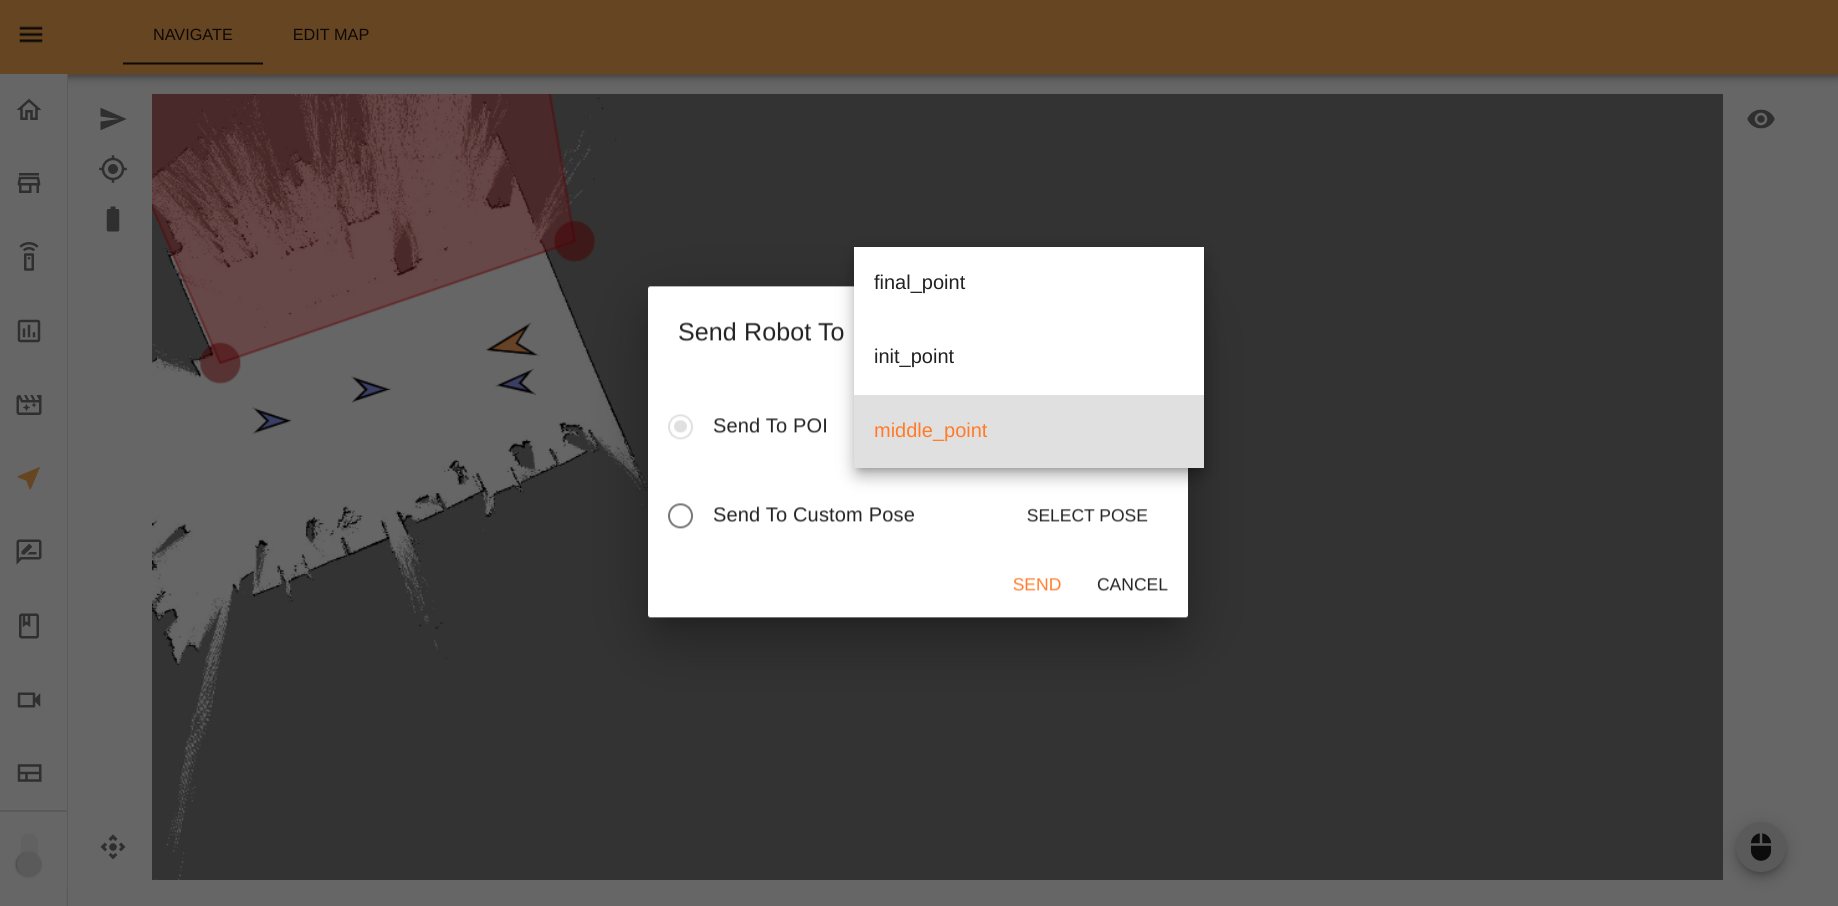
Step 3. Once the goal is set, press the SEND button to start navigating. The following two images show a sequence of how the robot approaches to the selected POI.
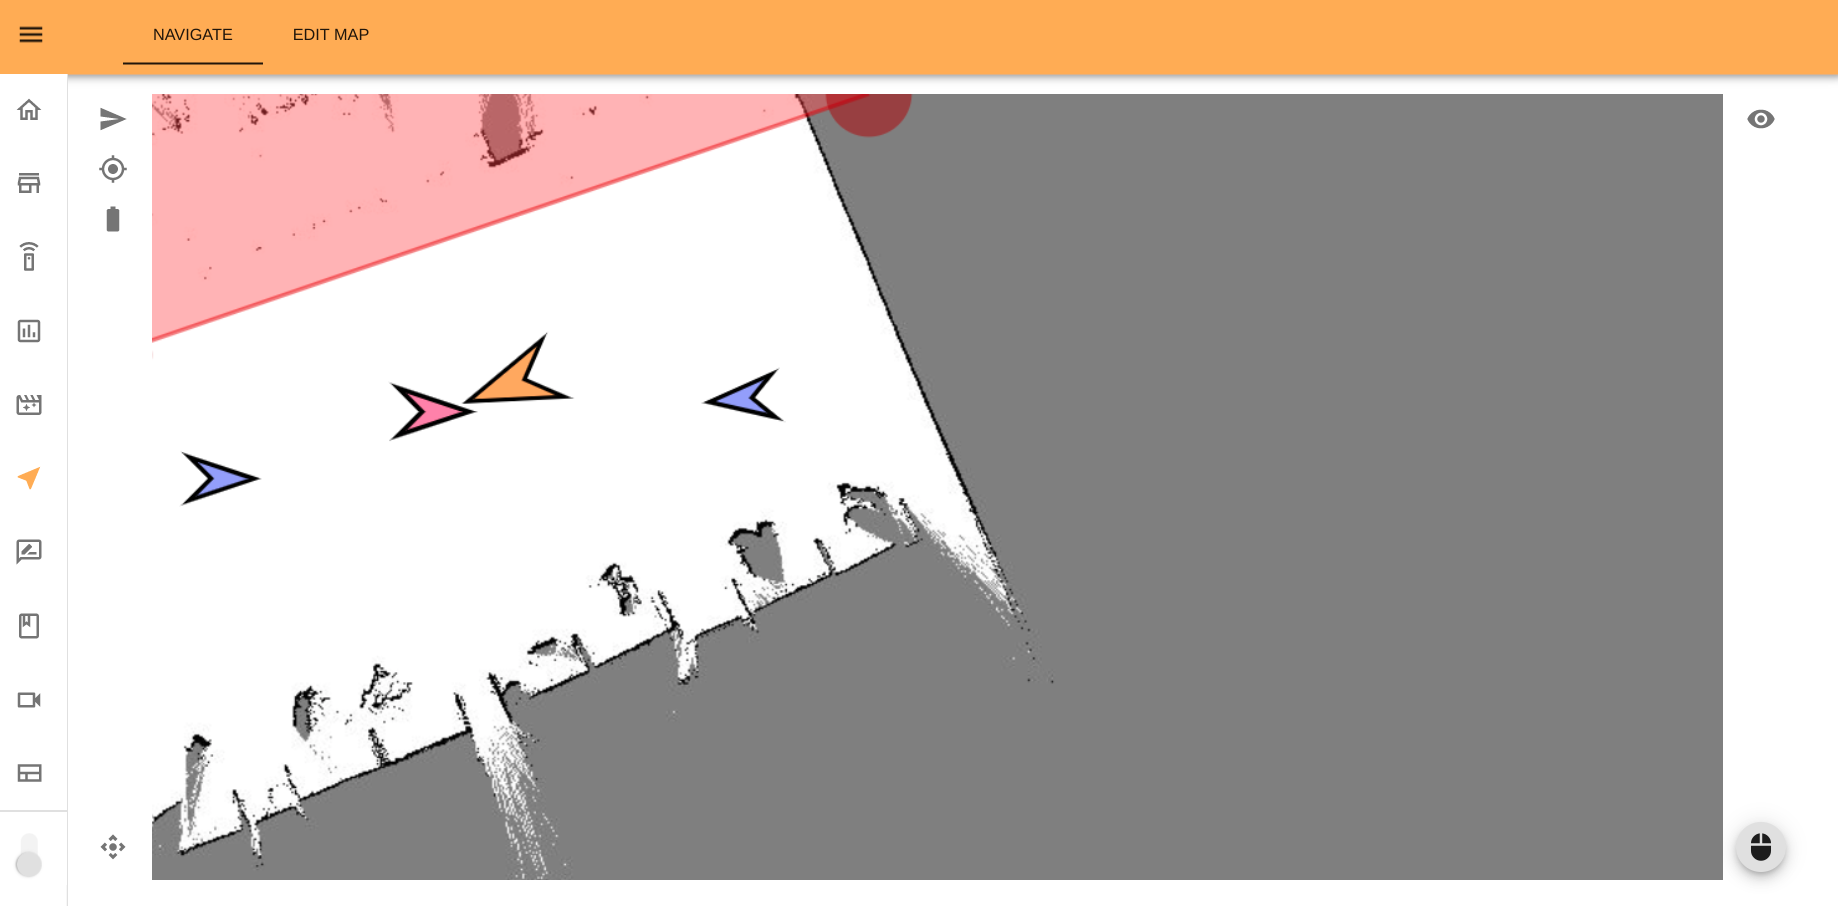
|
|