First start-up#
Attention
If your robot is still in its box, please first check ARI’s unboxing.
Welcoming Screen#
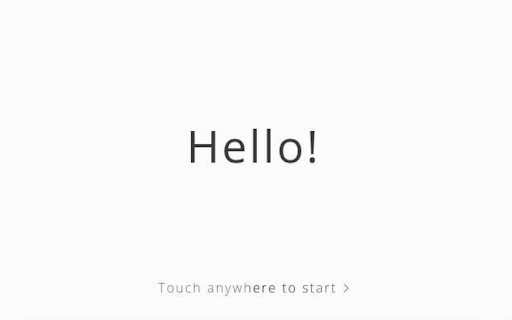
When switching on ARI for the first time, you will see the screen below. The setup process will take you through a number of screens to choose the connection mode, enter network details, choose a robot name, choose the language the robot will speak in and add a Master PIN.
First time Setup#
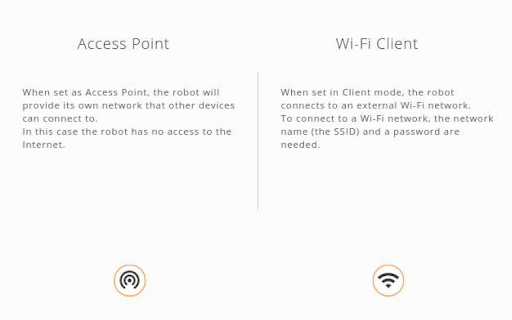
During the setup process for the robot you will be asked to choose the WiFi connection mode, which can be either Access Point (AP) or Client Mode.
Master/Admin PIN#
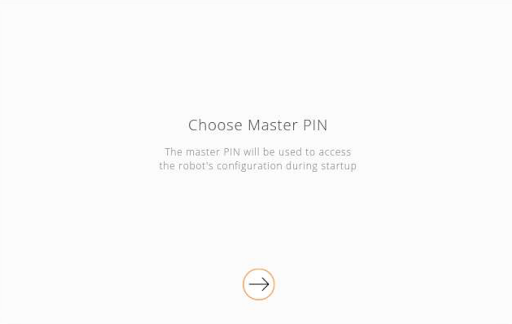
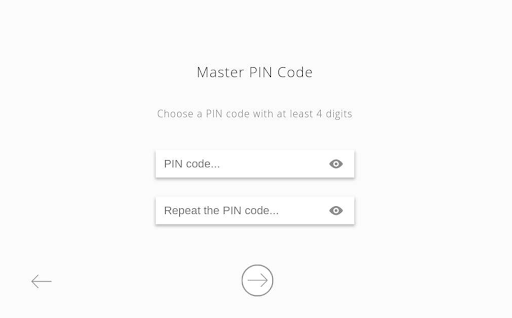
Select a Master PIN number for accessing ARI during the startup process. The Master PIN should be easy to remember and recorded somewhere else as it may be needed for future configuration. The PIN code should have at least four digits. You will be guided through the following screens:
Langage selection#
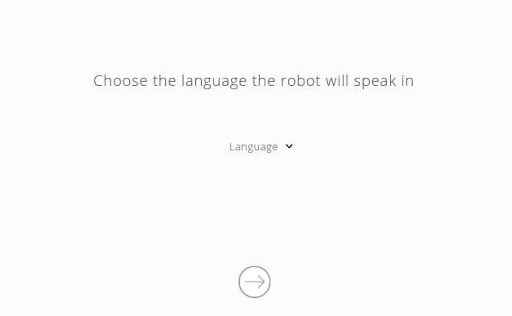
ARI is programmed to speak in multiple languages, however only the languages installed on the robot will be shown. You will see the following screens to choose the language the robot will speak in:
WiFi setup#
When the robot is set up as Access Point (AP) it provides its own network. You can then connect any WiFi-enabled device to the network (such as a laptop, tablet or phone). In the case of a device with mobile data capabilities being connected, it is necessary to ensure that those capabilities have been disabled to force the OS to use the WiFi network (both Android and iOS ignore WiFi with no internet connection, which prevents the device from accessing the WebGUI). Please note that in this mode the robot will not be able to connect to the internet.
When the robot is set to Client Mode the robot connects to an external WiFi network. In this mode the robot may be able to access the internet (if the network is connected to the internet), and will be visible to any and all devices in the same network.
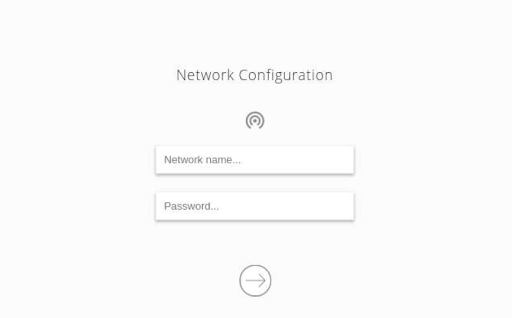
Regardless of the chosen mode a network SSID and a password must be configured. If the robot is in AP mode this will be the name of the network provided by the robot, and the password required to connect to it. When in Client Mode this configuration will be used by the robot to connect to the external network.

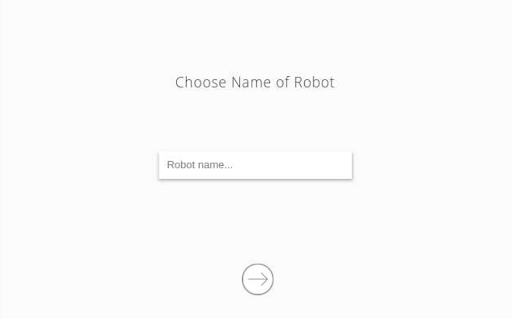
Robot Name#
Finally, you will be prompted to choose a name for the robot with the following screen:
Connect from an external device#
In order to connect to ARI with an external device, the device must be part of the same network:
If ARI is set up as Access Point the device must connect to the configured
network using the password introduced during setup. ARI can then be accessed via
the hostnames control or ari-Xc (where X is the serial number).
If ARI is set up as Client Mode, the device must be connected to the same network that was set up for ARI. ARI will then be accessible via the IP assigned by the network, or, if a DNS is set up, via the configured hostname.
In both cases, the WebGUI can be accessed using a web browser at the default port, and the Web Commander at port 8080 (see WiFi setup).