System recovery#
This section explains the System and Software reinstall procedure for your robot.
Robot computer installation#
To begin the installation process, plug a USB keyboard onto the robot service panel. On robots without screen, plug as well an external monitor into the HDMI connector.
BIOS configuration#
Some options in the Control BIOS computer must be configured as follows:
Turn on the robot and press F2 (or F11, depending on your robot model) repeatedly. Wait until the BIOS menu appears;
In
System Performance, selectASUS Optimal;Enter
Advanced Modeby pressing F7;- In the
Advanced > CPU Configurationmenu; Set
Intel Adaptive Thermal MonitortoDisabledSet
Intel Virtualization TechnologytoDisabled
- In the
- In the
Advanced > CPU Configuration > CPU Power Management Configurationmenu: Set
EISTtoDisabledSet
CPU C statestoDisabled
- In the
- In the
Bootmenu: Set
Wait for F1 if errortoDisabled
- In the
Go to
Exitand selectSave Changes & ResetShut down the robot.
Installation#
The installation is performed using the Software Recovery USB stick provided with your robot.
Note
If you were provided with a ISO file .iso, follow these instructions to flash the ISO to a USB stick: How to flash an ISO on your robot
Insert the USB stick in a free USB slot at the back of the robot;
Turn on the robot and press F2 (or F11, depending on your robot model) repeatedly. Wait until the BIOS menu appears;
Enter the
Boot Menuby pressing F8 and select the Software USB drive;The
Languagemenu will pop up. SelectEnglish.Select
Install <name of your robot>;Select the keyboard layout by following the instructions.
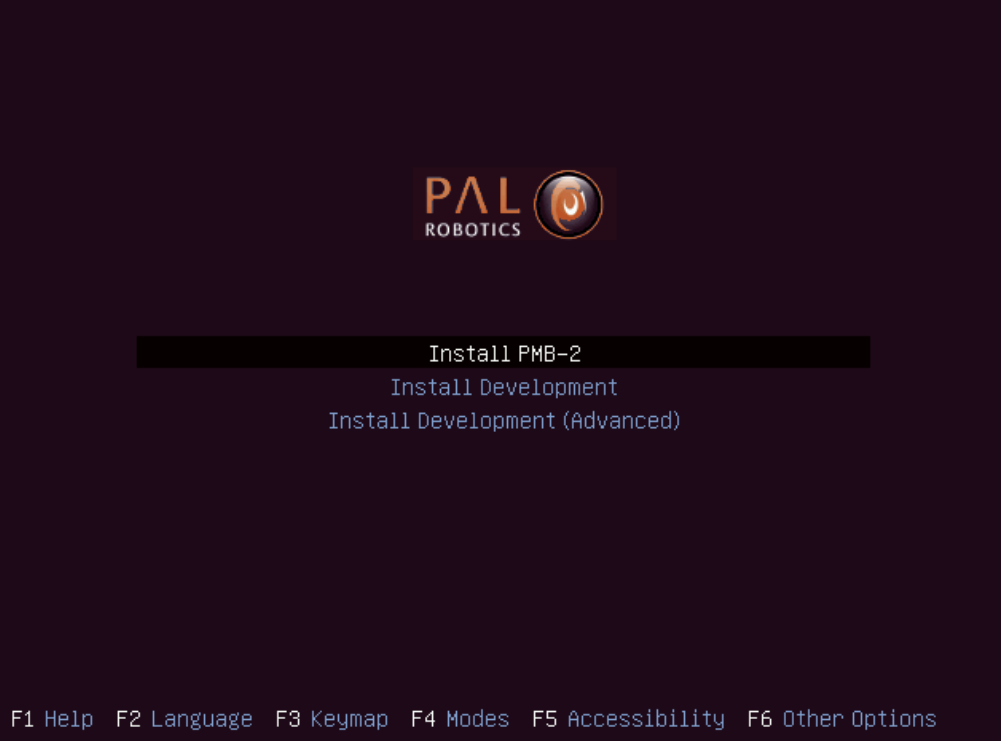
Figure: System installation menu#
Installing the Developer workstation#
The Software Recovery USB stick also contains an image to install a developer workstation. You can use it to access a Linux environment pre-configured with the required dependencies to access and program your robot.
Note
Internet access is not required as the installation is self-contained.
Insert the Recovery USB stick in your computer.
Turn on the computer, access the BIOS and boot the Software USB drive.
The Language menu will pop up. Select English.
Choose
Install Development (Advanced)if you wish to select a target partition in the development computer. Using theInstall Developmentoption will delete all partitions in the disk and automatically install the system in a new partition.Select the keyboard layout by following the instructions.
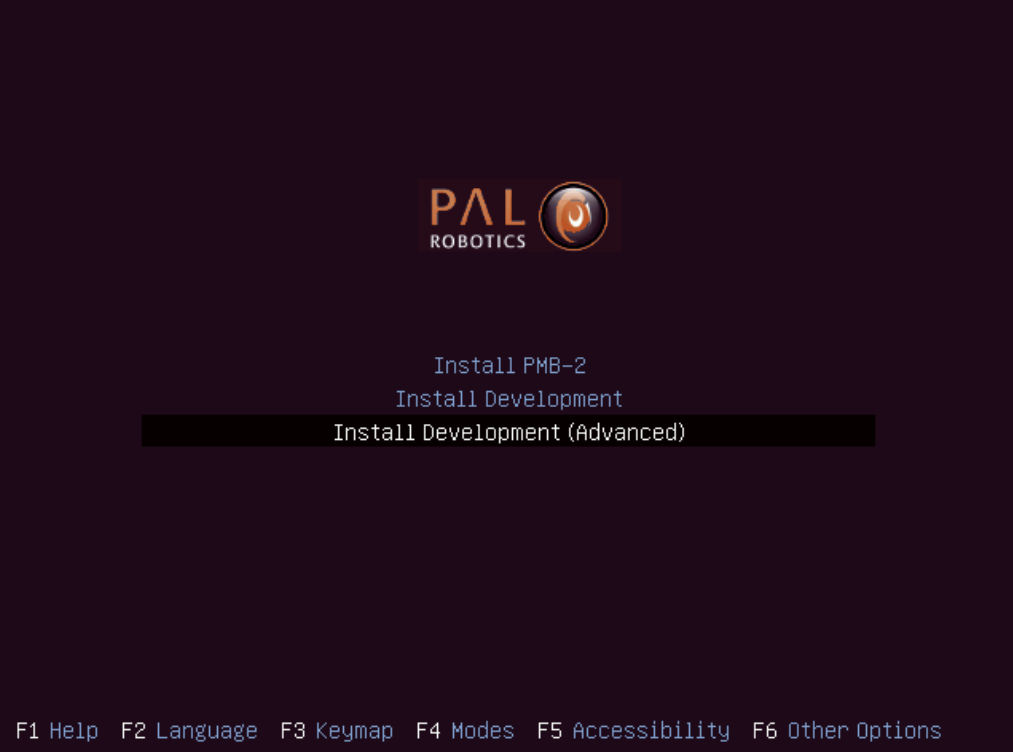
Figure: System installation menu#