Developing with the SDK Docker image and ROS#
Overview#
In pal-sdk-23.12, your robot runs ROS noetic on top of the Ubuntu 20.04 LTS
operating system (more details here).
While we recommend to setup an identical development environment on your
development machine (ROS
noetic installation instructions),
the primary development environment for pal-sdk-23.12 is the PAL-provided Developer
Docker image.
This Docker image is based on Ubuntu 20.04 LTS/ROS noetic. It additionally
includes several packages (eg PAL-specific ROS message definitions)
that are essential to develop and deploy code on your robot.
Note
If you decide to develop outside of the PAL-provided Docker image, you may want to manually install the PAL-specific messages and libraries available from the PAL Robotics public GitHub repository .
Recommended configuration for your development workstation#
A computer with 8 CPU cores is recommended. A powerful graphics card with resolution of at least 1920x1080 pixels is recommended in order to have a better user experience when using visualization tools like rviz and the Gazebo simulator.
What is a Docker image?#
Docker is a platform for developers and sysadmins to develop, deploy, and run applications inside containers. The use of Linux containers to deploy applications is called containerization. Containerization is increasingly popular due to several of its features:
Flexible: complex applications with many and/or non-standard dependencies can be containerized;
Lightweight compared to eg virtual machines: containers leverage and share the host kernel;
Interchangeable: you can deploy updates and upgrades on-the-fly;
Portable: you can build locally, deploy to the cloud, and run anywhere;
Scalable: you can increase and automatically distribute container replicas;
Stackable: you can stack services vertically and on-the-fly.
If you are interested on how docker works, visit their webpage .
Obtaining the SDK Docker image#
First, install Docker for Ubuntu, either via your package manager (apt install docker.io), or following the instructions of the official page.
Note
Do not forget to follow the Linux post-install steps to be able to
run docker as a non-root user.
Verify that the Docker Engine installation is successful by running the
hello-world image:
docker run hello-world
Downloading your SDK Docker image#
Your SDK Docker image image is available from
https://gitlab.com/pal-robotics/[CLIENT_ID] , where [CLIENT_ID] is your
short organisation identifier.
Hint
If you do not have (yet) access to your Docker image, please open a ticket on the support platform, requesting your Robot docker.
You will receive an email invitation. Follow the steps to register and join
the gitlab.com/pal_robotics/ organisation.
You should eventually be able to enter to your own GitLab ‘sub-group’ and
access your custom dockers repository.
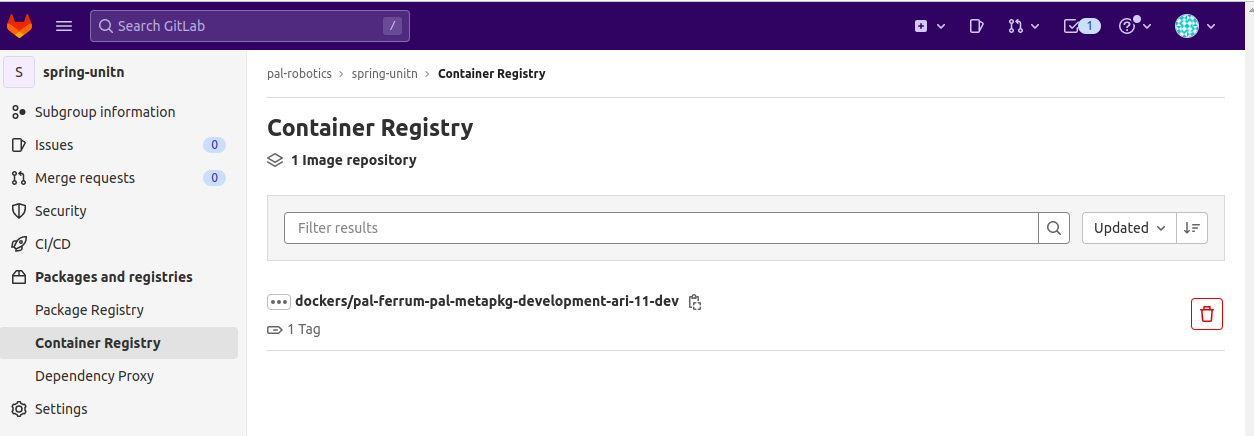
From the left tab, select , you will see all dockers shared with you, including the SDK Docker image.
Contact the customer support if you need access to additional Docker images.
Hint
You can use the copy button to retrieve the Docker URL; use this URL instead
of $DOCKER_IMAGE_URL in the examples below.
Run the SDK Docker image#
In order to start any of the dockers loaded on this repository, you will need to
log in the Docker daemon on gitlab.com:
docker login registry.gitlab.com
and enter your personal GitLab user and password.
Next, you can pull your Docker image:
docker pull $DOCKER_IMAGE_URL
Finally, start your Docker image:
docker run -it --net host $DOCKER_IMAGE_URL bash
Using pal_docker.sh#
For your convenience, we have published scripts that simplify the launch
of a Docker with GPU acceleration. Follow the instructions at
pal_docker_utils to
properly set up your environment with nvidia-docker. If you do not follow the
steps properly, you will not be able to run gazebo, rviz or other graphical
applications from within the docker container.
Once logged and after configuring pal_docker_utils, you will need to execute
the pal_docker.sh
script with the name of the image and the application you want to start.
cd pal_docker_utils/scripts/
./pal_docker.sh -it $DOCKER_IMAGE_URL bash
The previous command starts a bash terminal inside a container of the specified image.
Configuring the ROS environment inside the Docker image#
In order to use the ROS commands and packages provided in the docker the following command needs to be executed when opening a new terminal inside a Docker image:
source /opt/pal/gallium/setup.bash
A good way to spare the execution of this command everytime is to append it at
the end of /home/pal/.bashrc in the Docker image, and commit the change to a
new Docker image.
Compiling software#
The SDK Docker image includes the ROS messages, system headers and our C++ open source headers necessary to compile and deploy software to the robot, as well as its Gazebo simulation.
Some of the software APIs that we have developed are proprietary, and their headers are not included by default. If you require them you can contact us through our customer service portal and after signing a non-disclosure agreement, they will be provided. These APIs are for accessing advanced features not available through a ROS API.
Deploy code from the Docker image to the robot#
You can easily deploy your own ROS nodes from the SDK Docker image to your robot, using the pre-installed pal_deploy tool.
Follow the Tutorial: deploying code to the robot from the Developer Docker image.
System Upgrade#
In order to upgrade the software of the SDK Docker image, you need to use the
pal_upgrade_chroot.sh command. Log in as a root and execute:
/opt/pal/gallium/lib/pal_debian_utils/pal_upgrade_chroot.sh
Notifications will appear whenever software upgrades are available.
ROS communication with the robot#
When developing applications for robots based on ROS, it is typical to have the
rosmaster running on the robot’s computer and the development computer or
Docker image running ROS nodes connected to the rosmaster of the robot.
This is achieved by setting the following environment variable in each terminal
of the development computer running ROS nodes, regardless of if using a Docker
image or development computer.
export ROS_MASTER_URI=http://ari-0c:11311
Note that in order to successfully exchange ROS messages between different computers, each of them needs to be able to resolve the hostname of the others. This means that the robot computer needs to be able to resolve the hostname of any development computer or docker and vice versa. Otherwise, ROS messages will not be properly exchanged and unexpected behaviour will occur.
Do the following checks before starting to work with a development computer
running ROS nodes that point to the rosmaster of the robot:
ping ari-0c
Make sure that the ping command reaches the robot’s computer.
Then do the same from the robot:
ssh pal@ari-0c
ping devel_computer_hostname
If ping does not reach the development computer then proceed to add the
hostname to the local DNS of the robot (for instance by adding a line to
/etc/hosts).
Otherwise, you may export the environmental variable ROS_IP - the IP of the
development computer that is visible from the robot. For example, if the robot
is set as access point and the development computer is connected to it, with IP
10.68.0.128 (use ifconfig to figure it out), use the following command
in all terminals used to communicate with the robot:
export ROS_MASTER_URI=http://ari-0c:11311
export ROS_IP=10.68.0.128
All ROS commands sent will then use the computer’s IP rather than the hostname.
You can finally check that your network configuration is working by typing from your Docker image or development workstation, for instance:
rostopic list
This should return the list of topic currently available on the robot.