Robot face and expressions#
You can control the gaze direction, expressions, and visual appearance of the face and eyes of your robot via several ROS API.
Note
Currently, the eyes can only be controlled through a ROS interface. In future releases of the SDK, alternative no-code solutions will be offered.
Gaze direction#
The Controlling the attention and gaze of the robot page contains all the details regarding how to control the robot’s gaze and attention.
Expressions#
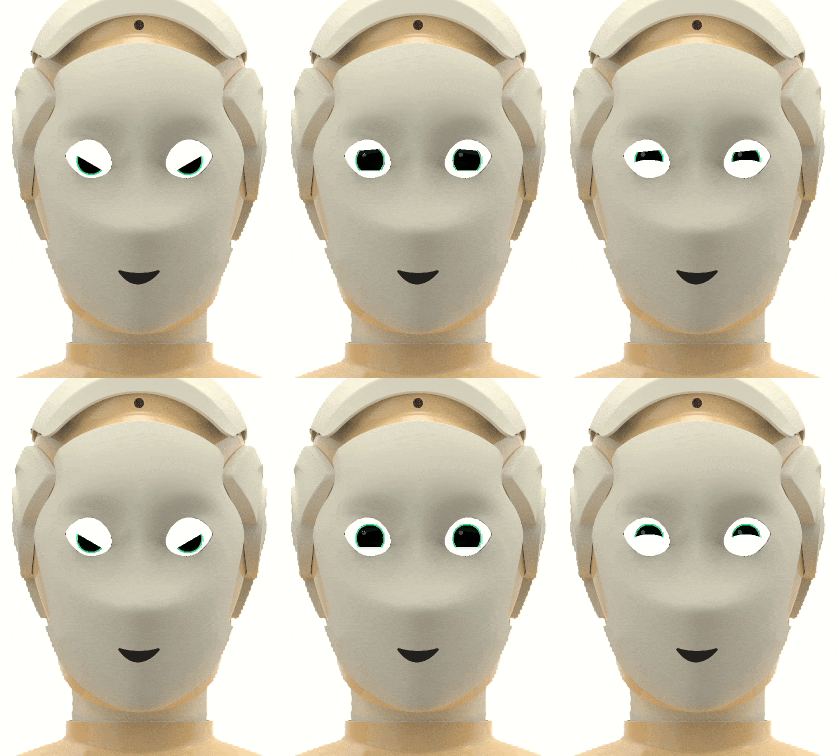
The expression of the eyes can be changed via the /robot_face/expression topic.
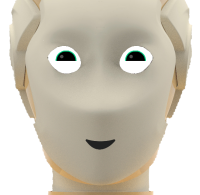
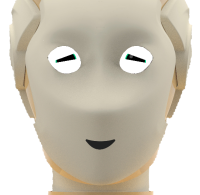
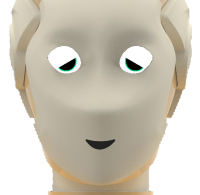
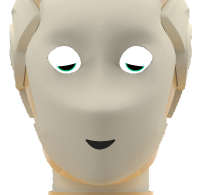
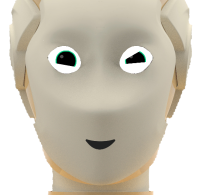
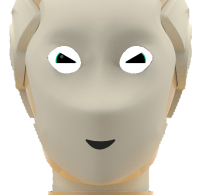
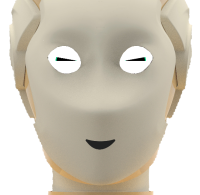
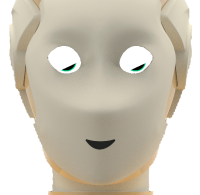
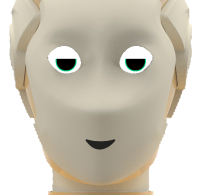
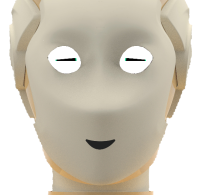
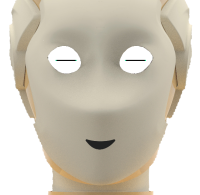
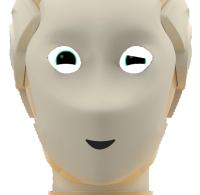
You can either use one of the pre-defined expressions (like happy, confused… see list below), or by setting a custom values for valence and arousal, following the circumplex model of emotions.
Code samples#
The following short snippet of Python code loops over several expressions, as show in the animation above:
 1import rospy
 2from hri_msgs.msg import Expression
 3
 4if __name__ == "__main__":
 5
 6  rospy.init_node("publisher")
 7  pub = rospy.Publisher("/robot_face/expression", Expression, queue_size=10)
 8
 9  msg = Expression()
10  expressions = ["happy", "confused", "angry", "sad", "amazed", "rejected"]
11
12  rate = rospy.Rate(1) # 1Hz
13  idx = 0
14
15  while not rospy.is_shutdown():
16     msg.expression = expressions[idx % len(expressions)]
17     pub.publish(msg)
18
19     idx += 1
20     rate.sleep()
This second example changes the expression continuously, by increasing/decreasing the valence and arousal:
 1import rospy
 2from hri_msgs.msg import Expression
 3
 4if __name__ == "__main__":
 5
 6  rospy.init_node("publisher")
 7  pub = rospy.Publisher("/robot_face/expression", Expression, queue_size=10)
 8
 9  msg = Expression()
10
11  rate = rospy.Rate(5)
12
13  valence = 0.
14  arousal = 0.
15  valence_delta = 0.05
16  arousal_delta = 0.0
17
18  while not rospy.is_shutdown():
19     msg.valence = valence
20     msg.arousal = arousal
21
22     valence += valence_delta
23     arousal += arousal_delta
24
25     if valence > 1:
26         valence = 1
27         valence_delta = 0.
28         arousal_delta = 0.05
29     if arousal > 1:
30         arousal = 1
31         valence_delta = -0.05
32         arousal_delta = 0.0
33     if valence < -1:
34         valence = -1
35         valence_delta = 0.0
36         arousal_delta = -0.05
37     if arousal < -1:
38         arousal = -1
39         valence_delta = 0.05
40         arousal_delta = 0.0
41
42     print("Valence: %.1f; arousal: %.1f" % (valence, arousal))
43     pub.publish(msg)
44
45     rate.sleep()
List of expressions#
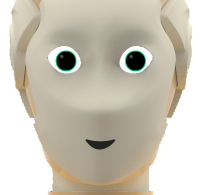
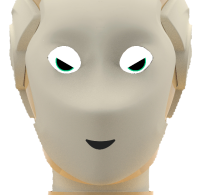
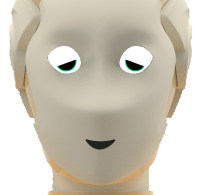
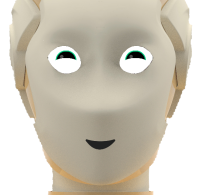
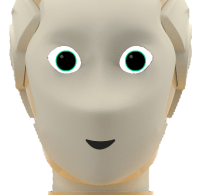
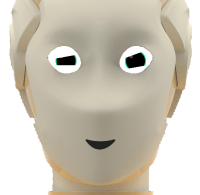
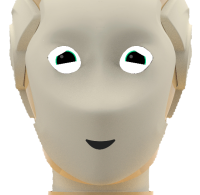
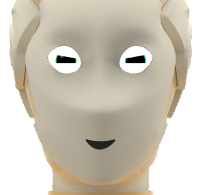
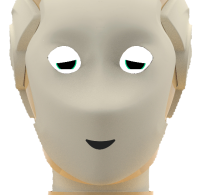
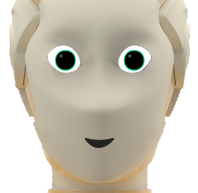
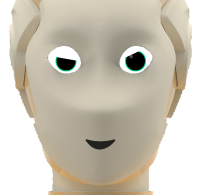
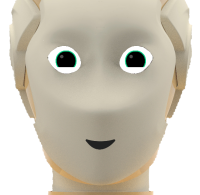
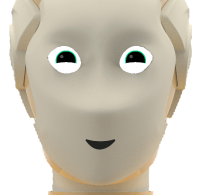
The hri_msgs/Expression ROS message lists all pre-defined expression. The table below shows how these expressions are rendered on the robot.
Expression name |
Appearance |
Expression name |
Appearance |
|---|---|---|---|
|
|
|
|
|
|
|
|
|
|
|
|
|
|
|
|
|
|
|
|
|
|
|
|
|
|
|
|
|
|
|
|
|
|
|
|
|
|
|
|
|
|
|
|
|
|
|
|
|
|
Background and overlays#
The SDK offers two options to configure the visual appearance of the face.
Stream a ROS video stream to the face#
You can publish image(s) on the /robot_face/background_image topic: they will be displayed as the background of the face or eyes.
Any video stream will work: you can for instance stream a webcam directly to the face of the robot.
Once you stop publishing images to /robot_face/background_image, you can use /robot_face/reset_background to clear the background.
Note
The video stream will be resized to fit the entire face, without maintaining the aspect ratio.
On robots with two separate displays (one per eye, like ARI), the image is stretched to cover the two eyes.
Display an animated overlay using a ROS action#
A more flexible option is the /robot_face/overlay action. This action let you define a background or foreground overlay, configure the display duration, scale and translate the overlay, configure the layout (eg extend image to both eyes vs copy the image on each eye vs mirror it).
Example:
Start the axclient action client:
rosrun actionlib_tools axclient.py /robot_face/overlay
(if unavailable, install the ROS package ros-noetic-actionlib-tools)
Use the following parameters:
media_url: absolute path to a image or animation (eg gif) on the robot. Try/opt/pal/gallium/share/expressive_eyes/data/spiral.gif.duration: a duration in seconds.0means ‘forever’ (the animation will loop)layer:0for the background,1for the foregroundlayout: -0to stretch the image to the full surface of the face/eyes; -1to copy the image on both left and right eyes; -2to mirror the right eye onto the left eye; -3: only the right eye; -4: only the left eye.scale: scale of the image, for1.0(100% of the eyes’ width) to0.0offset_xandoffset_y: position of the overlay, in normalised coordinates:0.0means center,-1.0means right/bottom,1.0means top/left
Using this API, you should be able to display an animation onto the eyes like that one: