Accessing ARI sensors#
In this tutorials we’ll learn how to access to the different sensors in ARI.
Accessing the cameras#
Most of the sensor readings of ARI can be visualized in rviz. Though you can also use image view and rqt_gui. Let’s have a look at both procedures.
rviz visualization
In order to start the rviz GUI with a predefined configuration do as follows from the development computer:
export ROS_MASTER=http://ari-SNc:11311
export ROS_IP=your_computer_ip
rosrun rviz rviz -d `rospack find ari_bringup`/config/ari.rviz
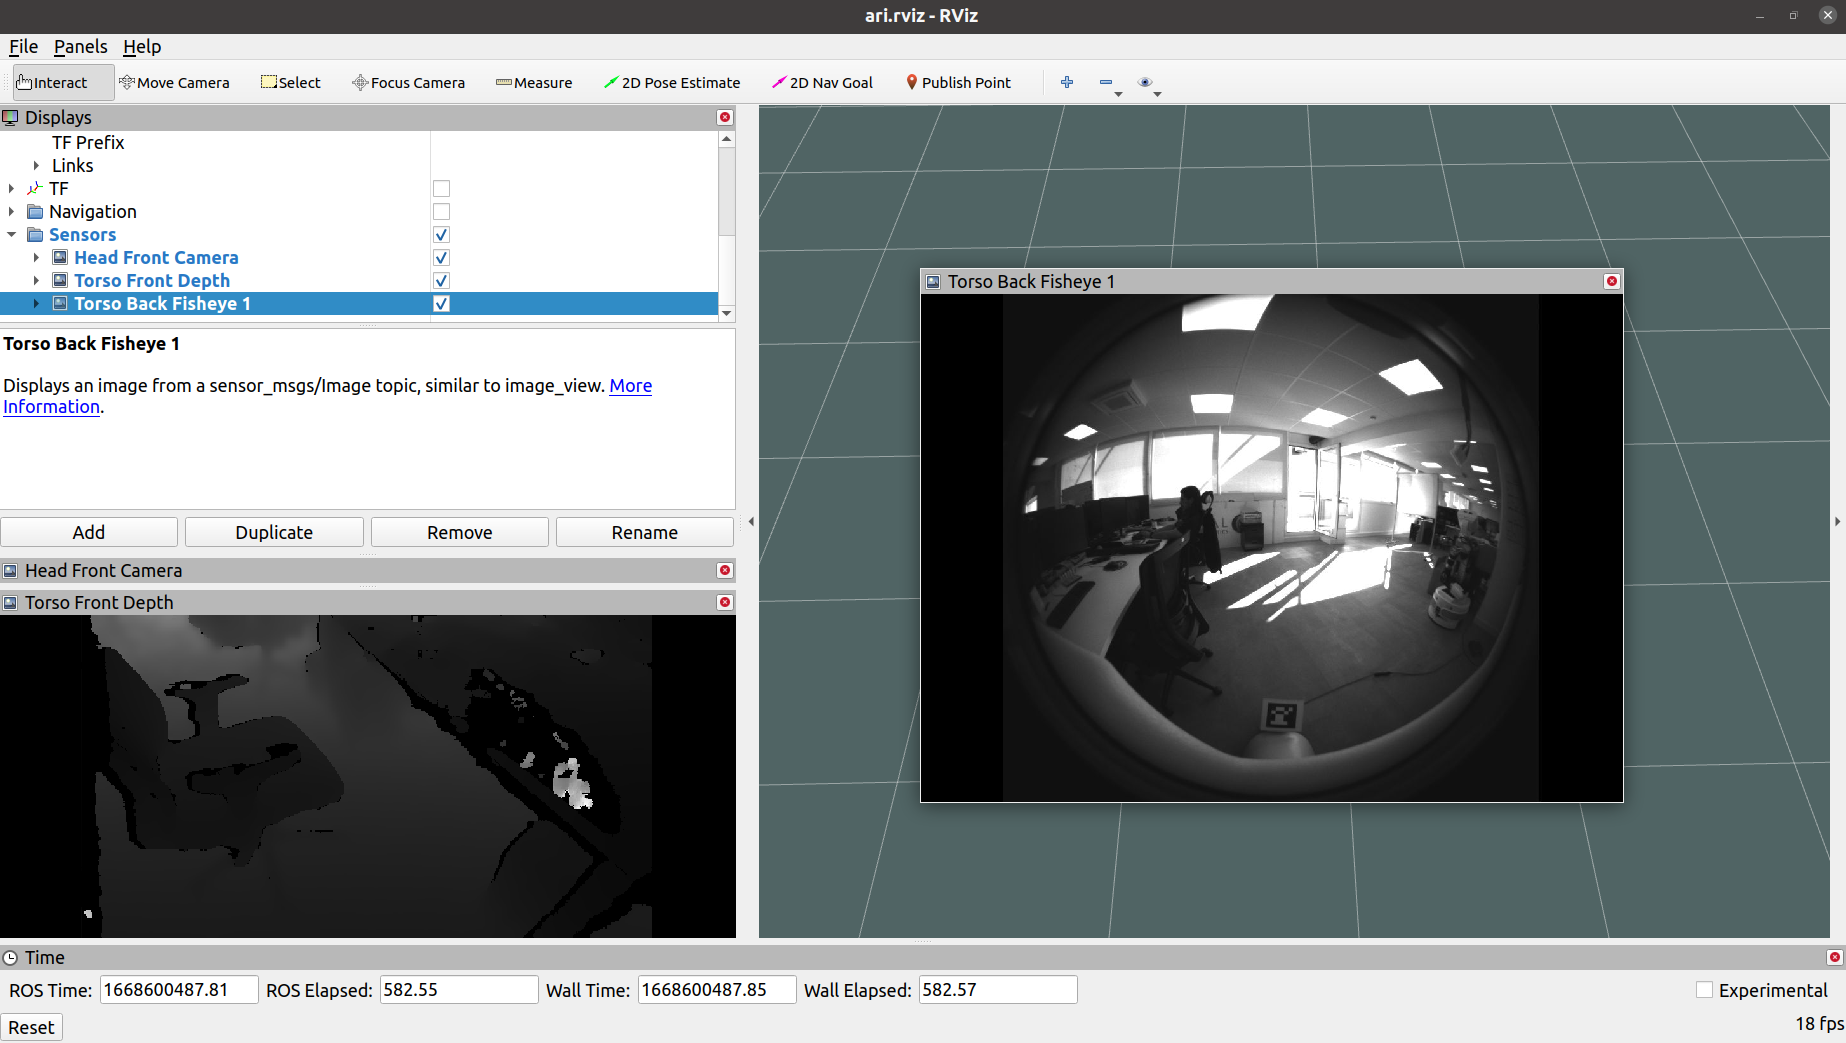
The image below shows how the torso front and back cameras are visualized in rviz.
image_view visualization
Run image_view tool to visualize the desider camera as follows:
export ROS_MASTER=http://ari-SNc:11311
export ROS_IP=your_computer_ip
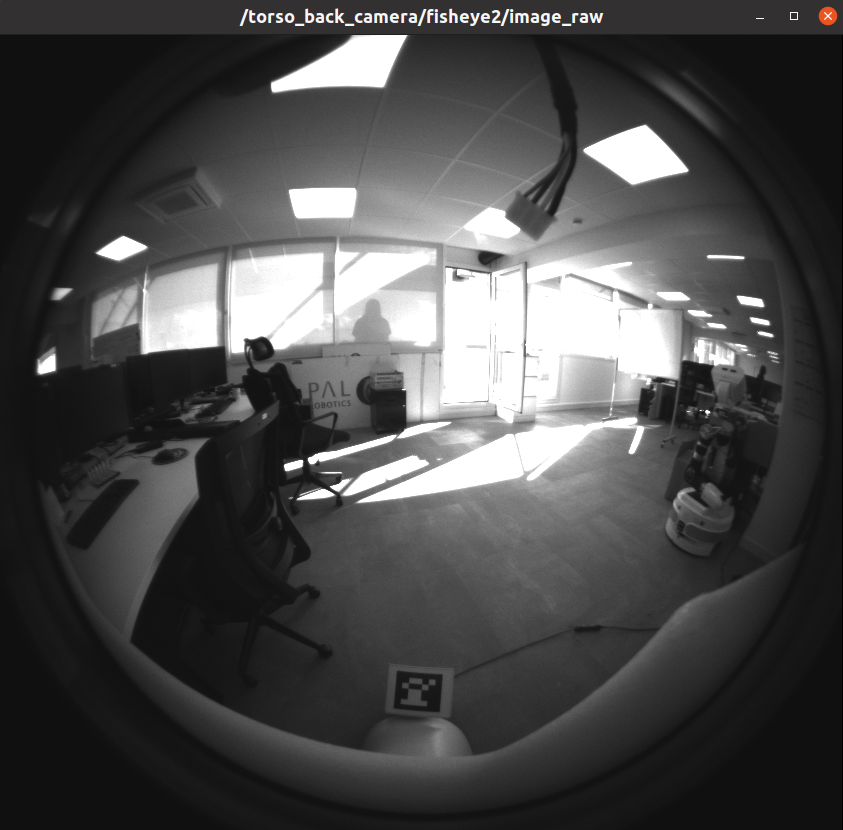
rosrun image_view image_view image:=/torso_back_camera/fisheye2/image_raw _image_transport:=compressed
When visualizing images from an external computer through WiFi, it is recommended to use the compressed topic to reduce bandwidth and latency.
rqt_gui visualisation
You can also use rqt_gui, a tool that allows incorporate multiple plugins and
thus, have a better understanding of the system. One such example is
rqt_human_radar, a pluging for rqt_gui, where additional visualization tools
for ROS4HRI can be combinded. If you want to know more about it, refer to xxx.
To use rqt_gui, follow the next steps:
Run rqt_gui:
rosrun rqt_gui rqt_guiIn the top menu, select:
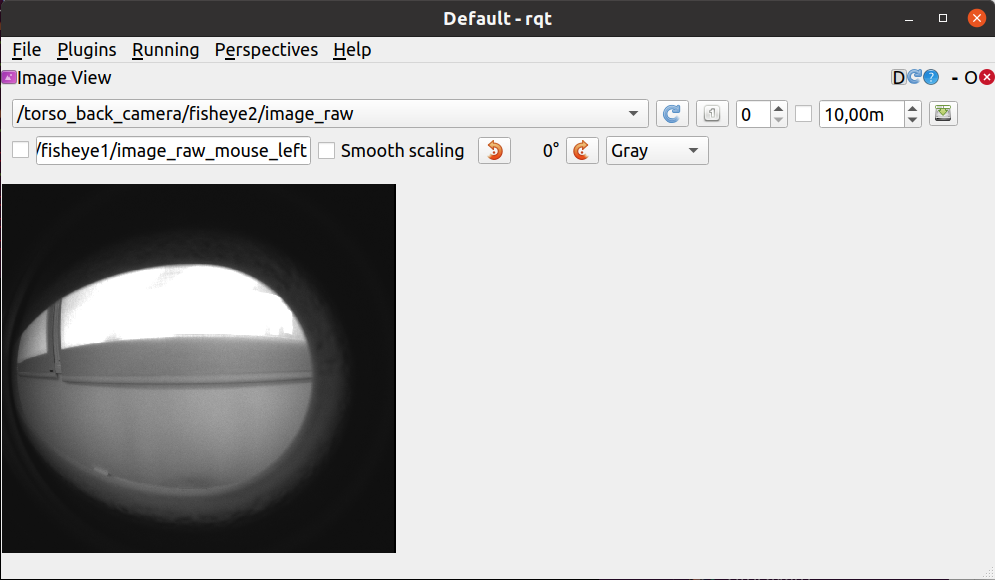
Select the topic of the camera you want to visualize. In the image below we are visualizing the /torso_back_camera/fisheye1/image_raw/*.
Accessing the microphones#
Please refer to ARI microphone array and audio recording to learn how to access the audio data.