ROS’s RQt#
Note
Make sure rqt tools are installed on your computer
sudo apt install ros-${ROS_DISTRO}-rqt*
Note
Many of the capabilities of RQt can also be accessed from the robot’s web-user-interface
What is RQt?#
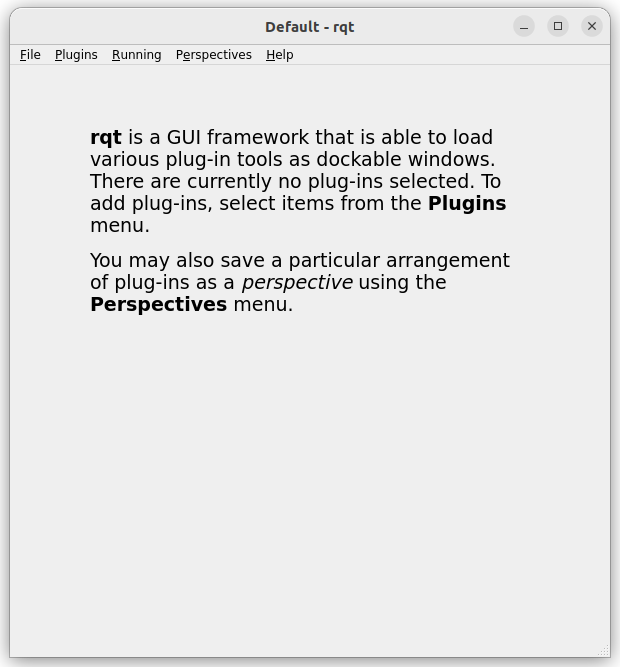
RQt is a suite of graphical tools and interfaces in the form of plugins. One can run all the existing GUI tools as dockable windows within RQt.
RQt is one of the standard GUI tools provided by ROS, alongside RViz. PAL robots are fully compatible with RQt.
Individual RQt plugins can run standalone, but the main RQt application makes it easier to manage all the various windows in a single screen layout.

You can launch the RQt GUI by running the following from your PAL OS Developer Docker container:
rqt
Once open, you can add any plugin using the plugin tab

We list hereafter some of the most useful RQt plugins that can be used with PAL robots and how to run them individually.
rqt_console#
The rqt_console plugin provides a GUI for viewing the ROS console output.
Once the tool is open, you can see the different logs of the robot.
More information about rqt_console can be found here.
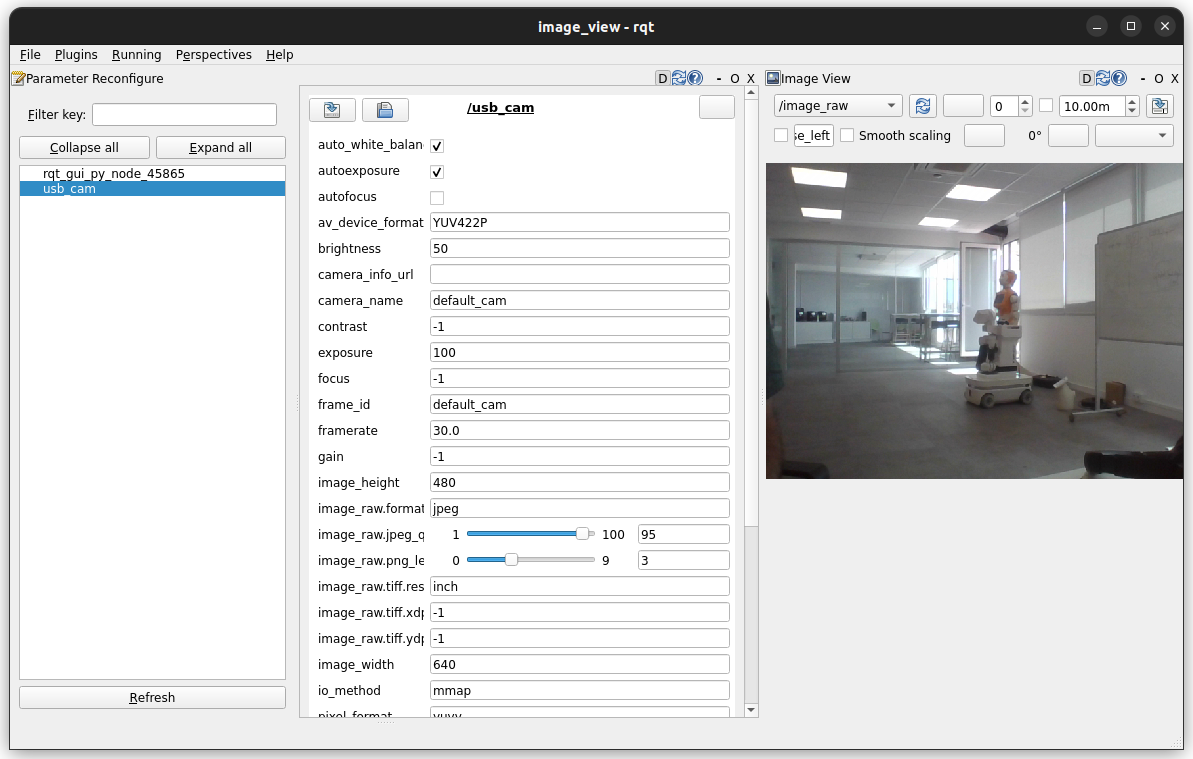
rqt_reconfigure#
The rqt_reconfigure plugin provides a GUI for dynamically reconfiguring ROS
parameters.
Once the tool is open, you can see and modify the different parameters of the robot.
More information about rqt_reconfigure can be found here.
rqt_joint_trajectory_controller#
Using rqt_joint_trajectory_controller you can send motion instruction to the
various controller of the robot.
Once the tool is open, you can choose the controller manager ns to be
/controller_manager. Then, choose one of the controller corresponding to
your need between the head, torso, hand and gripper. After this step sliders
corresponding to the different joints should appear.
If you want to start sending instructions to the robot then toggle the red button. When the button turns green, it starts sending messages to the robot and you can adjust the differents joint sliders.
If you want to stop sending instructions, click on the green button.
Use example : End effectors control and motions
rqt_image_view#
The rqt_image_view plugin provides a GUI for viewing images published by ROS
topics.
More information about rqt_image_view can be found here.
rqt_tf_tree#
The rqt_tf_tree plugin provides a GUI for visualizing the ROS TF frame tree.
Once the tool is open, you can see the tree of the different frames of the
robot.
More information about rqt_tf_tree can be found here.
rqt_graph#
The rqt_graph plugin provides a GUI for visualizing the ROS computation
graph.
Once the tool is open, you can see the different nodes and topics of the robot.
More information about rqt_graph can be found here.
How to run a plugin#
You can launch the GUI either from the rqt general interface, or by running
the following :
ros2 run <plugin_name> <plugin_name> # i.e. ros2 run rqt_graph rqt_graph
See also#
For more information about RQT you can consult the ROS official documentation
General information about your robot’s hardware