Deploying ROS 2 packages on your robot#
🏁 Goal of this tutorial
By the end of this tutorial, you will know how to deploy ROS 2 packages on a PAL robot.
This tutorial contains a brief introduction to the deploy script that PAL
Robotics provides with the development environment.
The deploy tool can be used to:
install new software onto the robot;
modify the behaviour of existing software packages by installing a newer version and leaving the original installation untouched.
The deploy tool#
When your robot boots up, it always adds three sources of packages to its ROS 2
environment. One is the ROS 2 software distribution of PAL Robotics at
/opt/pal/alum/, the other is a fixed location at
/home/pal/deployed_ws, which is where the deploy tool installs to and then there is the official ROS 2
software distribution /opt/ros/humble/.
The /home/pal/deployed_ws location has higher precedence than the other locations, making it possible to
overlay previously installed packages.
Caution
There is no tool to remove individual packages from the deployed workspace
except to delete the /home/pal/deployed_ws folder altogether.
In that case, you will need to re-deploy all the packages you want to keep.
To maintain consistency with the ROS 2 release pipeline, the deploy tool uses
the install rules defined in the CMakeLists.txt of your package. Make sure that
everything you need on the robot is declared to be installed.
Usage#
usage: deploy [-h] [--user USER] [--yes] [--package PKG]
                      [--install_prefix INSTALL_PREFIX]
                      [--cmake_args CMAKE_ARGS]
                      [--no-deploy-dependencies]
                      robot
Deploy built packages to a robot. The default behavior is to deploy *all*
packages from any found workspace. Use --package to only deploy a single package.
positional arguments:
    robot        hostname to deploy to (e.g. tiago-0c)
optional arguments:
    -h, --help            show this help message and exit
    --user USER, -u USER  username (default: pal)
    --yes, -y             don\'t ask for confirmation, do it
    --package PKG, -p PKG deploy a single package
    --install_prefix INSTALL_PREFIX, -i INSTALL_PREFIX
                        Directory to deploy files
    --cmake-args CMAKE_ARGS, -c CMAKE_ARGS
                        Extra cmake args like --cmake-args="-DCMAKE_CXX_FLAGS='-DNDEBUG'"
    --no-deploy-dependencies, -d
                        When used with --package, don't deploy the dependencies, they need to be compiled elsewhere
e.g.: deploy robot-0c -u root -p pal_tts -c="-DCMAKE_CXX_FLAGS='-DNDEBUG'"
Note
The build type by default is not defined, meaning that the compiler will use the default C++ flags. This is
likely to include -O2 optimization and -g debug information, meaning that, in this mode, executables and
libraries will go through optimization during compilation and will therefore have no debugging symbols.
This behaviour can be changed by manually specifying a different option such as:
--cmake_args="-DCMAKE_CXX_FLAGS='-DNDEBUG".
Caution
If an existing library is overlayed, executables and other libraries which depend on this library may break. This is caused by ABI/API incompatibility between the original and the overlaying library versions. To avoid this, is it recommended to simultaneously deploy the packages that depend on the changed library.
Deploy tips#
You can use an alias ( you may want to add it to your
.bashrc) to ease the deploy process:
alias deploy="ros2 run pal_deploy deploy"
You can omit the
--user palas it is the default argumentYou may deploy a single specific package instead of the entire workspace:
deploy -p hello_world robot-0c
You can deploy multiple specific packages instead of the entire workspace:
deploy -p "hello_world other_local_package more_packages" robot-0c
Before deploying you may want to do a backup of your previous
~/deployed_wson the robot to be able to return to your previous state, if required.
Deploying code to the robot from the Developer Docker image#
First, follow the same steps as described in Tutorial: Build and run a new ROS package, and make sure your Developer Docker image is installed and available.
Run the PAL OS Docker image, mounting the newly created workspace, as explained in the Tutorial: Build and run a new ROS package section. Make sure to map the workspace properly.
./pal_docker.sh -it -v ~/docker_mounts/alum:/home/user/ -v /home/user/example_ws:/home/user/example_ws/ PATH_TO_YOUR_DOCKER_IMAGE bash
In the docker, load the ROS 2 environment (you may add the following instruction
to the ~.bashrc)
source /opt/pal/alum/setup.bash
Deploy the package to the robot:
cd ~/example_ws
ros2 run pal_deploy deploy.py --user pal robot-0c
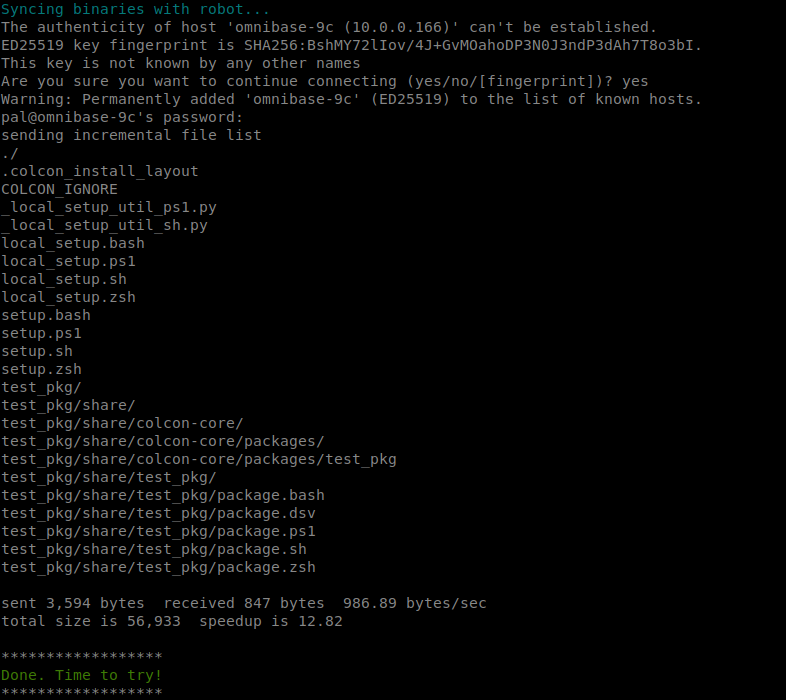
The deploy tool will build the entire workspace in a separate path and, if successful, it will request confirmation in order to install the package on the robot, as shown in the figure below.
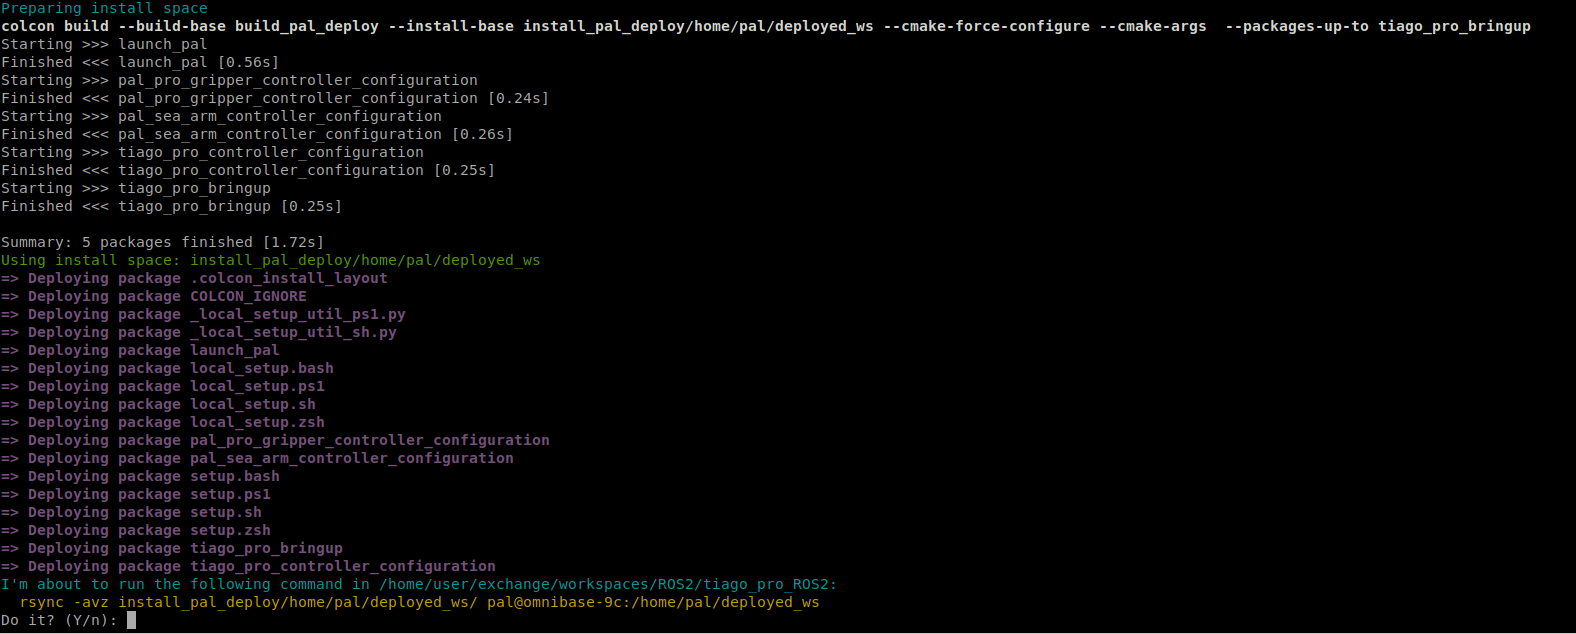
Press Y so that the package files are installed on the robot computer.
Then connect to the robot:
ssh pal@robot-0c
Or in a workspace in your docker image.
Run the new node as follow. For C++:
ros2 run hello_world hello_world_node
For Python:
ros2 run hello_world hello_world.py
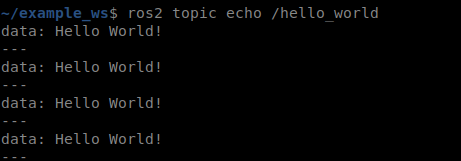
If everything goes well you should see Hello world printed on the screen. From
the docker check the message is correctly published:
ros2 topic echo /hello