TIAGo Pro
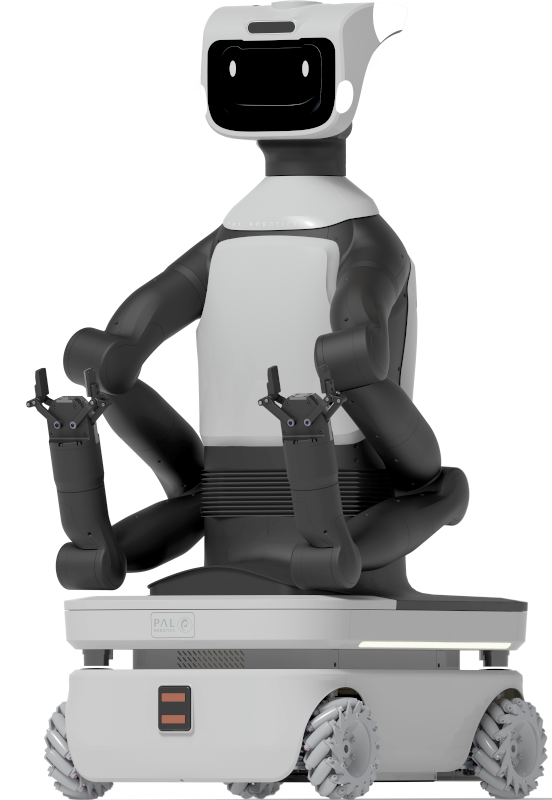
Welcome to the TIAGo Pro documentation!
This page should give you a good starting point to explore topics related to your robot.
Discover TIAGo Pro
Important
TIAGo Pro, like all PAL Robotics robots, is based on ROS 2. ROS 2 requires some proficiency in Python or C++ programming.
If you are new to ROS 2, we should first explore the ROS 2 official documentation. In particular, we recommend you to go over the few first ROS tutorials.
Getting started with your robot
You’ve just acquired a TIAGo Pro robot? 🤩 Welcome to the PAL family! We are eager to see what you’ll do with it!
Download your tools
After the purchase of your robot, we send you a download link with important files:
The ISO disk image, specific to your robot.
This image contains the operating system of the robot. You can use it to create a bootable USB stick and reinstall the robot in its factory state if you need to in the future.
<your user id>-build-docker.sh: run this script to automatically build a Docker image that mirror the ISO of the robot. It contains all the dependencies and tools you need to develop for your robot. It also contains the ROS 2 Humble distribution, which is the version of ROS 2 used in the robot.Using the Docker image is the recommended way to develop for your robot. More about this below.
a keys folder that contains credentials to access our servers. They are already configured in the docker script, so you don’t need to worry about them for now.
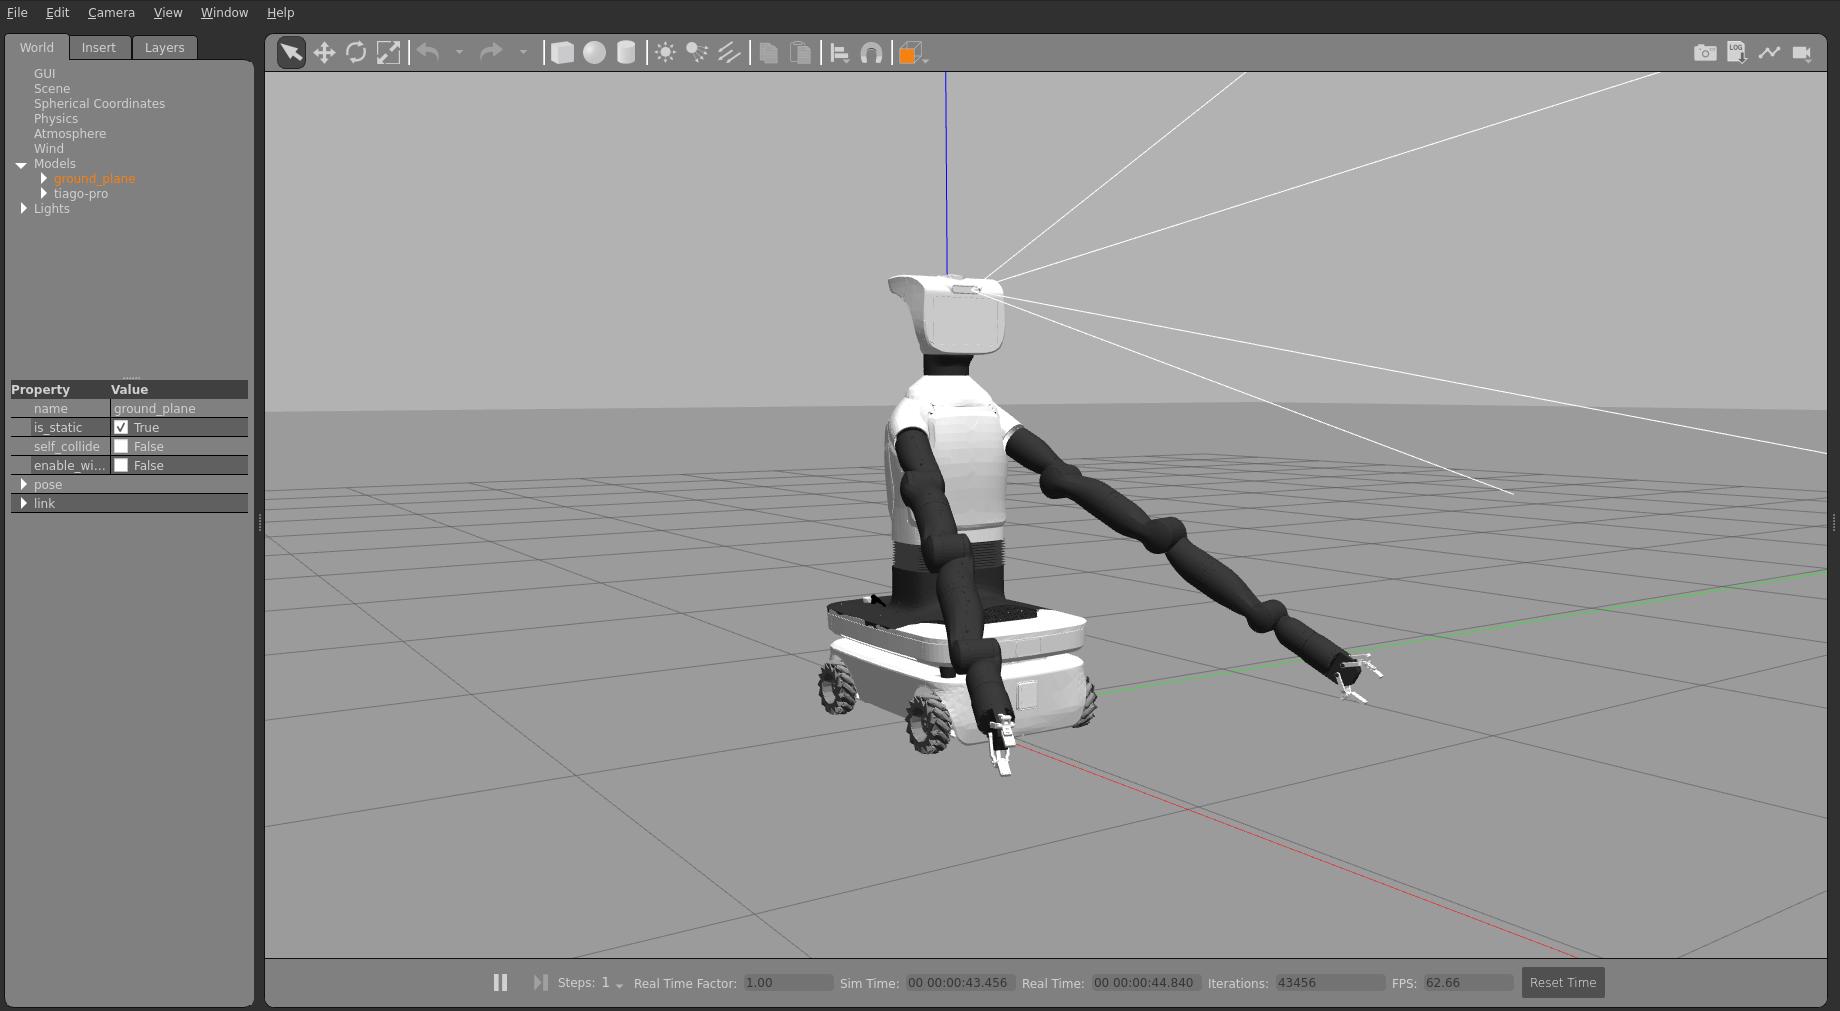
Get started in simulation
While you are waiting for the delivery of your robot, you can already get started with our complete simulation stack.
Important
PAL developer tools are only officially supported on the Linux operating system. We test them primarily on Ubuntu 22.04 and Ubuntu 24.04.
In particular, running graphical applications like Gazebo or rviz, is not supported by PAL on Windows or MacOS.
Important
We strongly recommend you to run the PAL simulator with NVidia GPU acceleration. Please refer to the official NVidia Container Toolkit documentation to install GPU accceleration support for Docker containers.
Build your developer Docker image and start the container: Developing with the PAL Developer Docker image
First steps with the real robot
You have received your robot? Great! Here are the first steps to get started with it.
Once you have read the safety regulations, time to switch on your robot (and charge it): TIAGo Pro power management and docking
Connect to the robot’s default access point (
tiago-pro-<id>, password:R0b0t1c@). For more advanced networking configuration, check Network Configuration Overview.Open your webbrowser, go to
https://tiago-pro-<id>cand explore the Web User InterfaceFrom the Web User Interface, access the Diagnostics panel and check of the robot’s functionalities are green ( note: The higher-level diagnostic may show an error, but the lower-level diagnostics will appear green or stale. This is a known bug that will be fixed in a future release. The robot is fully functional despite this error). reported bug
You can also connect to the robot from the command-line via SSH: SSH Connection to the robot
Finally, move around your robot: Control the robot with the gamepad
Configure your environment to develop with your robot
Warning
ROS 2, the communication middleware of our robots, requires careful configuration for good networking performance.
Please follow the instructions below step-by-step to configure your environment properly.
Check that you can see the robot’s topics from your Docker container:
ros2 topic listshould list all the robot’s topics (note that you might have to wait up to a minute for the initial node discovery to complete)ros2 topic echo /power/battery_levelshould output the current battery level of the robot.
If you see an empty list, please check the ROS 2 troubleshooting section.
Check you can access the camera of the robot:
launch
ros2 run rqt_image_view rqt_image_viewfrom the top drop-down menu, choose
/head_front_camera/color/image_raw(press the Refresh icon if the topic does not appear)
Check the page Accessing your robot’s sensors to further explore the sensors of your robot.
You can now check tips and tricks to configure a comfortable developer environment: How-to: Set up your developer environment.
Ready to code your first application?
You can now start coding your first application!
Start with your first basic Hello World: Your robot’s “Hello world”
…and continue with
Hello Worldas a complete ROS 2 package that you can install on your robot: Build and run a new ROS package
Time to head to the Tutorials section to continue your journey.
Learn more about the skills of your robot
Useful reference
Note
Stuck with your robot? Check the Troubleshooting issues on your robot section for common issues or get in touch with us.
🛠 Robot management, including network configuration, system recovery, updating the robot