System recovery
This section explains the System and Software reinstall procedure for your robot.
Robot computer installation
To begin the installation process, plug a USB keyboard onto the robot service panel. On robots without screen, plug as well an external monitor into the HDMI connector (you can find it at the base of the robot).
Installation
The installation is performed using the Software Recovery USB stick provided with your robot.
Note
If you were provided with a ISO file .iso, follow these instructions to
flash the ISO to a USB stick: How to flash an ISO on your robot
Insert the USB stick in a free USB slot of the robot;
Turn on the robot and press F2 (or F11, depending on your robot model) repeatedly. Wait until the BIOS menu appears;
Enter the
Boot Menuby pressing F8 and select the Software USB drive;Select
Install <name of your robot>;Follow the rest of the instructions during the installation process;
After the installation is complete, choose the preferred language, then click Done;
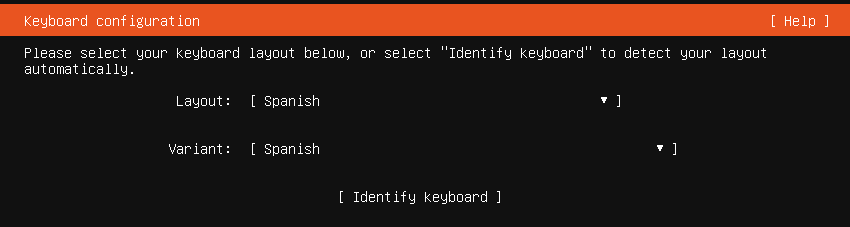
Keyboard preferences prompt
In case you visualize this prompt, make sure you have saved all your data; and then click Continue to begin the installation;
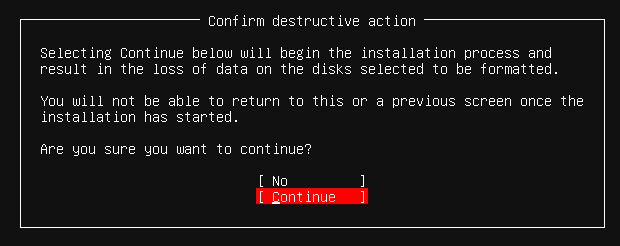
Destruction active partition prompt
The installation process will take around 30 minutes you can go get a coffee ^^
Finally Click Reboot to restart the robot;
When the reboot finished remove the USB stick and press Enter.
The robot will boot up and you will see the login screen;
Log in with the user
paland the passwordpal;You will be prompted to change the
ROS_DOMAIN_IDin /etc/ros_domain_id More information about theROS_DOMAIN_IDcan be found here.After the change do a final reboot.
Now you are ready to go! Check the first step section to learn how to start using your robot in ROS 2.