TIAGo Pro’s unboxing#
Caution
Before unboxing your robot, please review the safety and regulatory instructions here TIAGo Pro Safety and regulatory reference.
This section explains how to unbox TIAGo Pro safely.
Flightcase handling#
TIAGo Pro is shipped in a flightcase shown in figure:
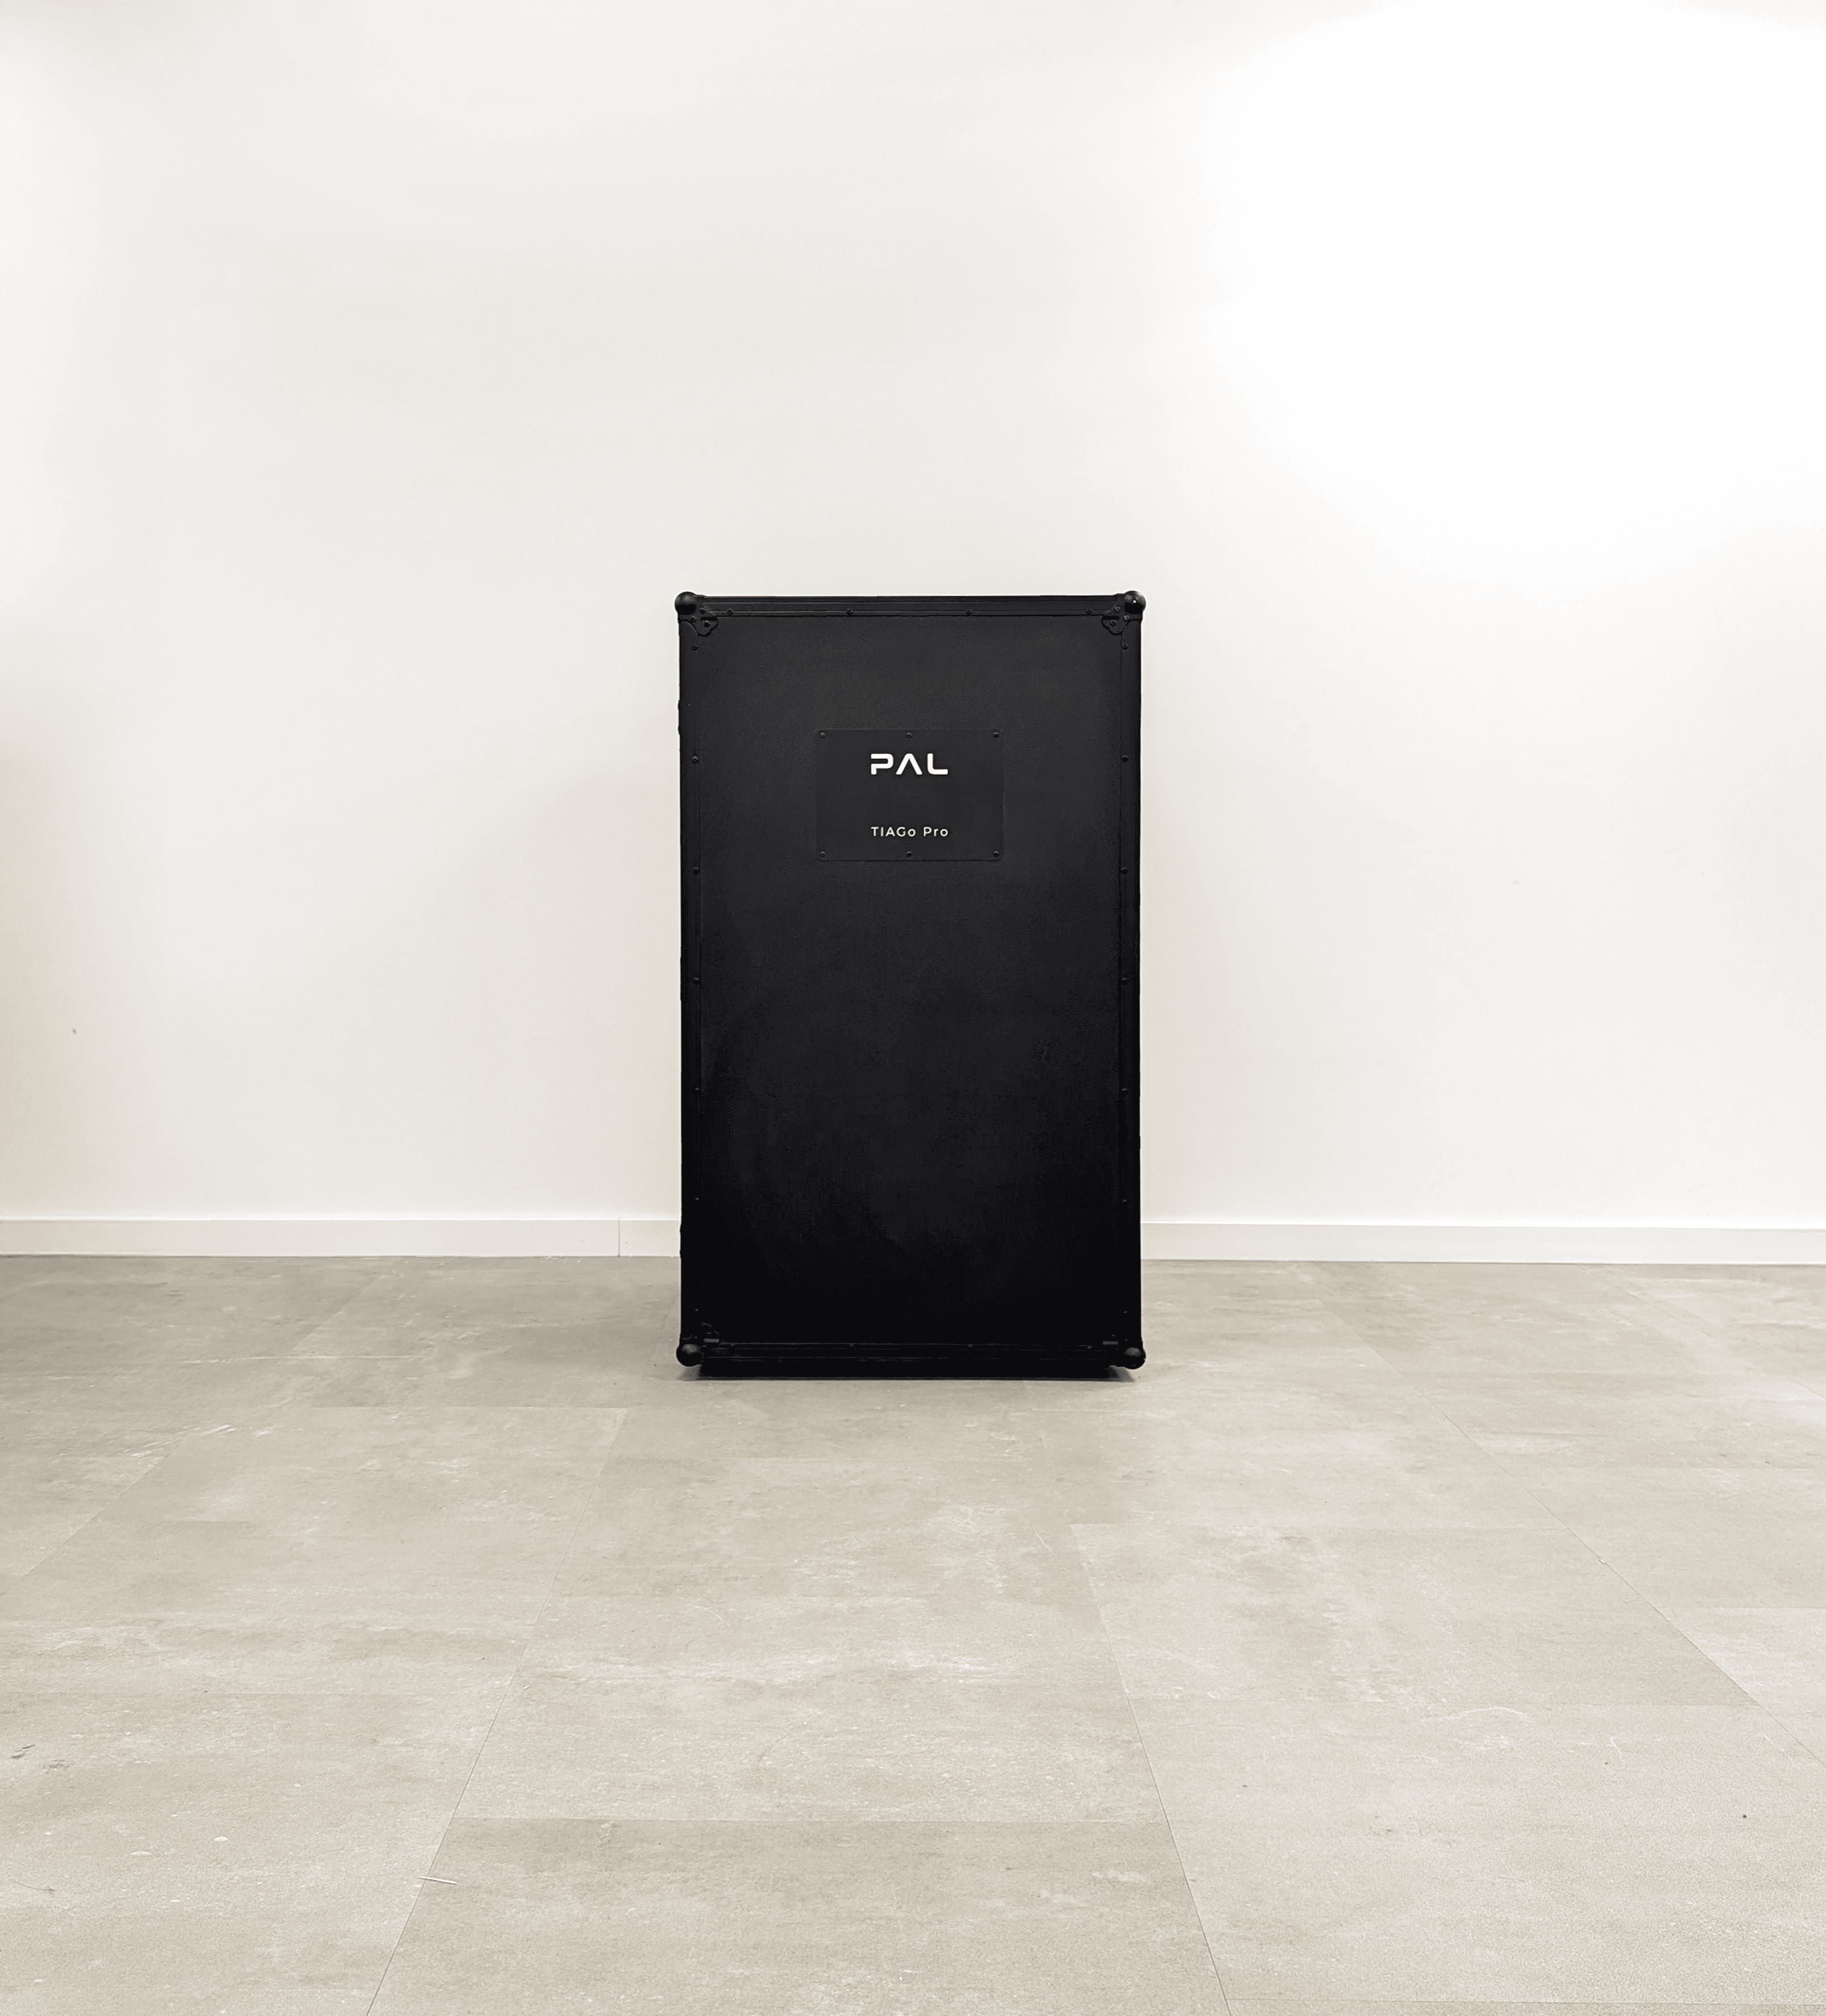
Figure: TIAGo Pro flightcase#
The flightcase MUST always be transported vertically to ensure the robot’s safety. In order to move the flightcase, pull the handle on the back. To place the flightcase in a given location, use one of your feet to help you carefully set the flightcase in an upright position.
Unboxing#
Open the door of the crate, as shown in Figure 1, and unfold and lower the ramp completely to prepare access for the robot. as illustrated in Figure 2.
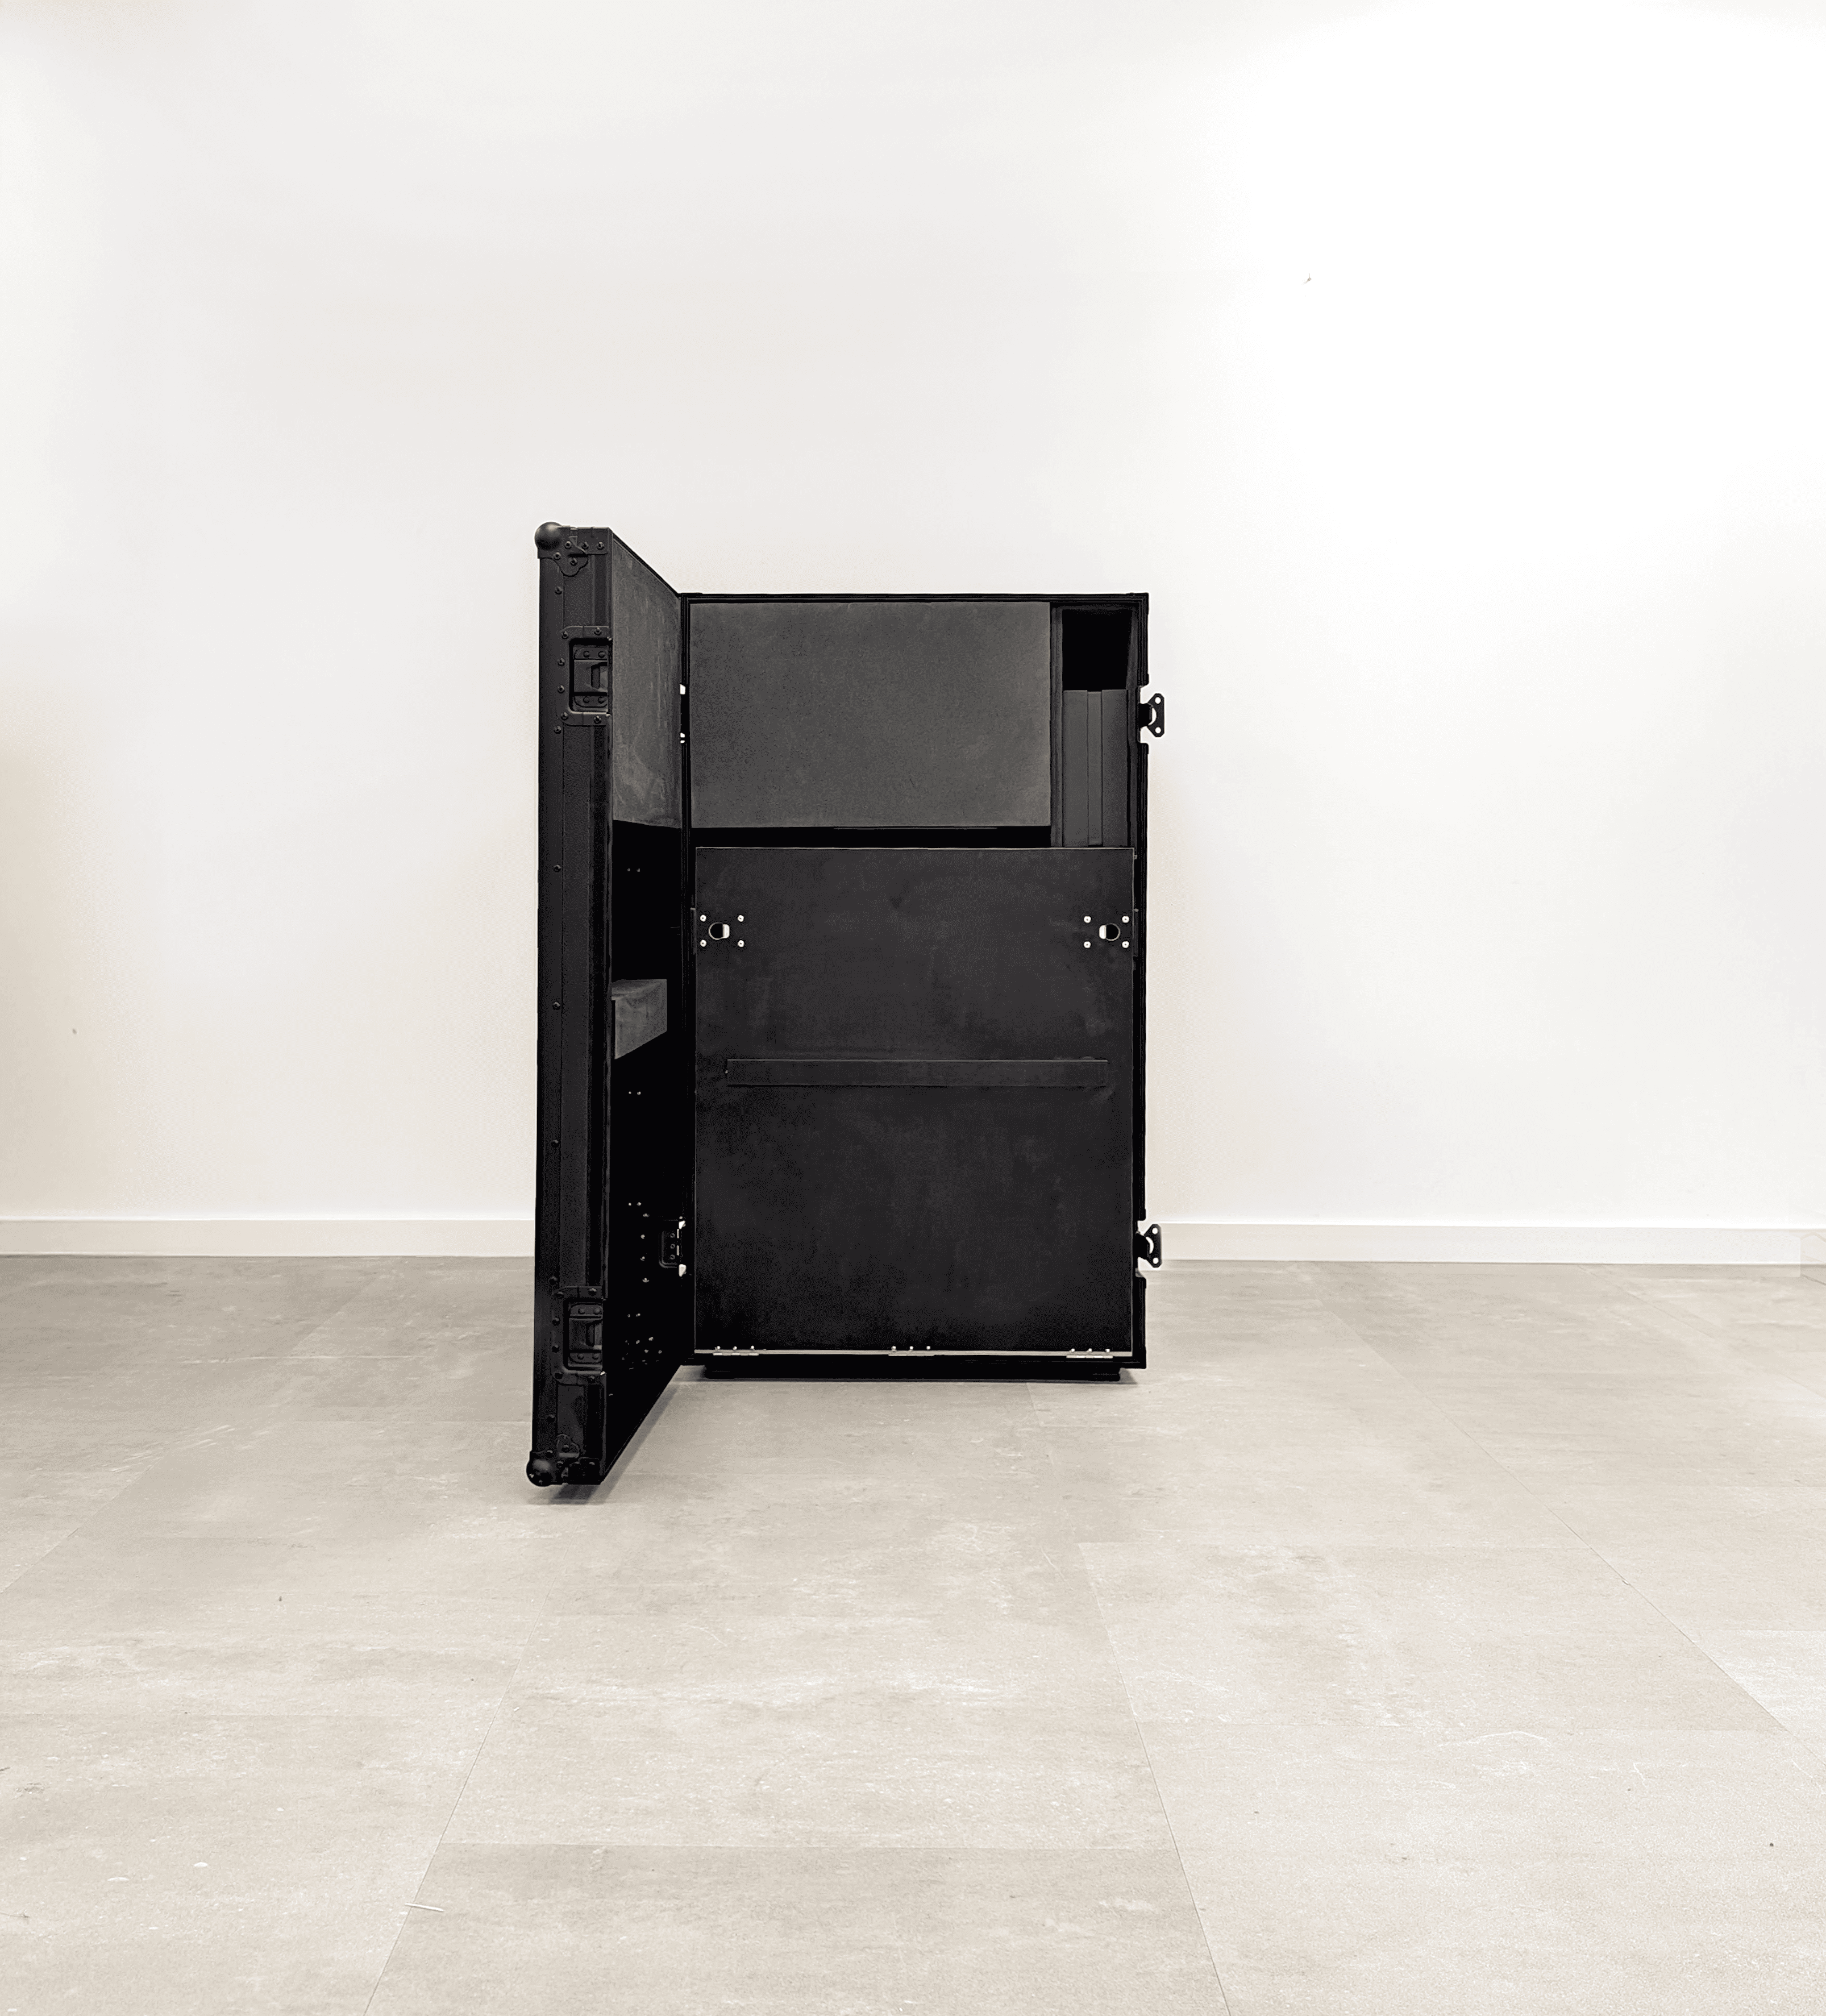
Figure 1: Door open#
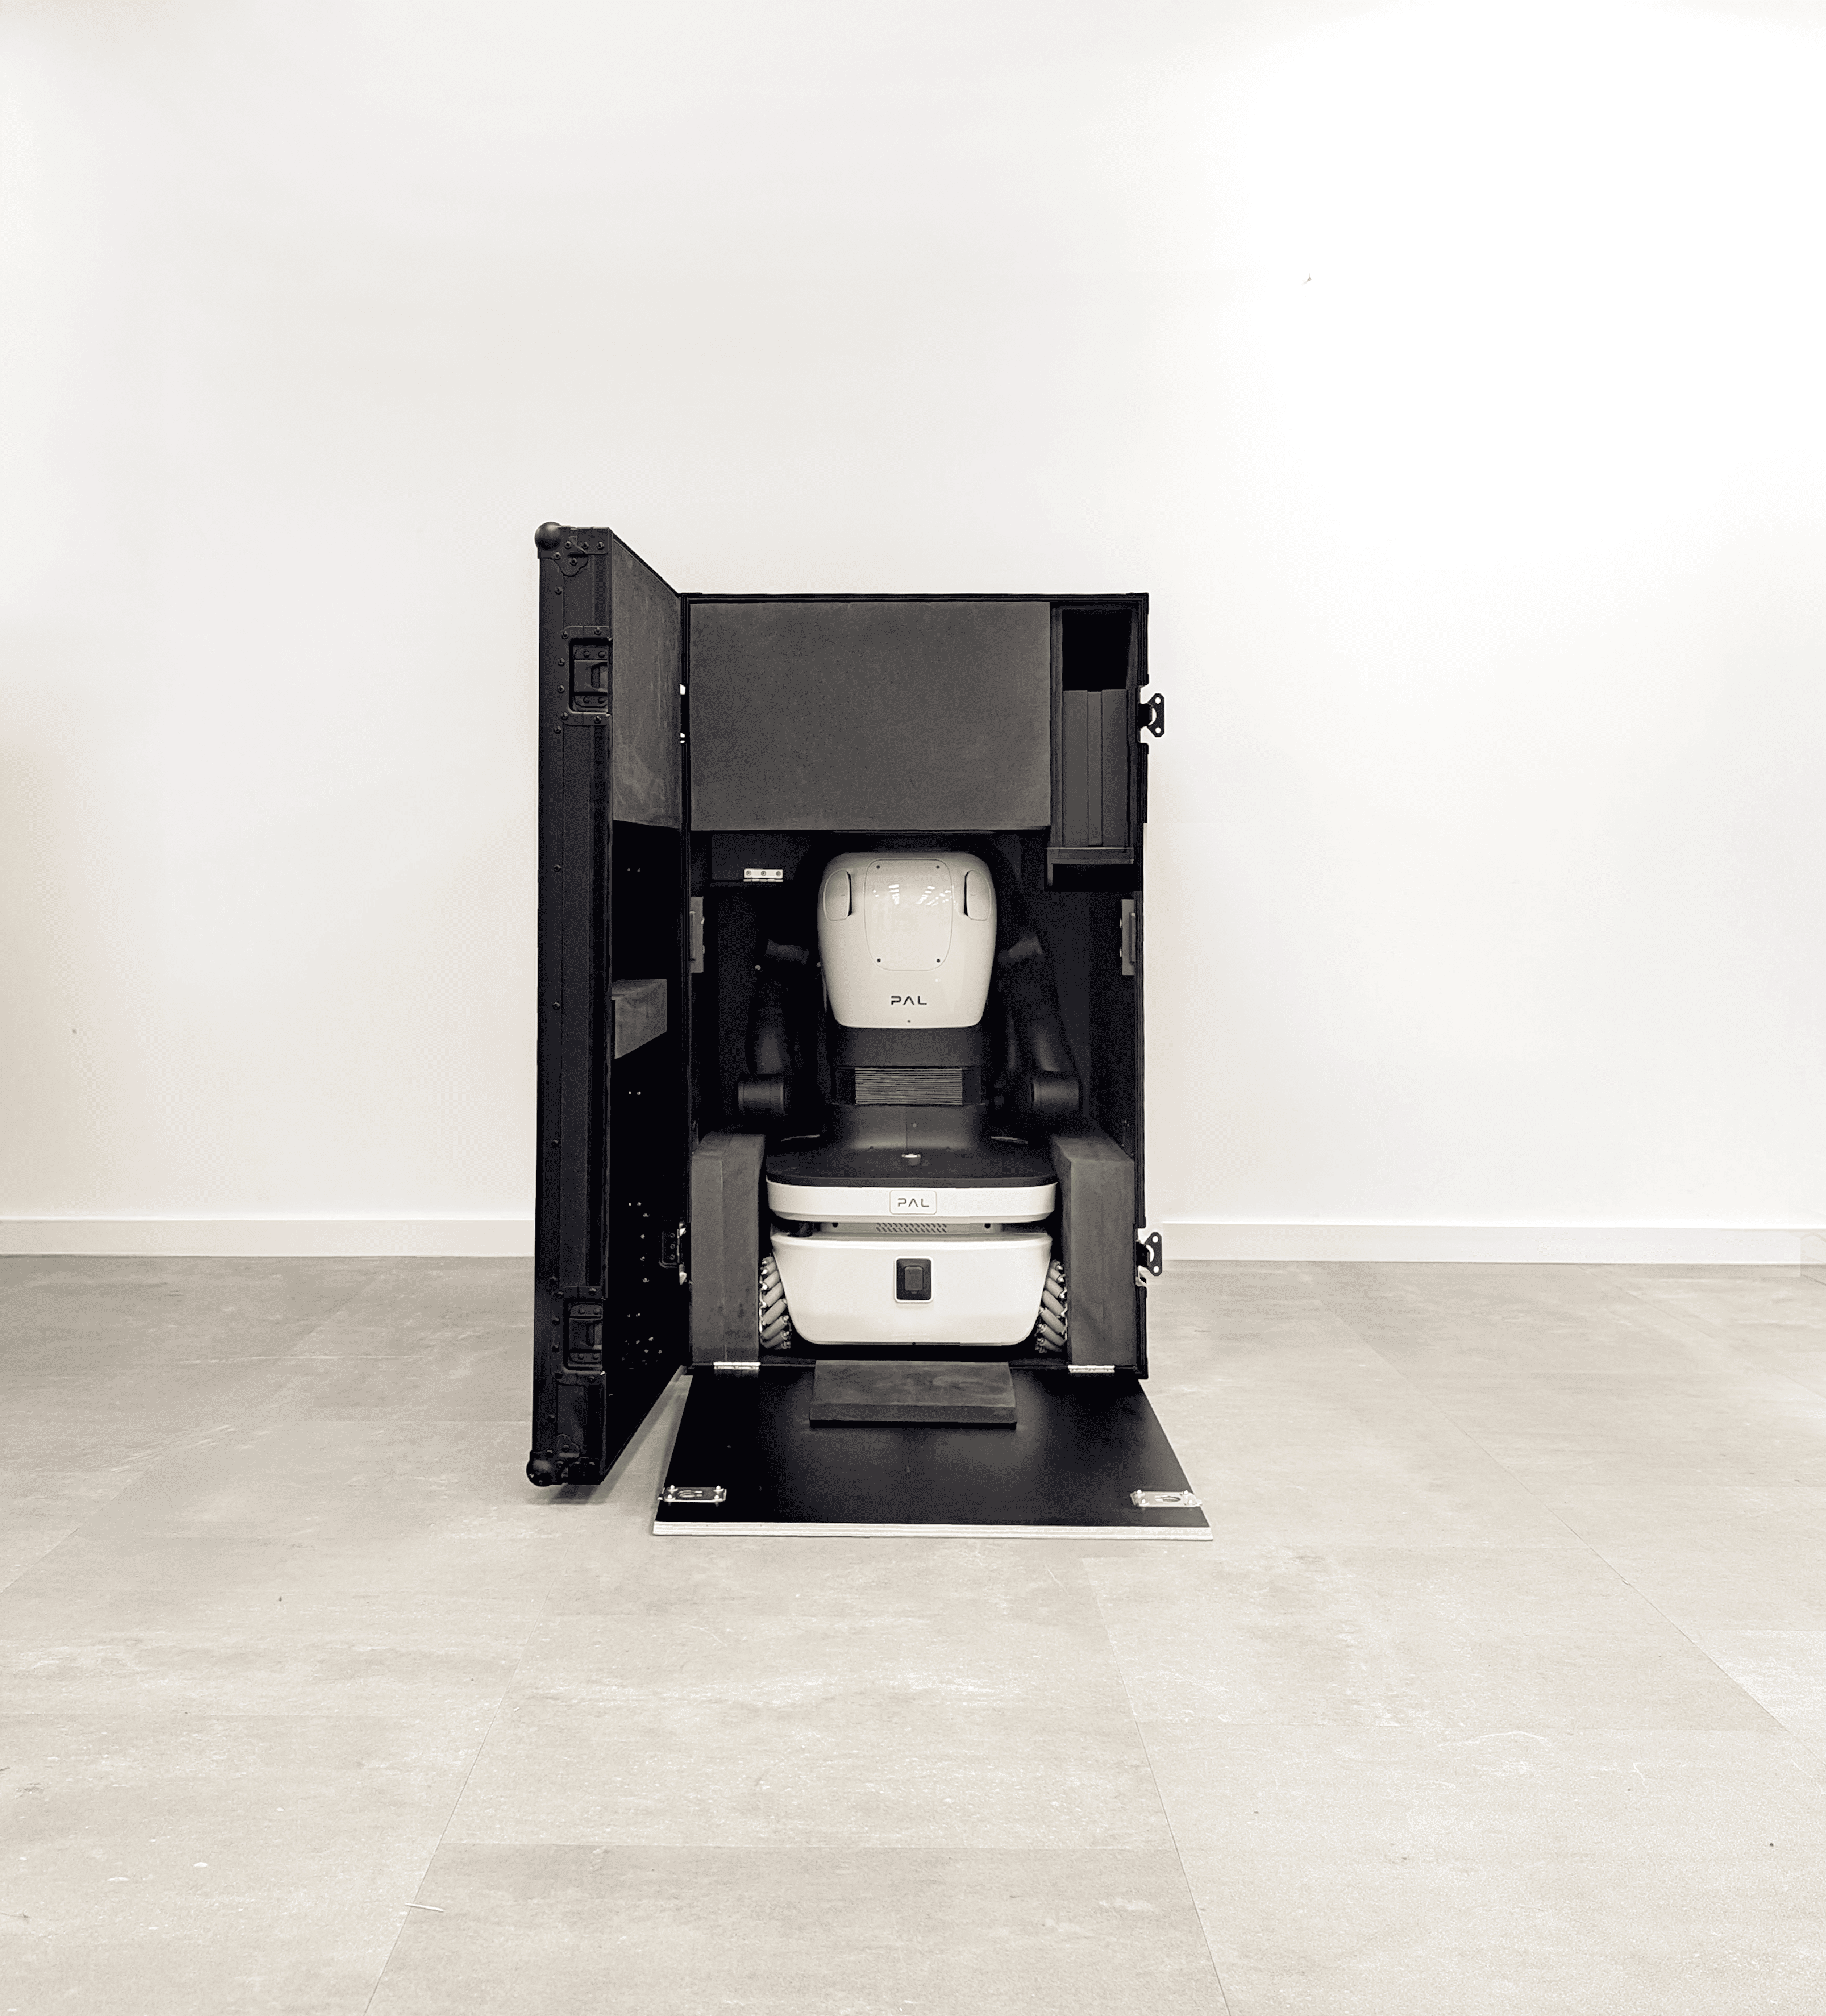
Figure 2: Unfolded ramp#
Remove the foam wedges around the head, as indicated in Figure 3.
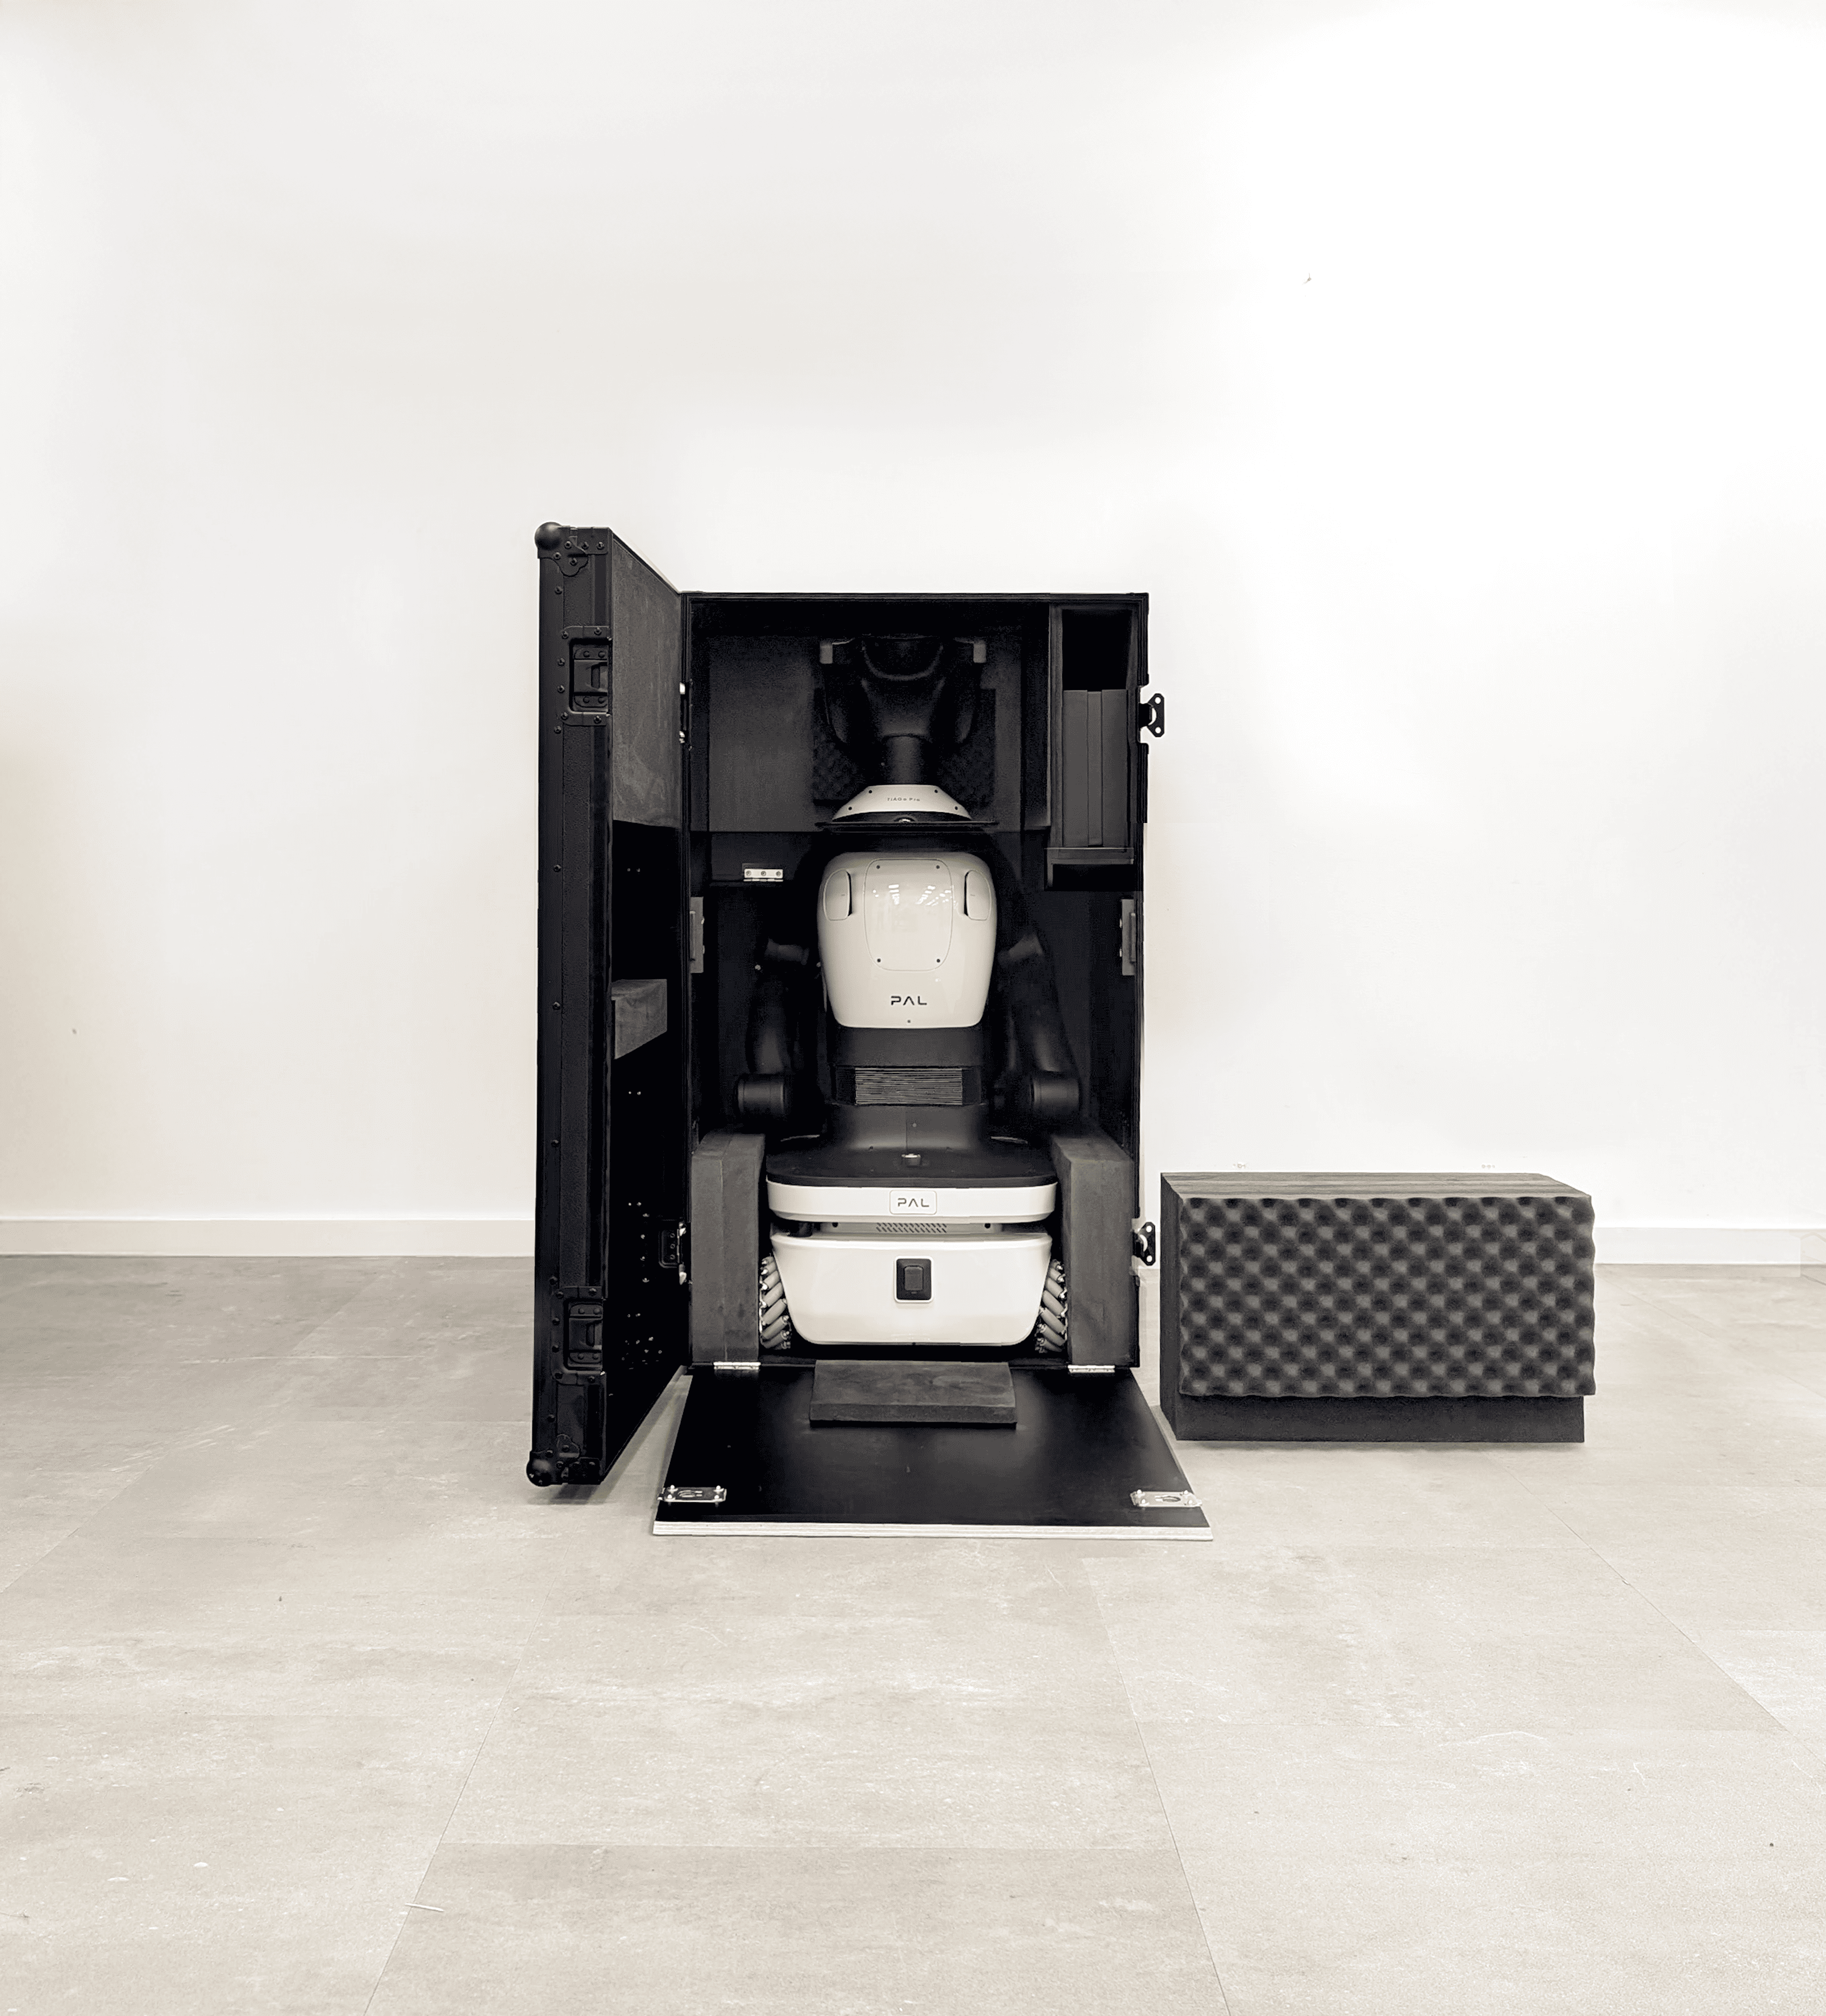
Figure 3: Foam removed#
Finally, remove the robot from the box by pulling the laptop tray (the upper part of its back). If necessary, from its shoulders, as shown in Figure 4 and Figure 5. Do not pull on any part of the mobile base cover, as this could cause damage to both you and the robot.

Figure 4: Robot out of the box#
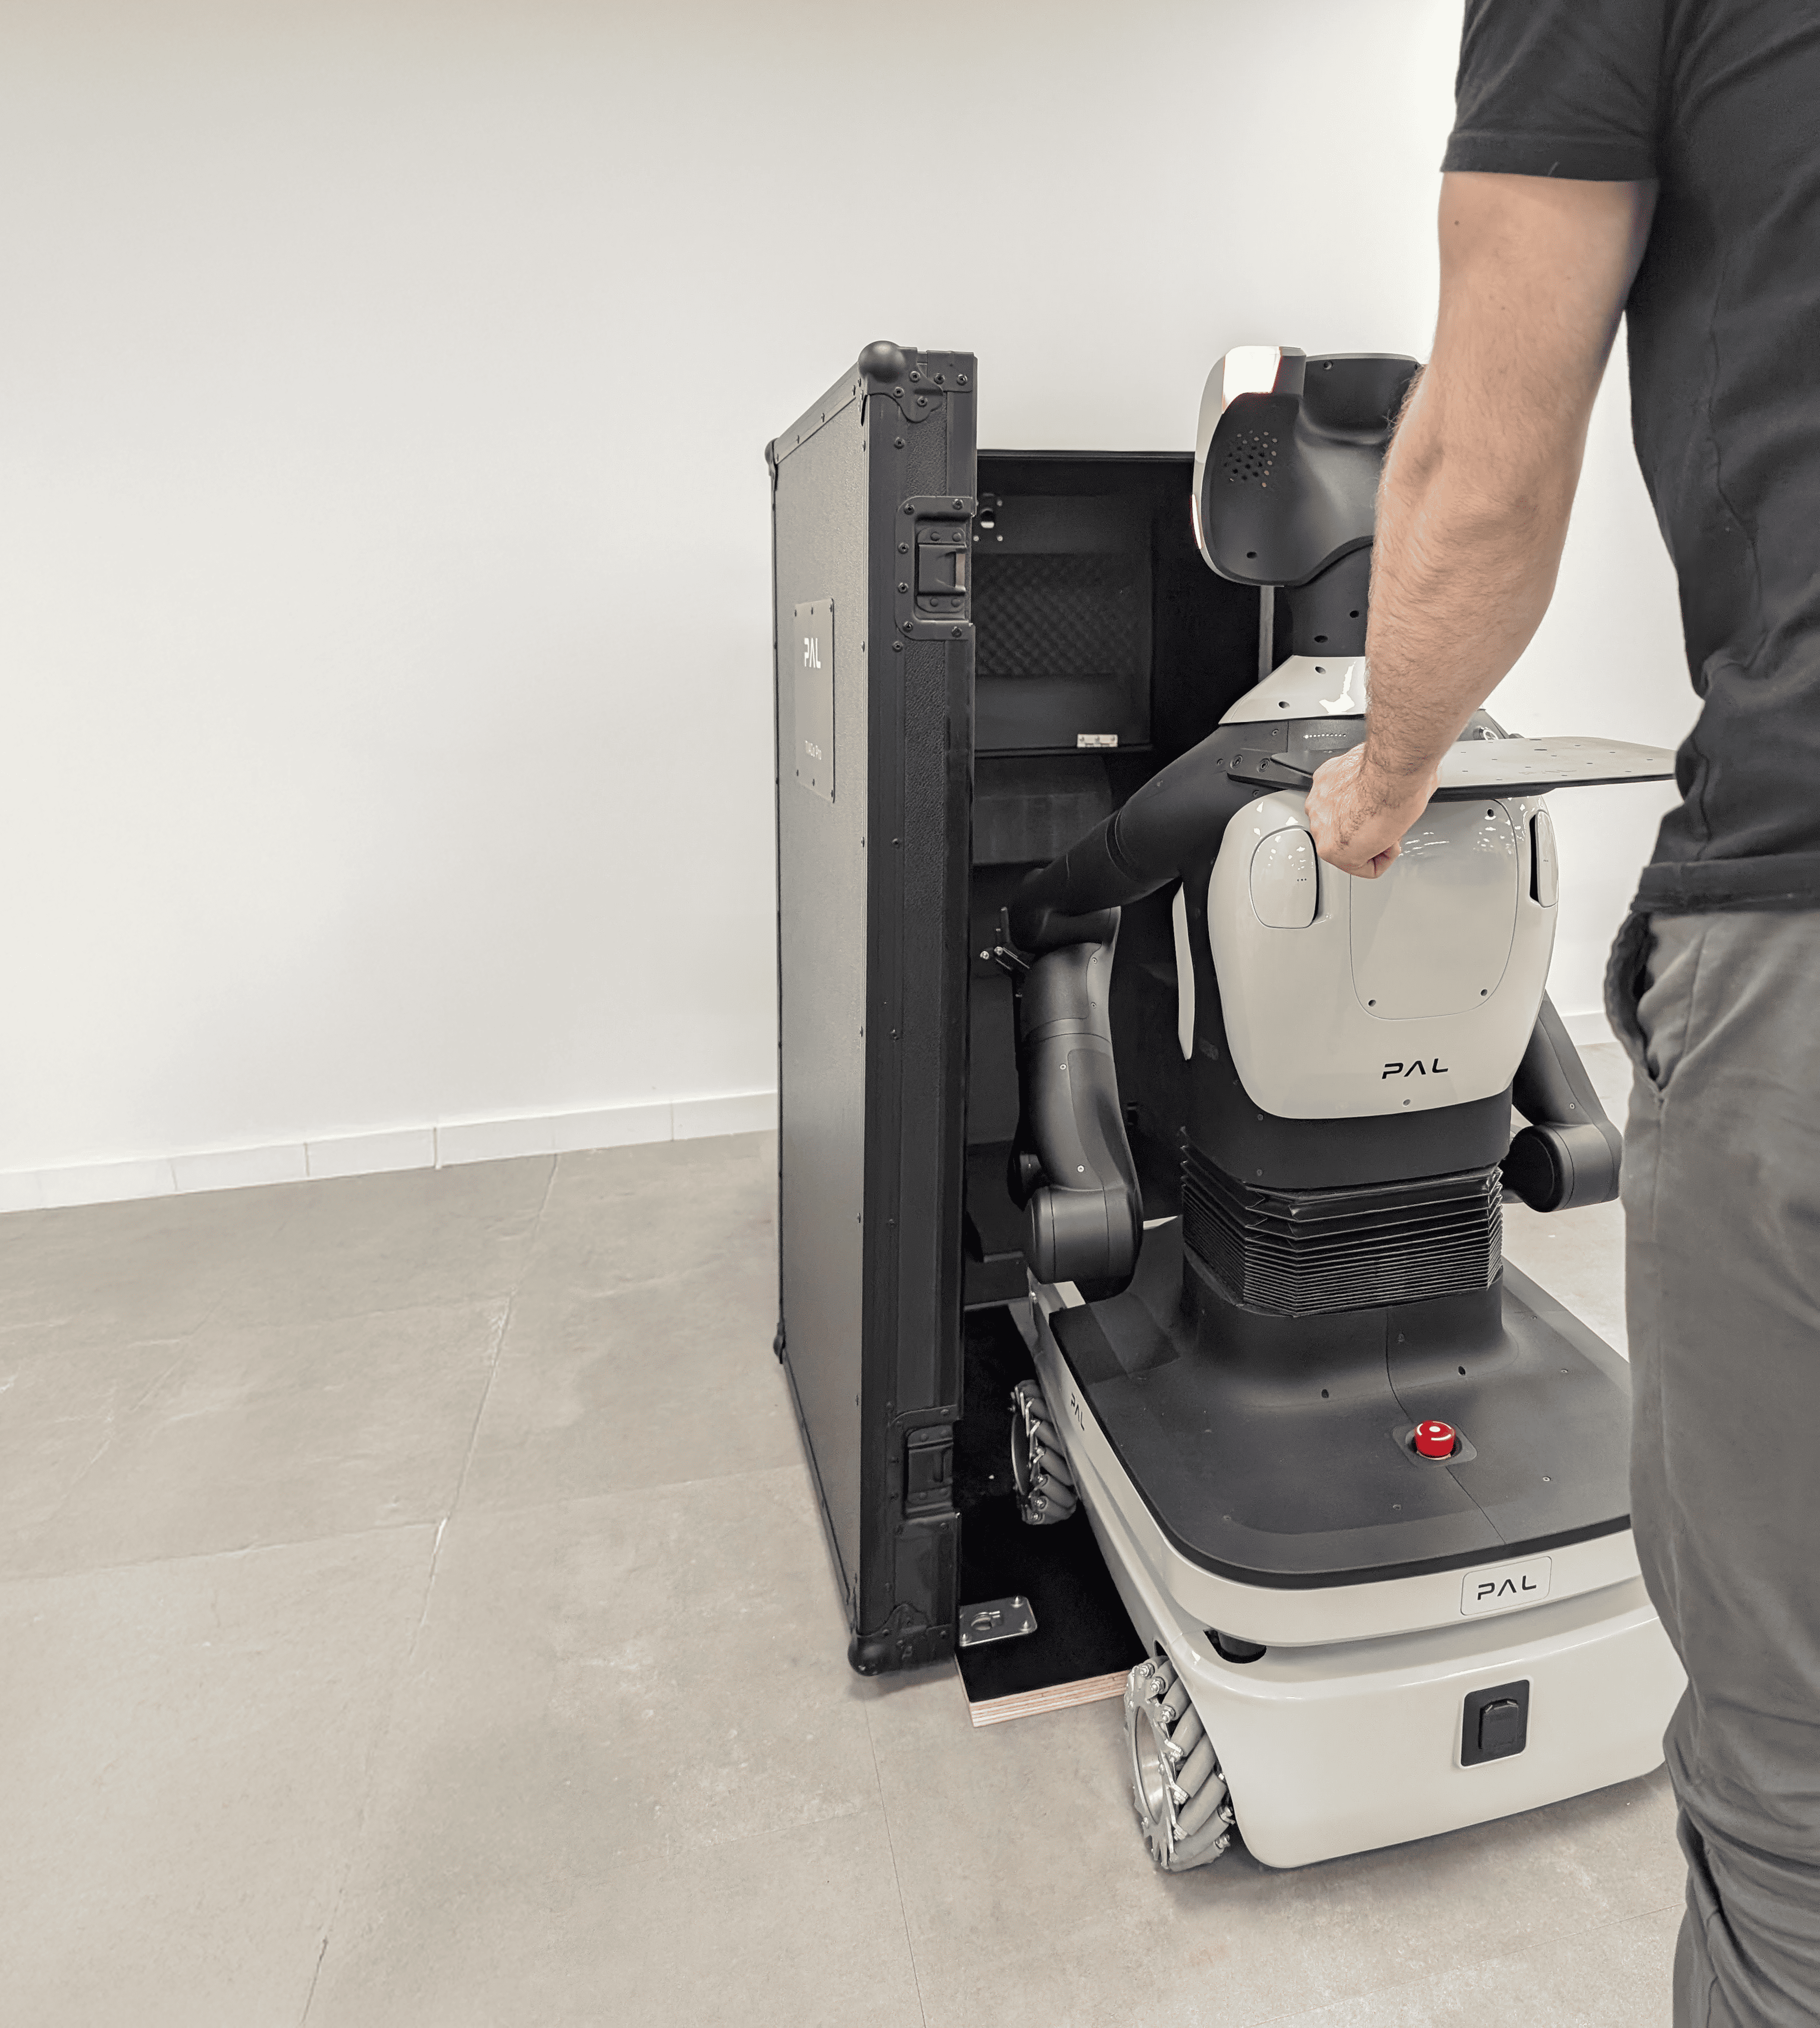
Figure 5: How to move the robot#
Accessories and Dock station#
Once the robot is removed from the box, locate the accessories box in the side compartment of the box, as shown in Figure 6.
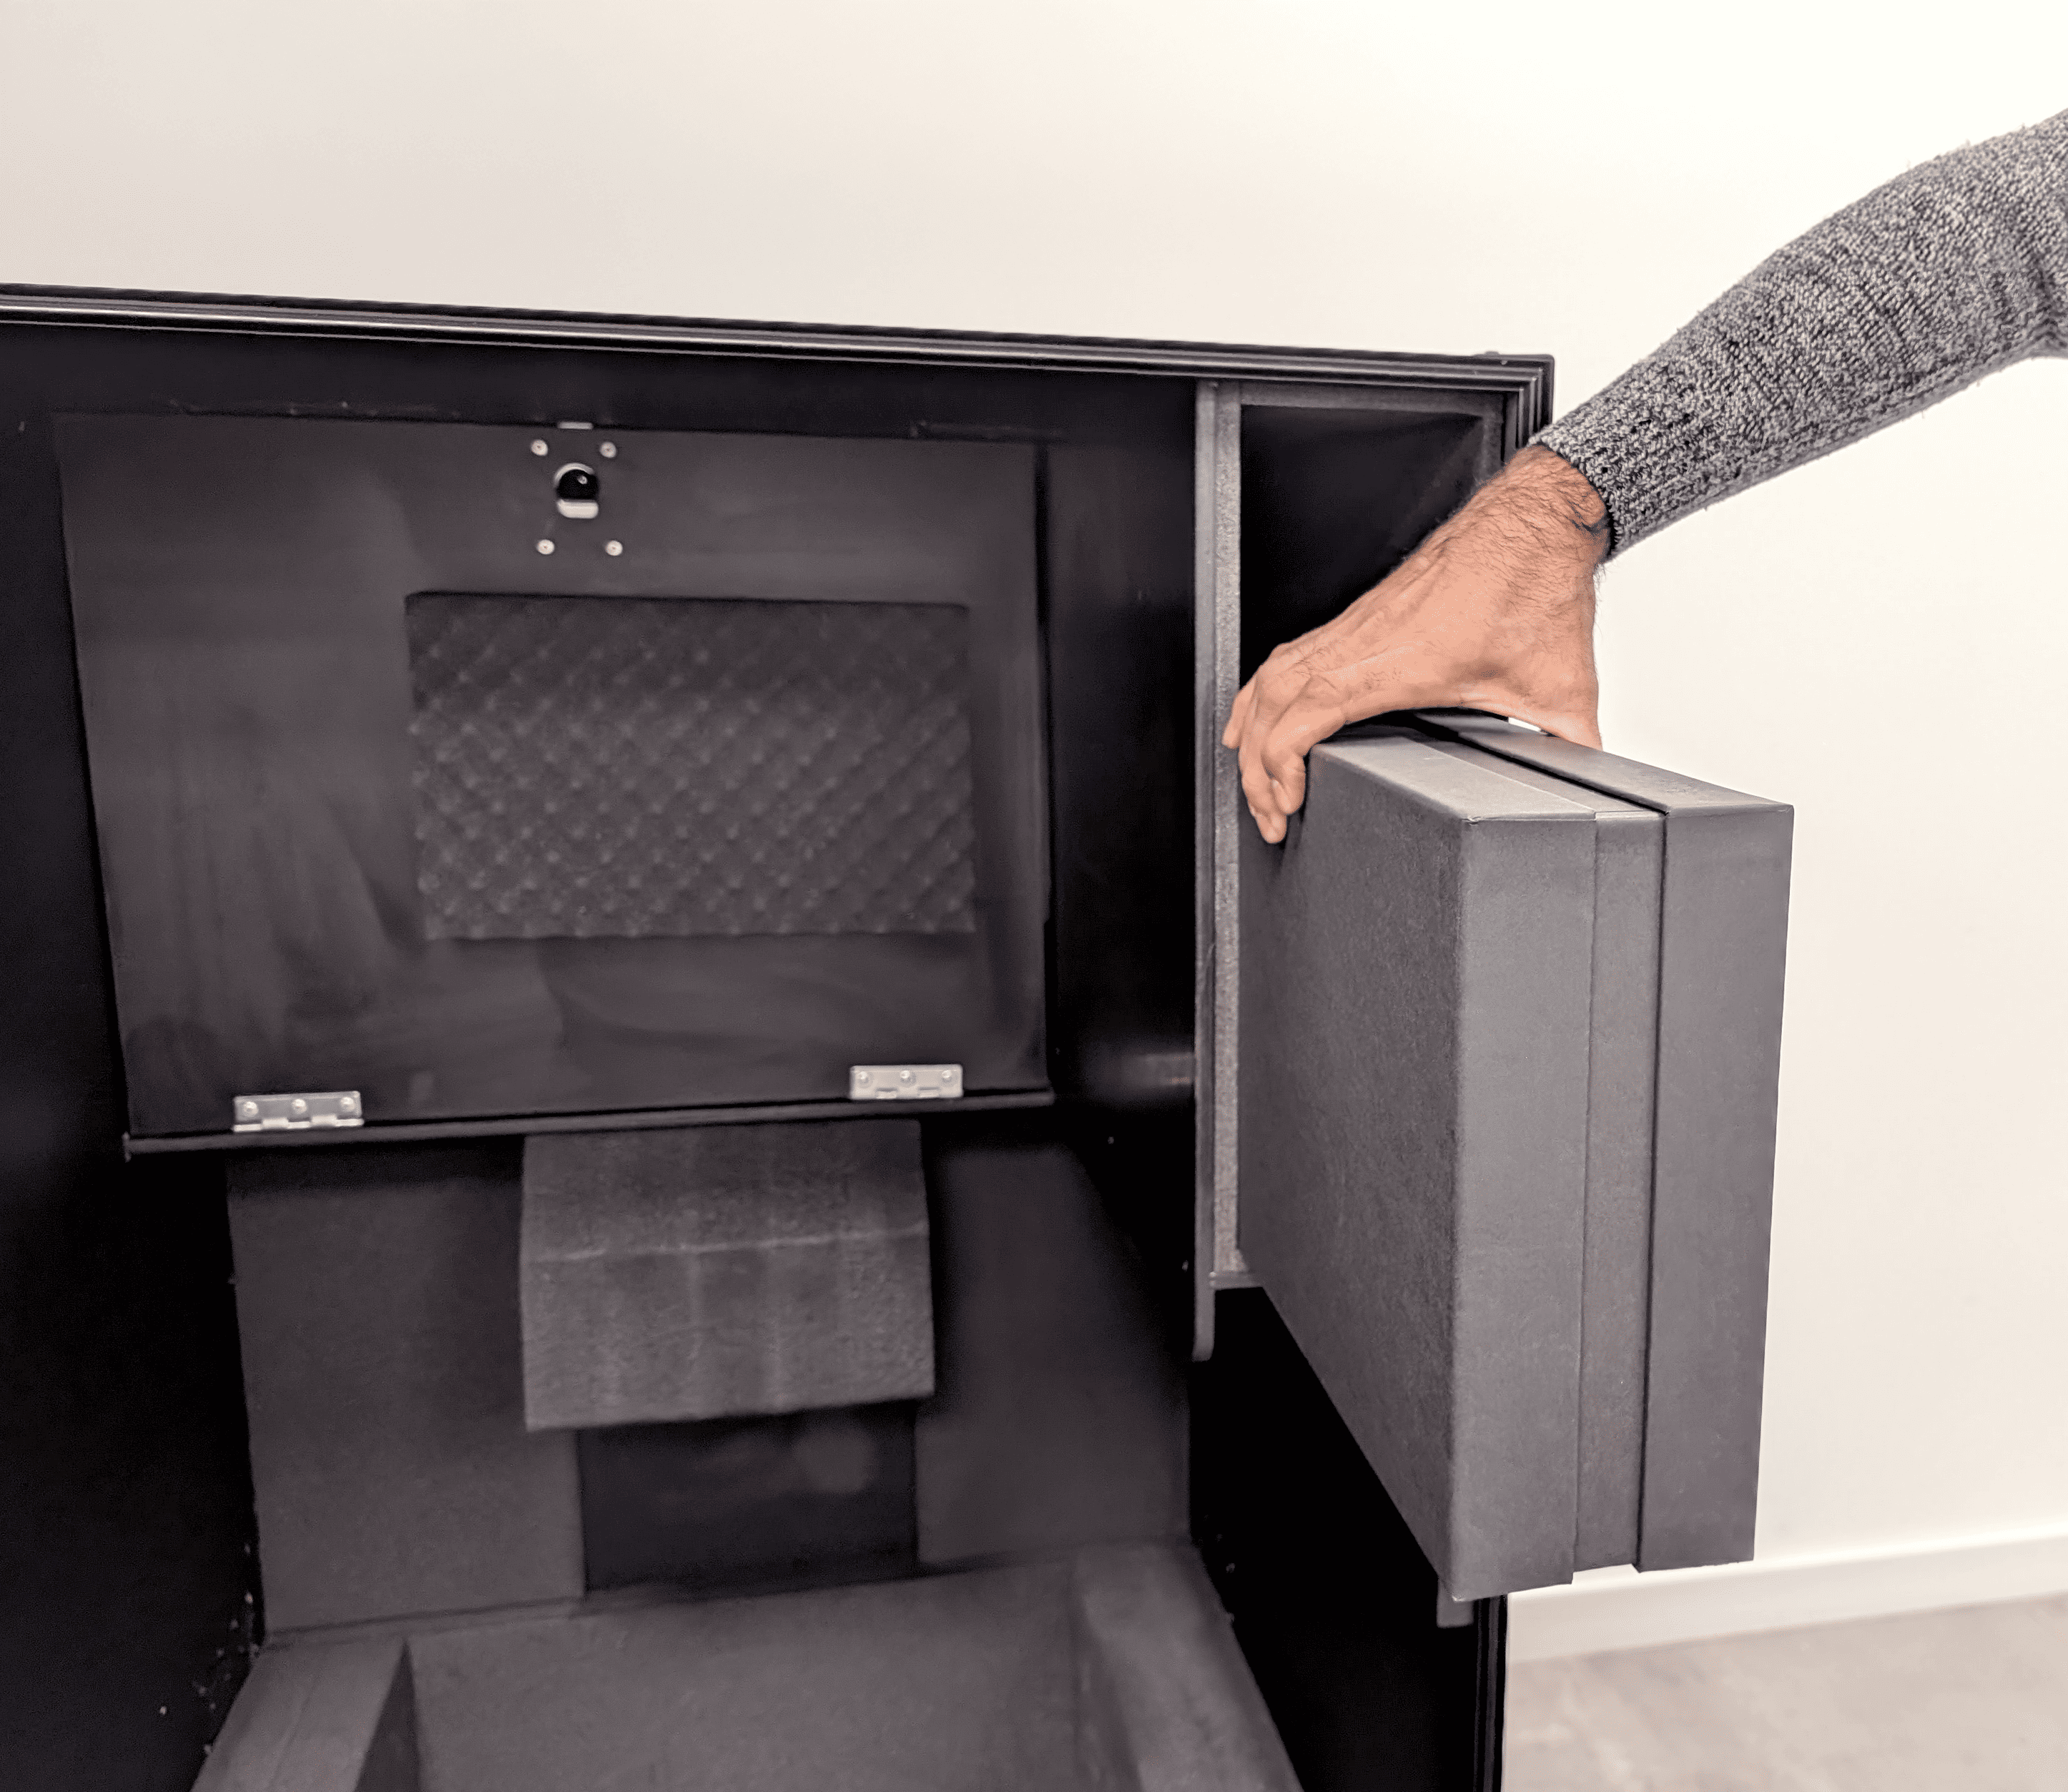
Figure 6: Accessories located#
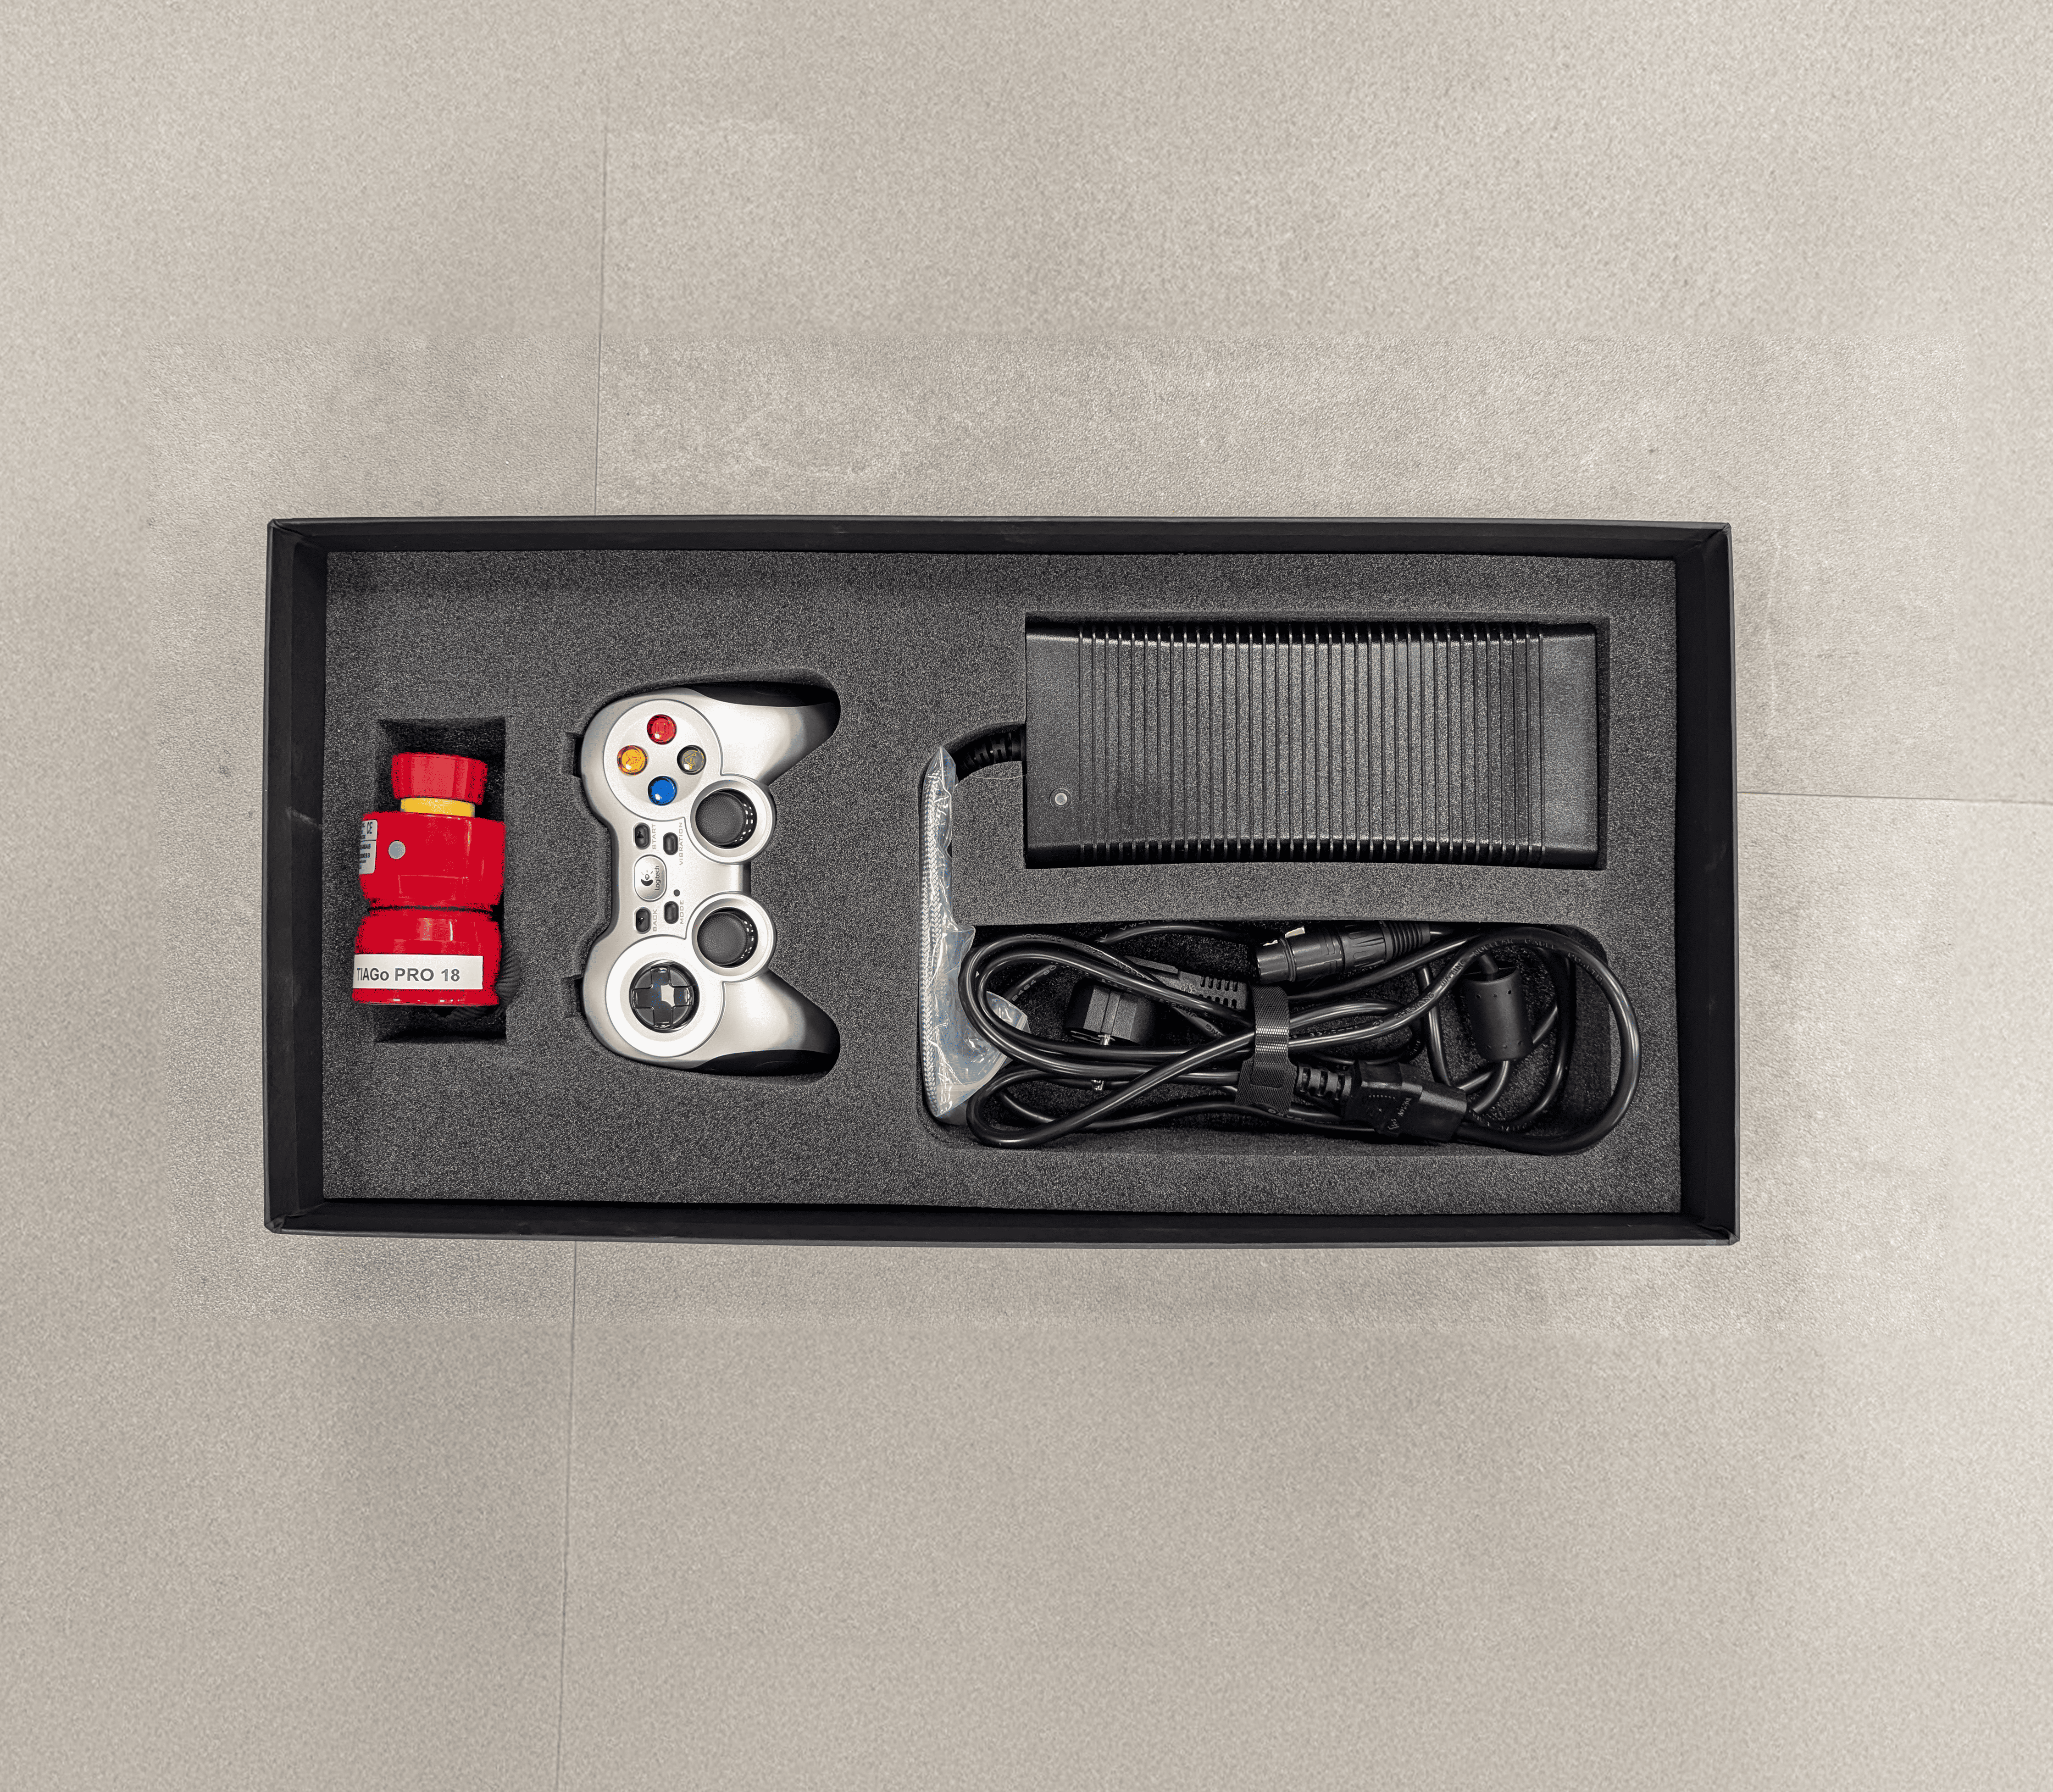
Figure Accessories box#
Finally, open the interior door of the box, there you have the docking station, as shown in Figure 6.
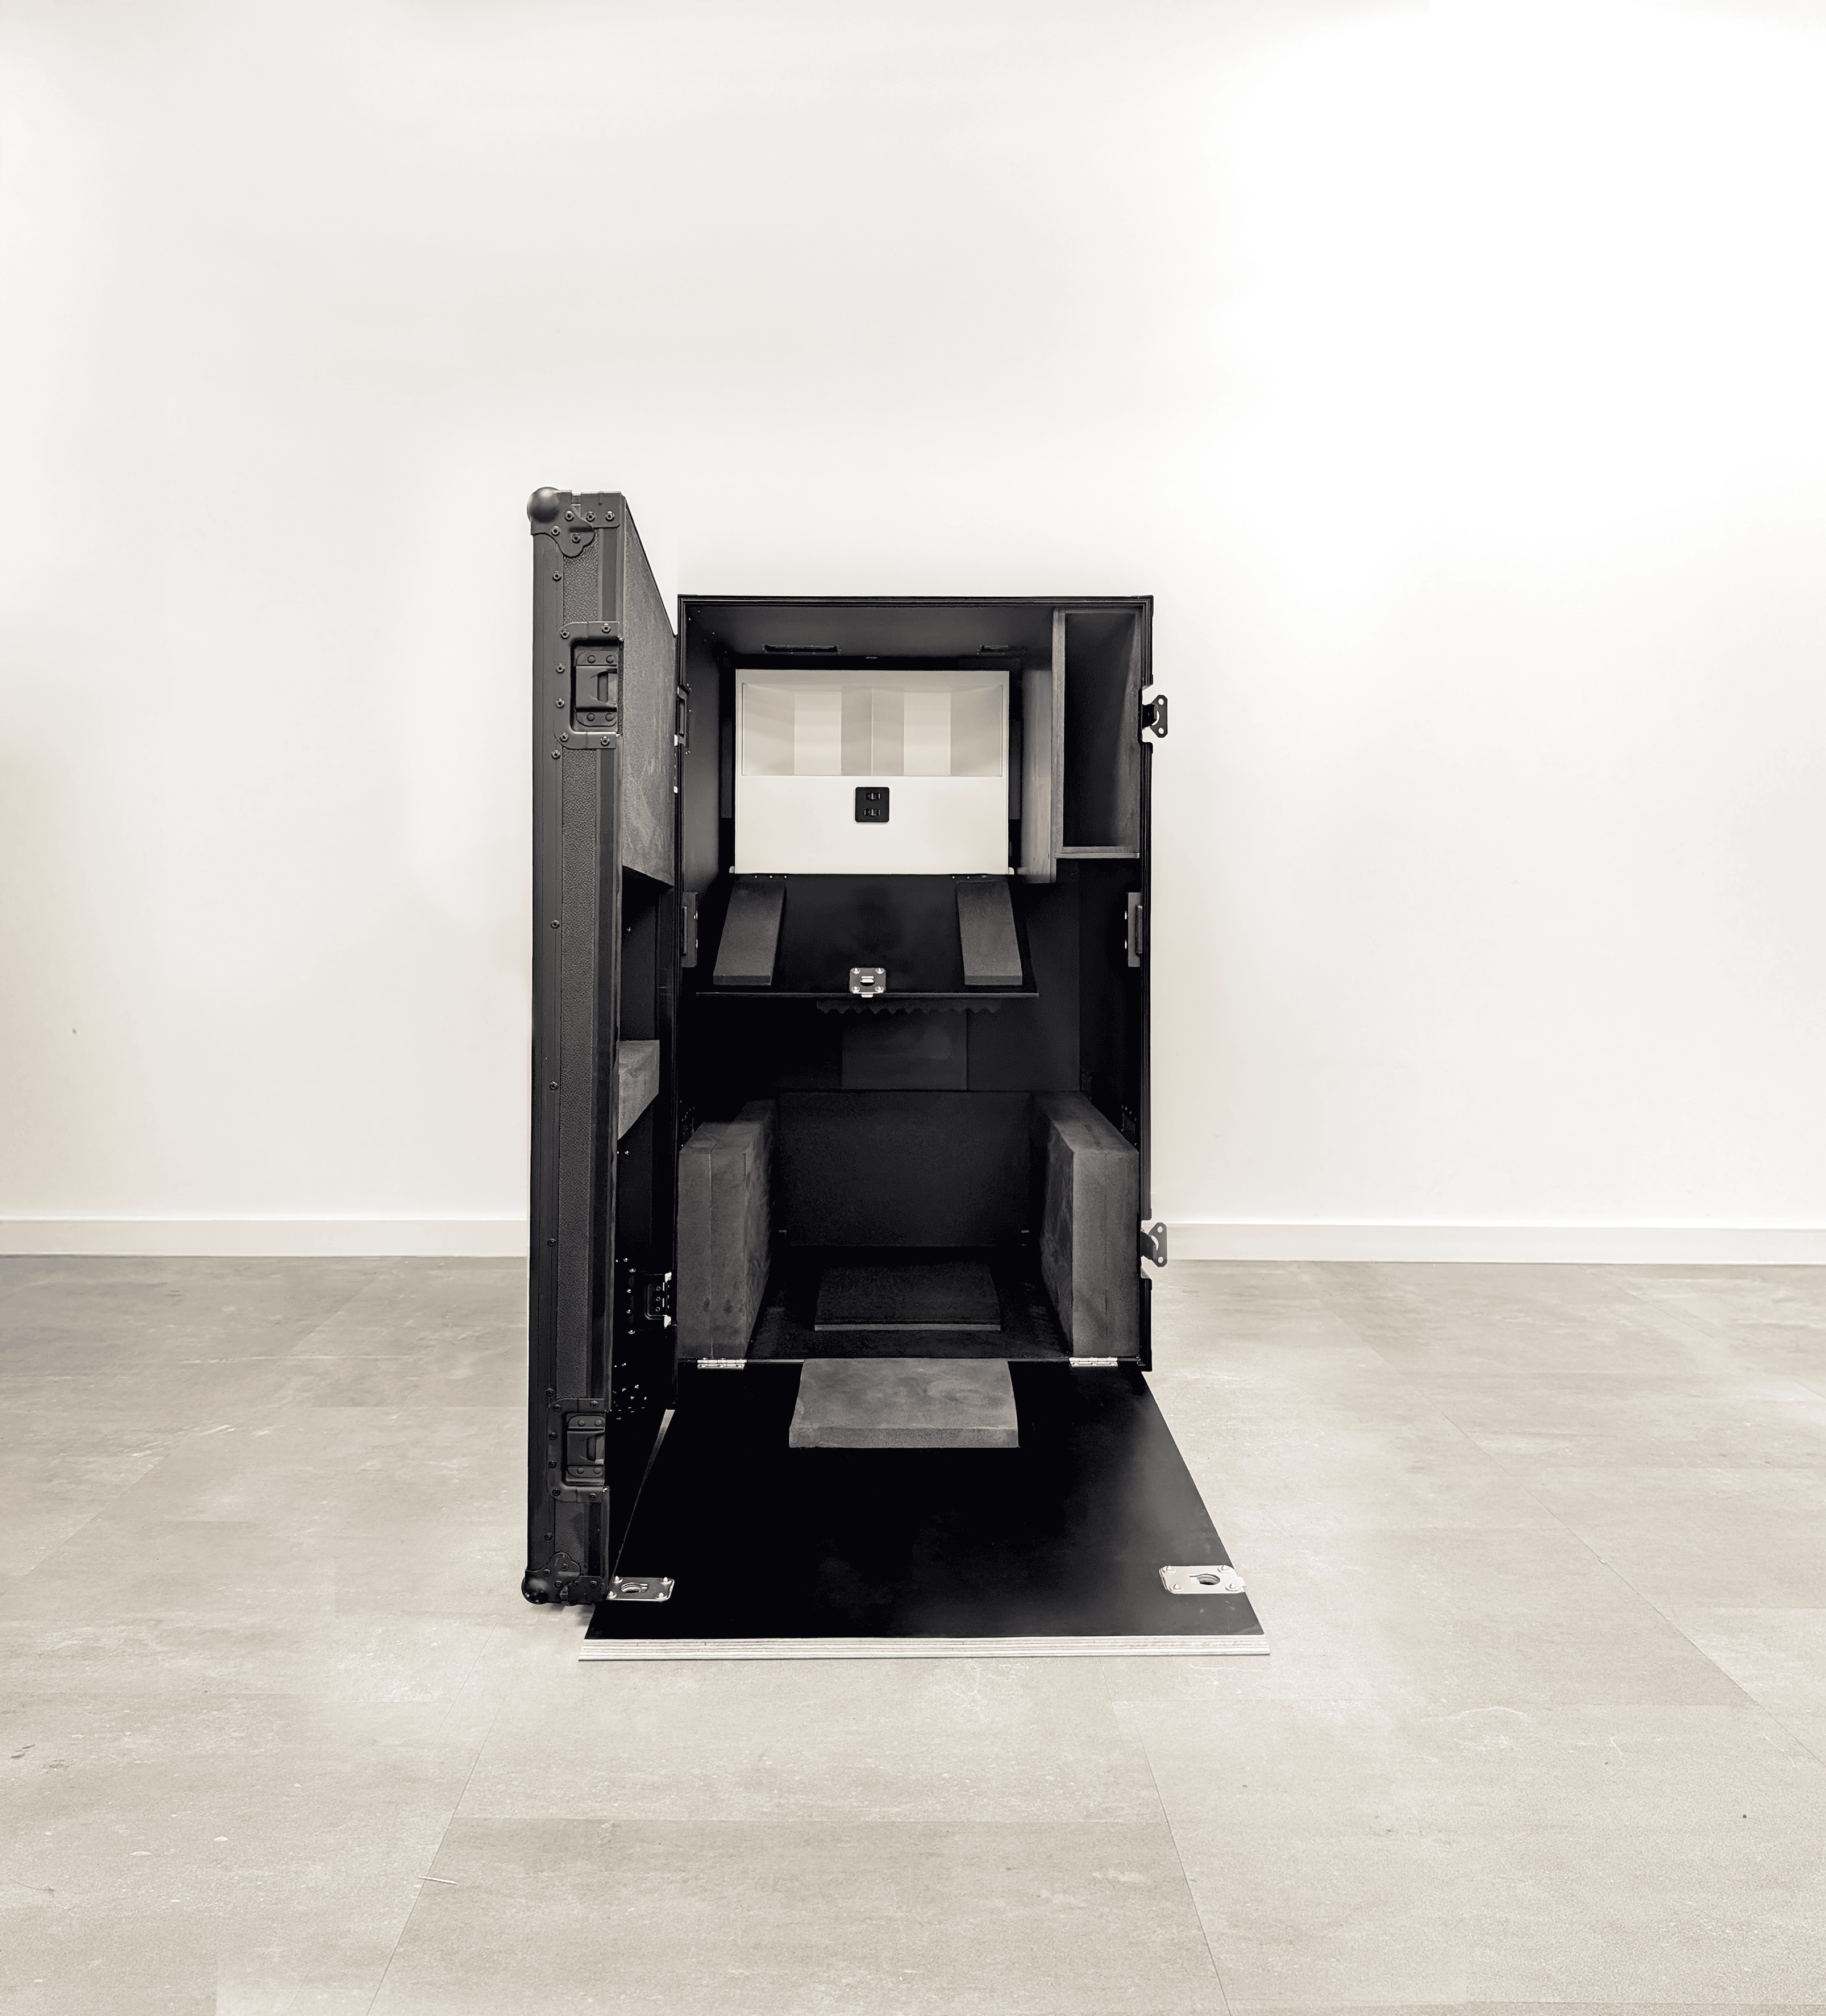
Figure 8: Docking Station#
What’s in the box#
The TIAGo Pro flight case will contain the following items:
The TIAGo Pro robot
A battery charger and its cable plug
A jostick controller
A wireless emergency button (by default, the button is pressed)
A docking station (optional)