Velodyne VLP-16#
Overview#
The Velodyne VLP-16 is a 3D LiDAR sensor with a range of 100 m. It supports 16 channels with ~300,000 points/second. VLP-16 has 360° horizontal field of view and 30° vertical field of view (±15° up and down). The Velodyne VLP-16 operates at a rotational frequency of 5 Hz to 20 Hz, with a horizontal angular resolution of 0.2° at 10 Hz and vertical resolution of 2°. It provides distance measurement precision of ±3 cm and a range of up to 100 meters. At 10 Hz, it captures 300,000 points per second. You can find more information about the Velodyne VLP-16 in the Velodyne VLP-16 Datasheet.
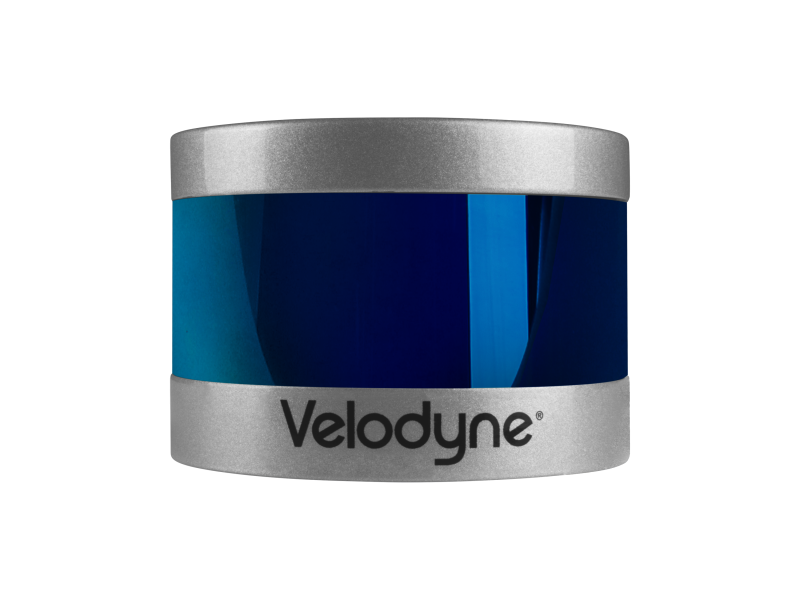
fig: Velodyne VLP-16 LiDAR Puck#
Configuring Velodyne VLP-16#
Attention
The Velodyne VLP-16 sensor is already configured to work with the robot. The LiDAR IP is 10.68.0.55 .
In order to access the velodyne configuration page, the connection with the development computer should be configured as following:
Configure the development computer’s IP address through the Gnome Interface
Access the Gnome Menu (Super key), type “Networks Connections” then run it. Select the connection’s name and click on “edit”. Choose the IPv4 Settings tab and change the “Method” field to “Manual” from the drop-down list.
Click on “add” and set the IP address field to
10.68.0.1(“1” can be any number in a range between 1 and 254, except 55). As the10.68.0.55address has already been taken by the sensor.Set the “Netmask” to
255.255.255.0and the “Gateway” to0.0.0.0.The settings should look similar as shown in the Figure: Velodyne network connection settings
To finalize the settings click on “Save”.
Accessing Velodyne Configuration
After finalizing the network configuration, power up the velodyne and connect it to the development computer. In the network connection, select the previously configured network configuration to establish the connection with the Velodyne sensor.
To check the configuration, open a web browser and access the sensor’s network address: 10.68.0.55.
The following page as shown in the Figure: Velodyne configuration page. The configuration of the sensor
such as the firmware update, Laser return type, Motor RPM, Field of View, Network settings etc. can
be done in this page.
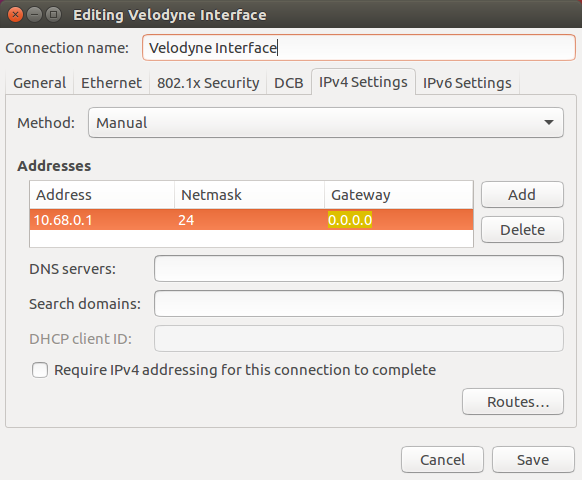
fig: Velodyne network connection settings#
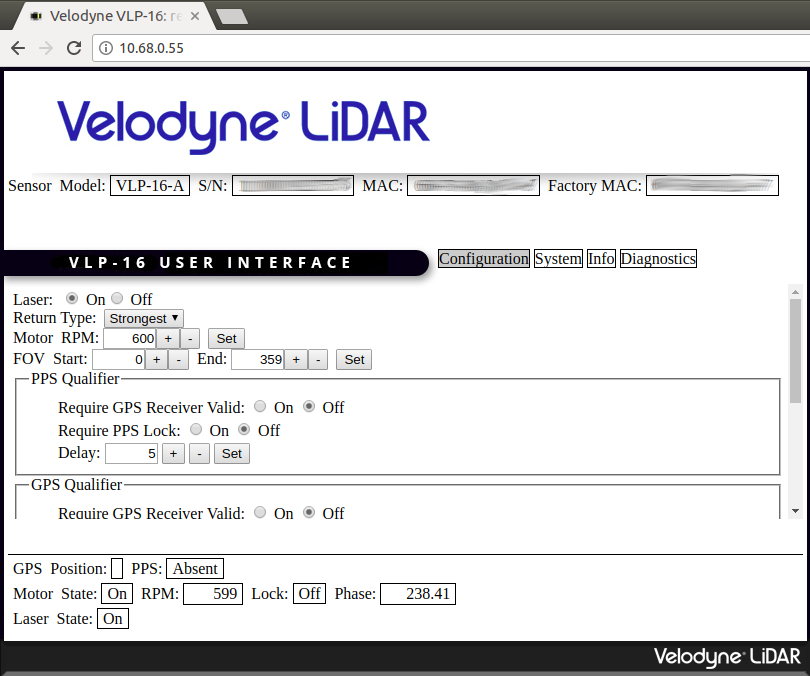
fig: Velodyne configuration page#
Starting Velodyne driver#
The Velodyne application is started by default at the startup of the robot. To check the status of the Velodyne driver, run the following command:
pal-log velodyne cat
To stop the Velodyne driver, run the following command:
pal-stop velodyne
To start the Velodyne driver, run the following command:
pal-start velodyne
The topics published by the Velodyne driver are:
/velodyne_points: It is asensor_msgs/PointCloud2/scan_velodyne: It is asensor_msgs/LaserScan
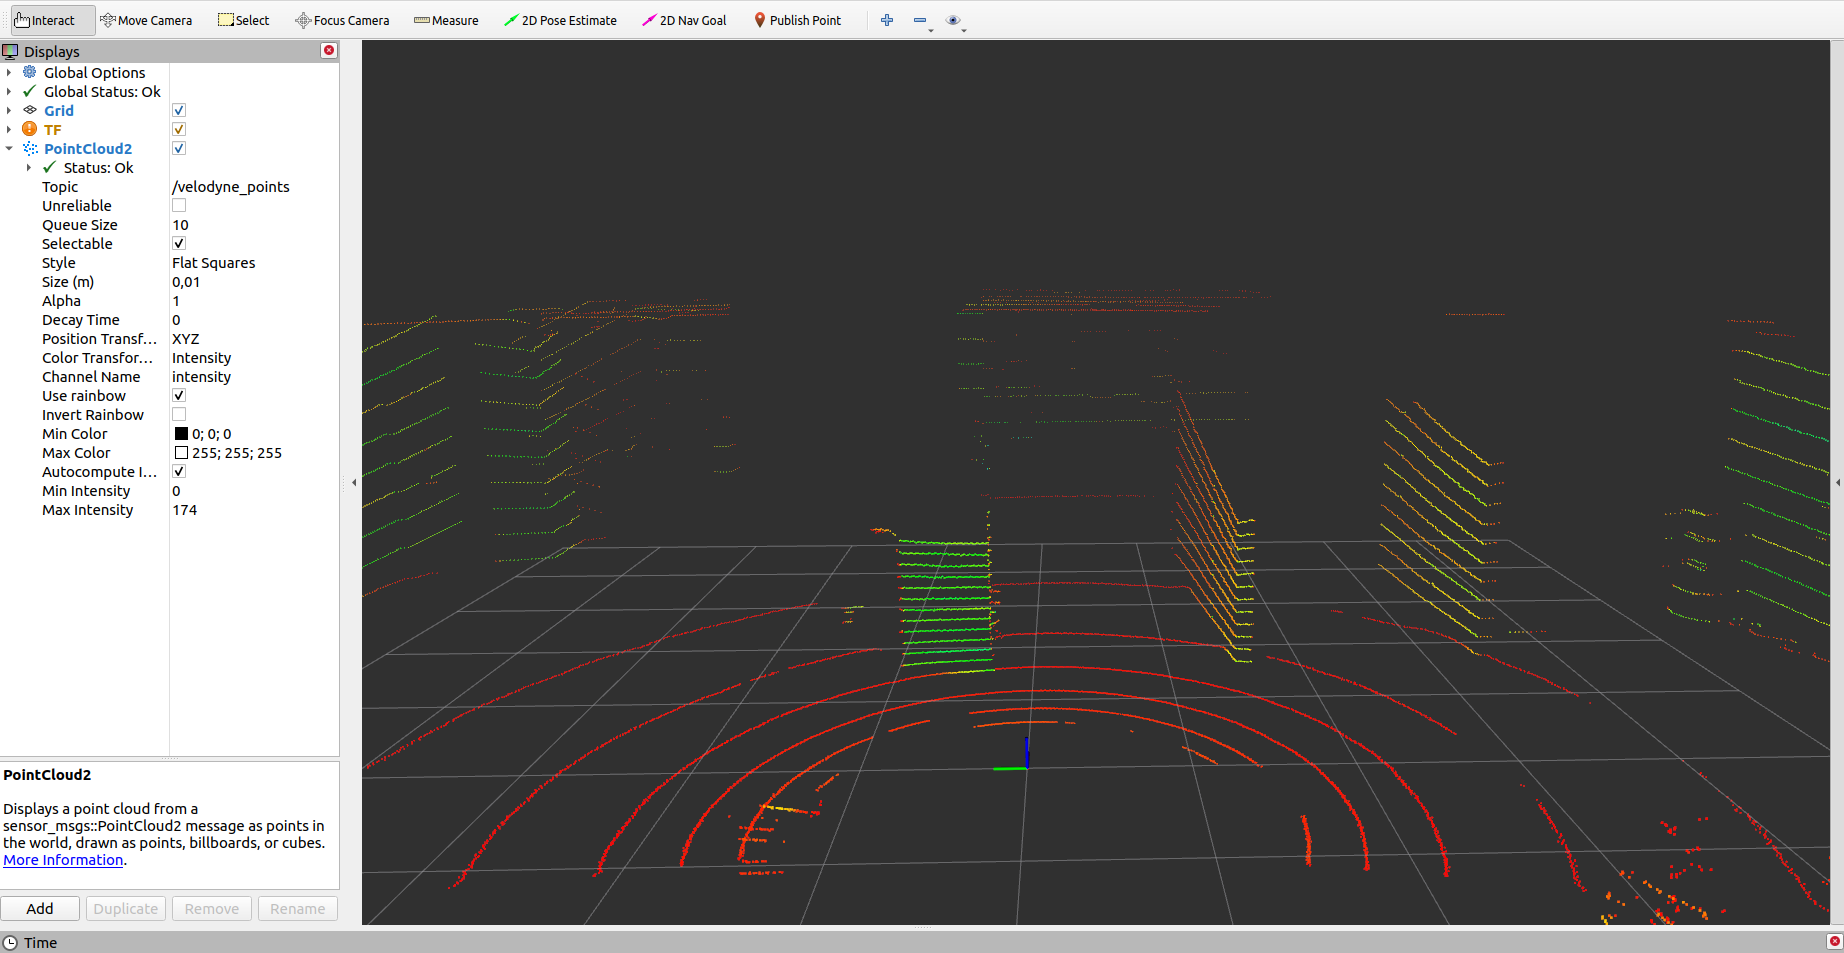
fig: /velodyne_points PointCloud2 in RViz#
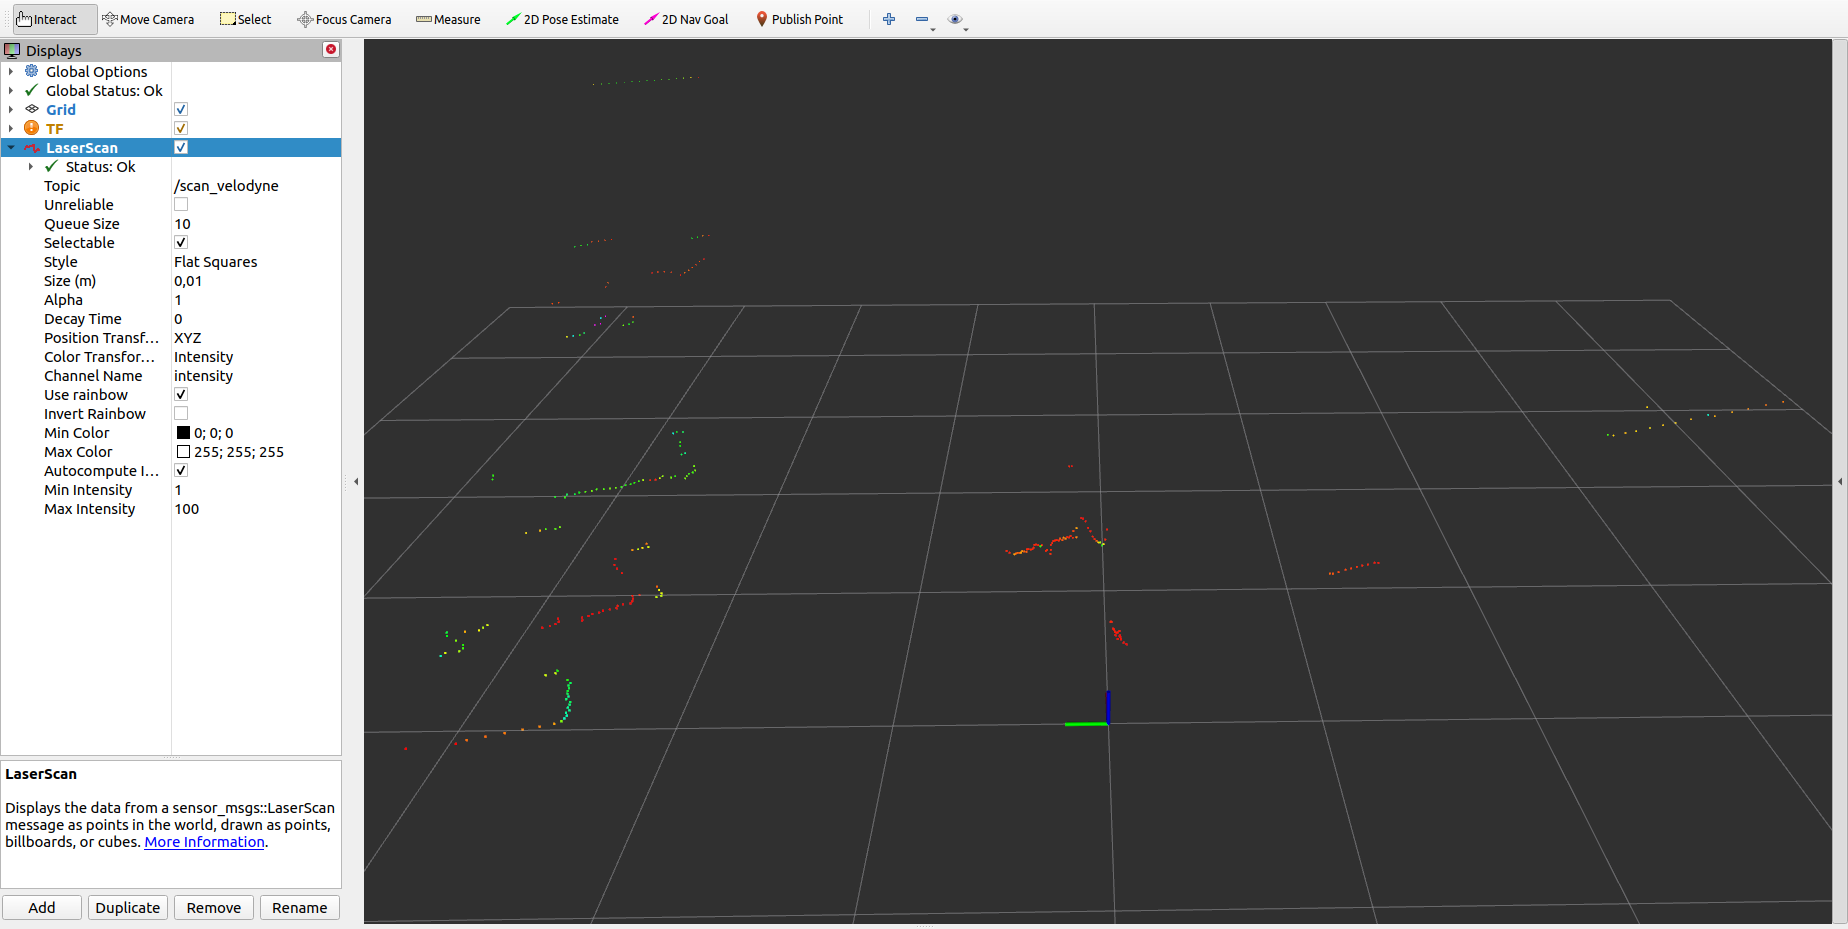
fig: /scan_velodyne LaserScan in RViz#
You can modify the Velodyne driver parameters, by editing the file located at:
/opt/pal/gallium/share/tiago_sea_laser_sensors/launch/velodyne_laser.launch
Note
To make these changes permanent, remember to execute them in the robot’s permanent partition.