Creating pre-recorded motion with the Motion Builder#
The Motion Builder is a webapp that allows you to create prerecorded motions and execute them.
The features of Motion Builder tool include:
Creating, Editing, Deleting Motions
Adding, Editing and Deleting keyframes
Positioning the robot in any keyframe
Managing joints and groups used for the motion
Executing the motion at different speeds for testing purposes
Store the motion
The interface of Motion Builder consists of a list of motions (some default that comes with the robot, and other created by the user) and a user-friendly editor, where you can create, edit and test motions without any specific technical skills.
Landing page#
The start page of Motion Builder serves not only to display stored motions but also to manage them. From here, you can create, copy, edit and execute any motion. The functions Edit and Delete are active only for motions created by the user.
Motions that have a star icon are default motions and can’t be edited or deleted. Click Copy and edit icon to use them as an example or a part of a new motion.
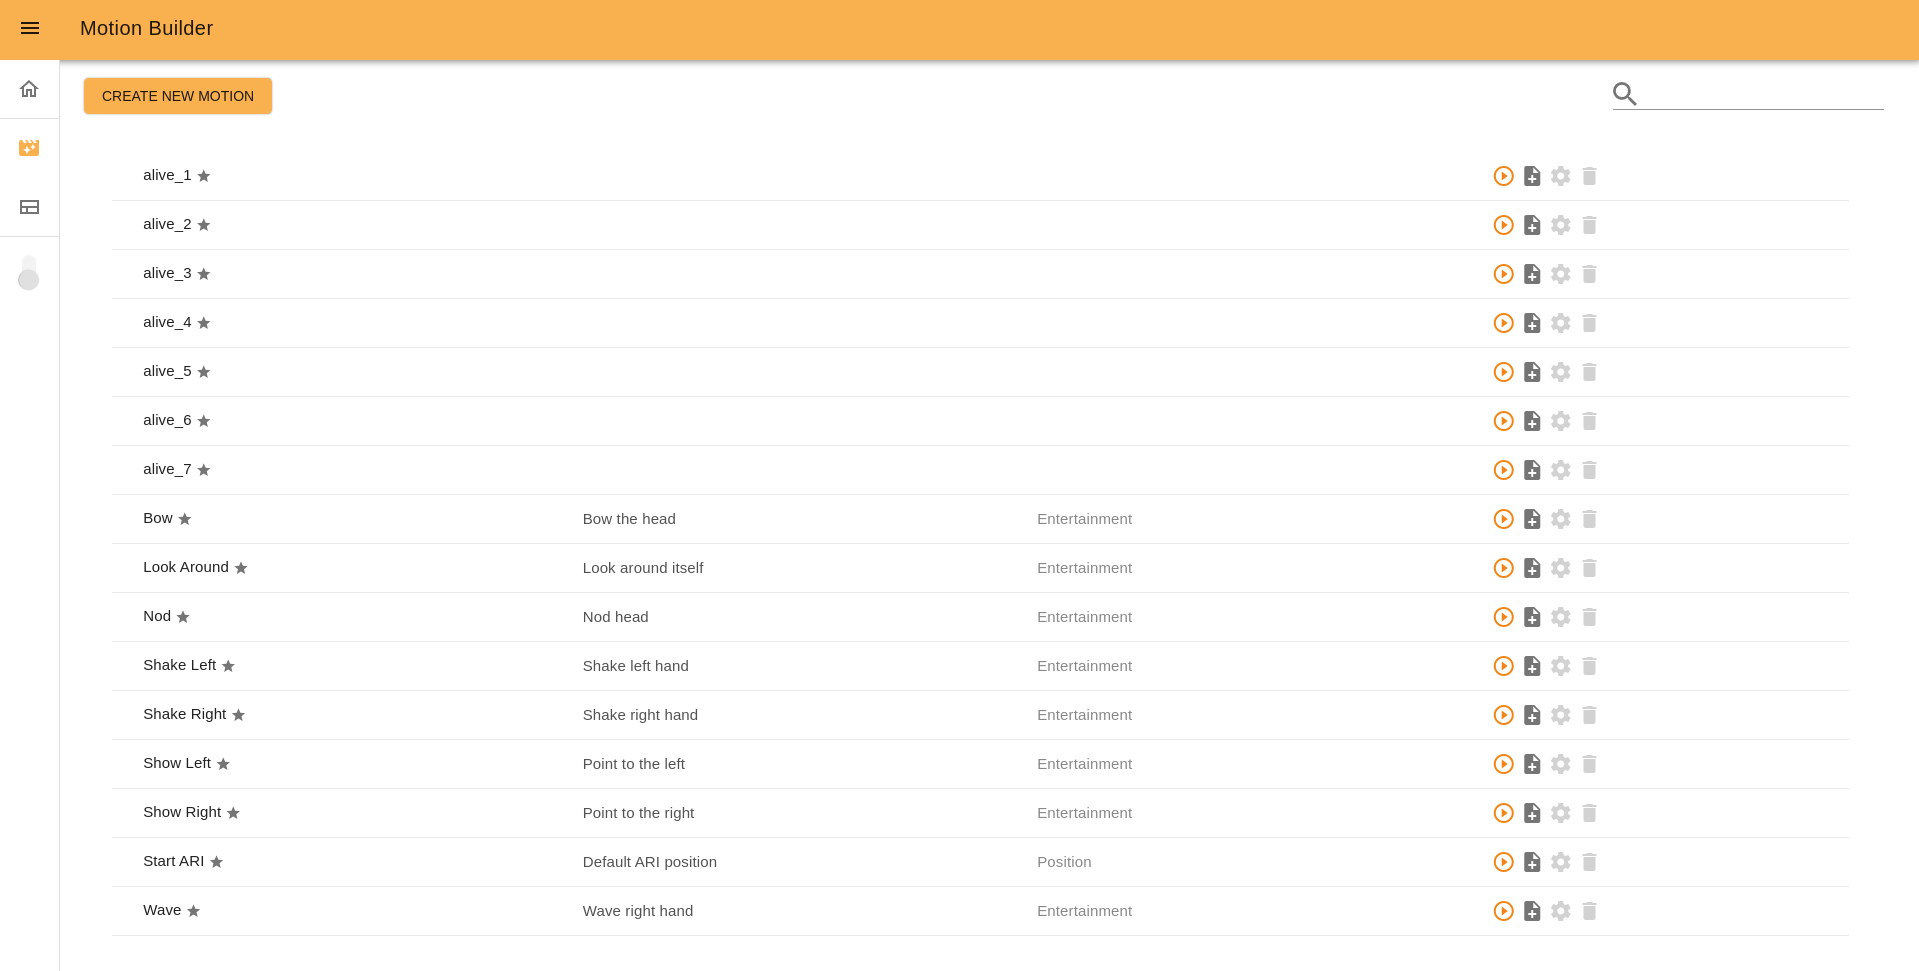
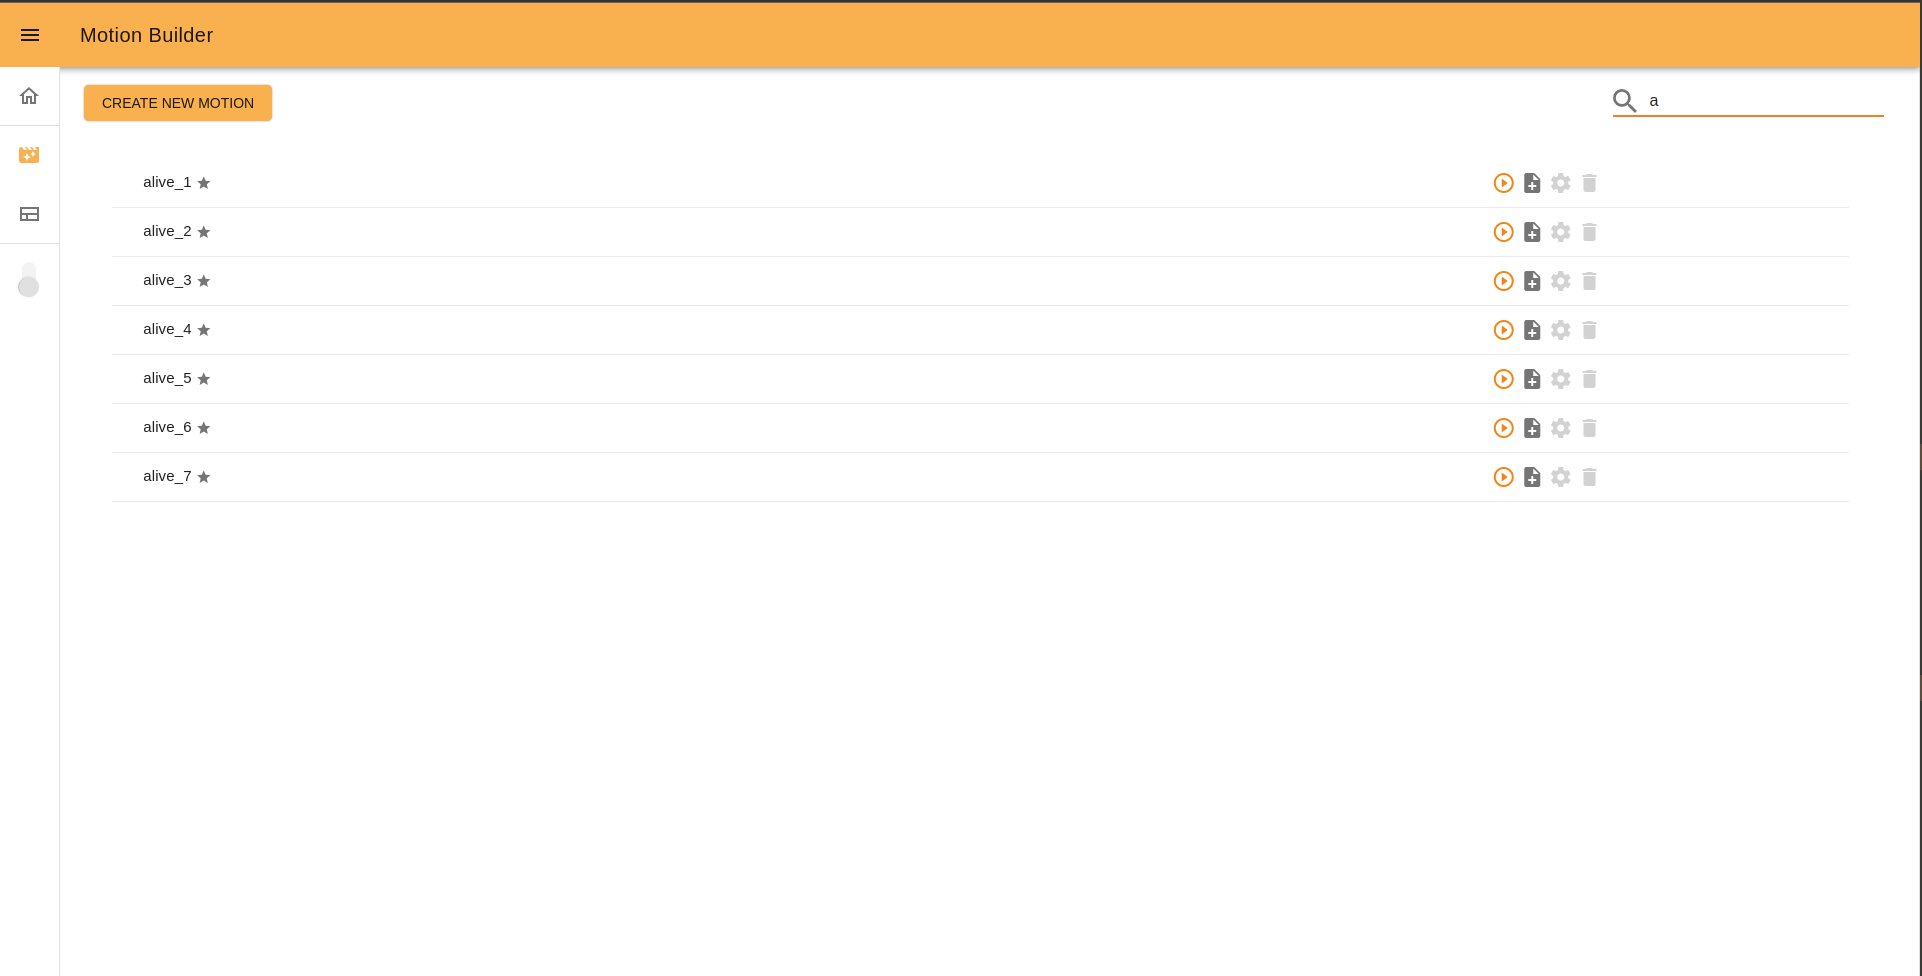
You can use the Search input (loupe icon) to look up for motions. Start type the name of the motion you are searching and you will see the corresponding results.
To open the Motion Builder editor you can click either on Create new motion button, or on the Copy and edit or Edit icons.
Before starting#
Each movement consists of a group of robot motors poses (keyframes) that the user has to define and capture.
To move the robot in the desired keyframe, you can use the online tools: sliders and joystick. You can switch between different control modes instantly. In order to create a whole movement, you need to capture the robot’s keyframes in the desired order.
Editor interface#
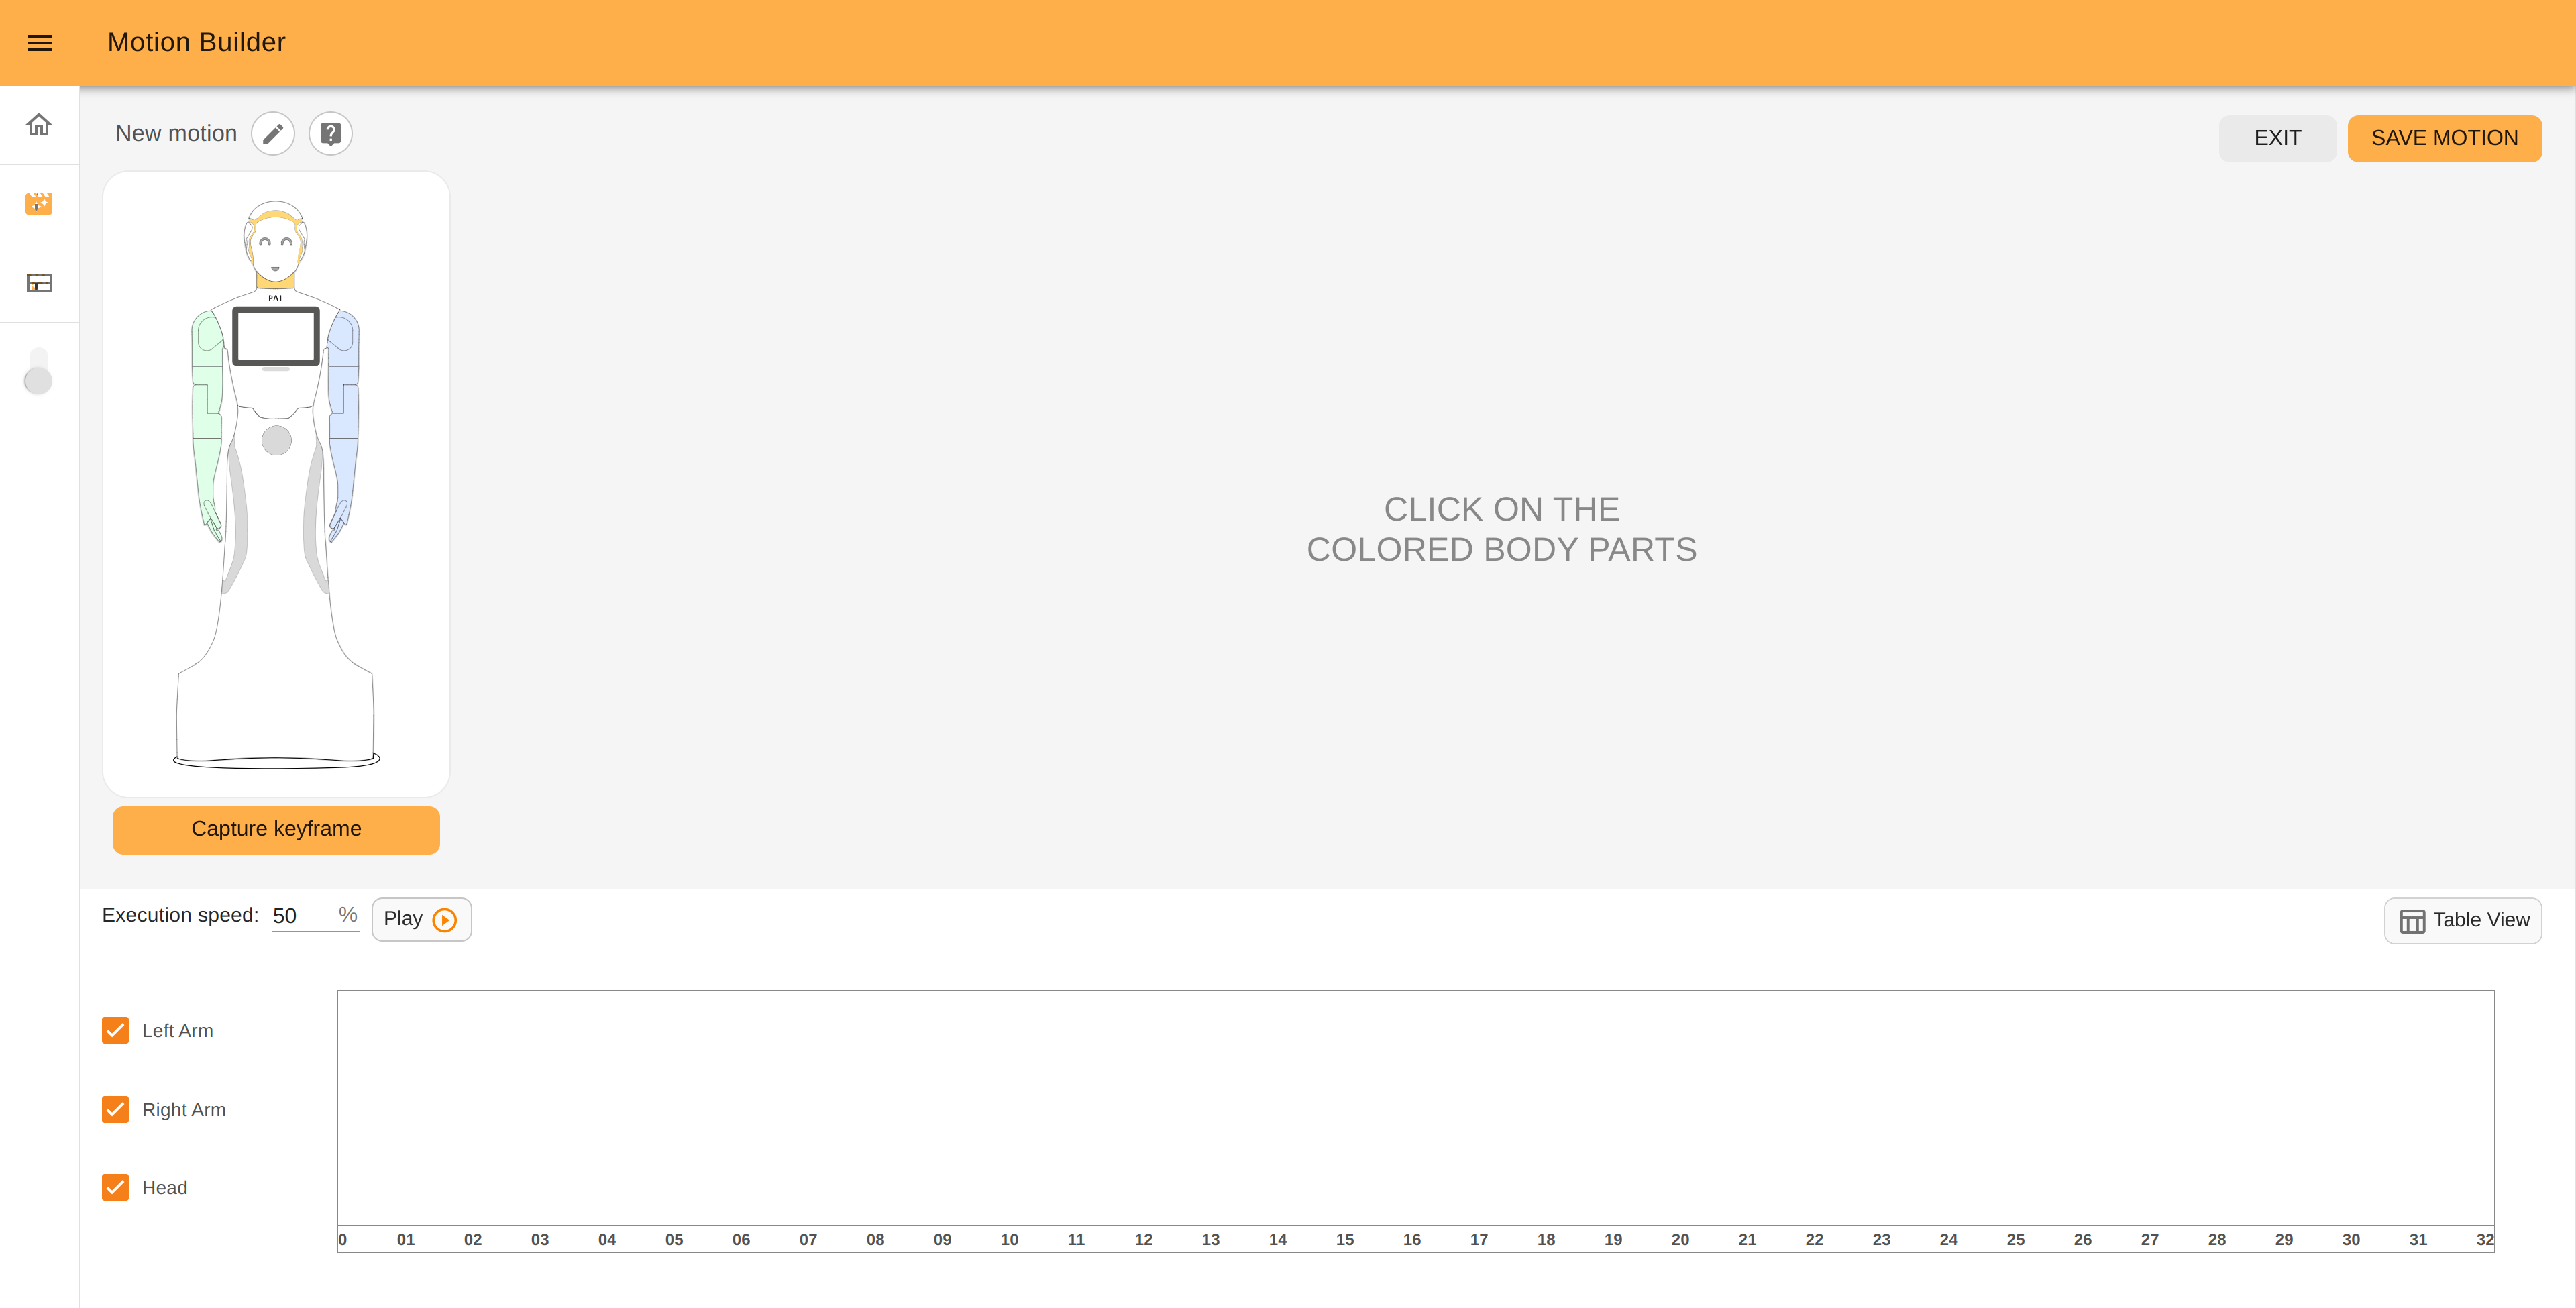
On the left top of the page, there is the current motion name, the Edit meta button and the Help mode button.
Edit meta popup#
Click the :guilabel:`Edit meta` button to set meta data of your motion: required ROS name, title, short description, and usage. This info is displayed on the Motion Builder start page (normally the ROS name is not shown but if a motion title wasn’t set previously, ROS name is used instead of it).
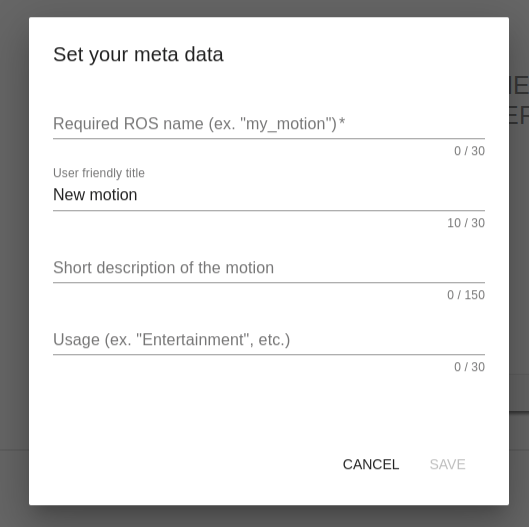
The ROS name is a required field. It should be a unique word that describes
the motion, it must start with a letter and can be a combination of letters,
numbers and _ character. For instance, greeting_5 or wave_side. It can not be
changed after saving a new motion.
The User friendly title should be a word or short phrase that helps you quickly understand what the motion does. It’s not a required field but it’s a good practise to include it when you create a new motion. For instance, Nod, Shake Left, Shake Right, etc.
The short description field allows you to describe some important details of the motion to distinguish it easily from the others. For instance, Nod head, Shake right hand, Shake left hand, etc.
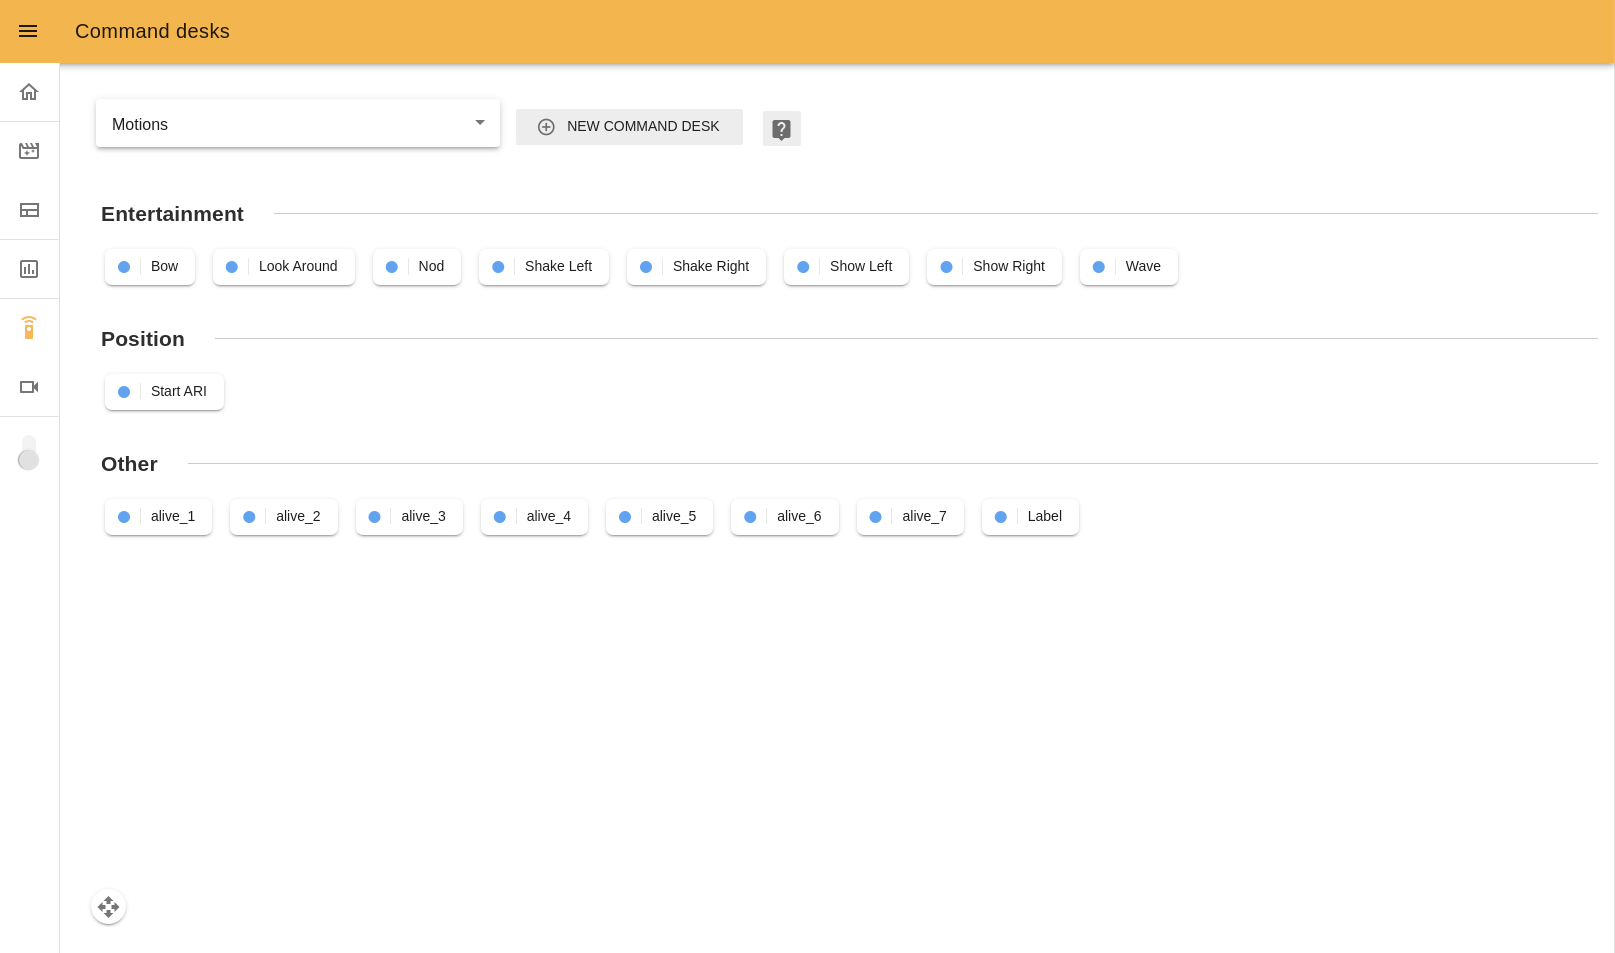
Finally, the usage field, allows you to define the main use of the motion. It is a good practise to include it because in the Command desks webapp (“Motion” desk) page, you will see all your motions sorted by Usage names. For instance, Entertainment, Greeting, Dance, etc.
Help tooltips#
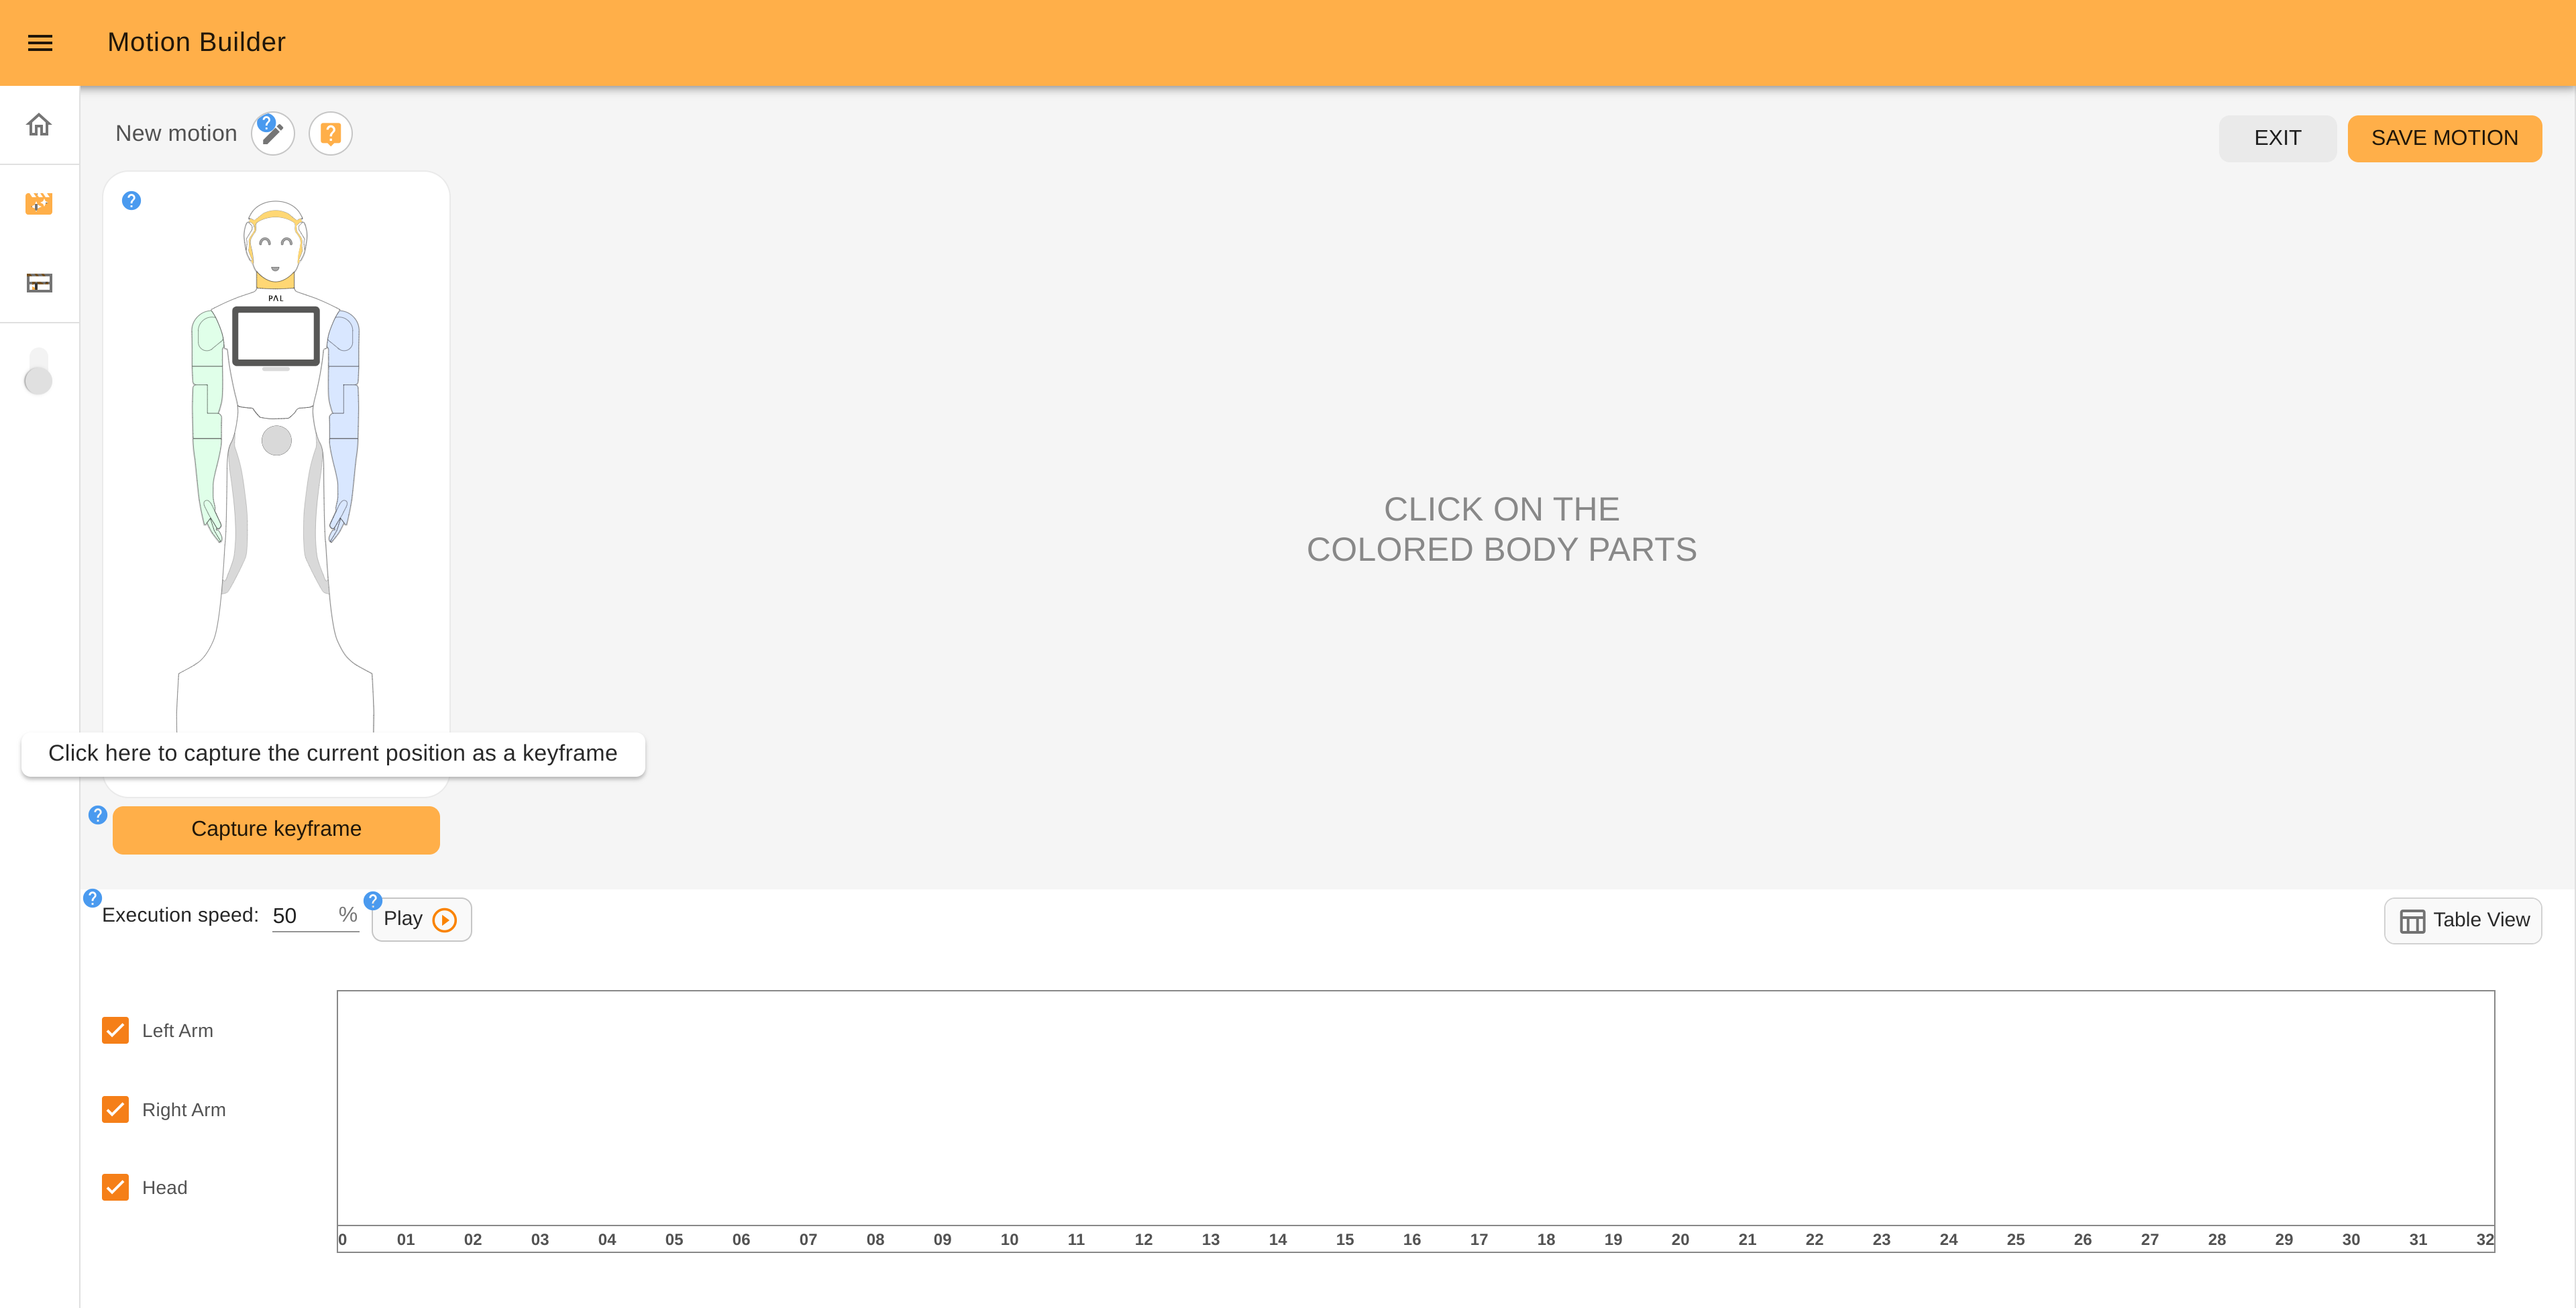
:guilabel:`Help mode` button shows/hides help tooltips on the screen. If you click this button you will see blue icons with question signs. Hover the cursor over any icon to read a tip about Motion Builder usage.
How to interact with the robot’s joint#
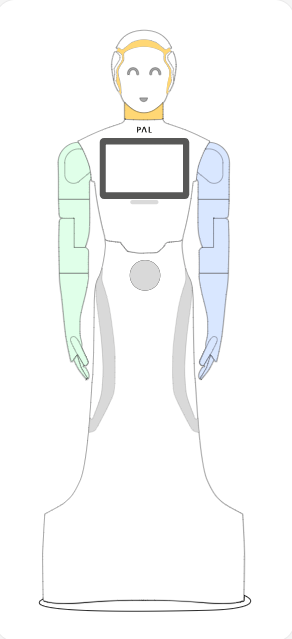
You can directly interact with the robot’s picture by clicking and choosing the part of the robot to control. The available parts are highlighted in color. For example, click the robot’s head to move the it along the two axes.
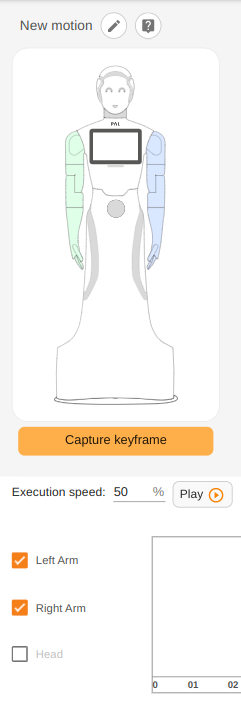
You also can manage joints and groups used for motion. Check the box with joints names on the bottom left of the page to add or remove it. In the example below, we removed the robot’s head from the motion. As you can see, the head has been deselected from the interactive image.
Joystick#
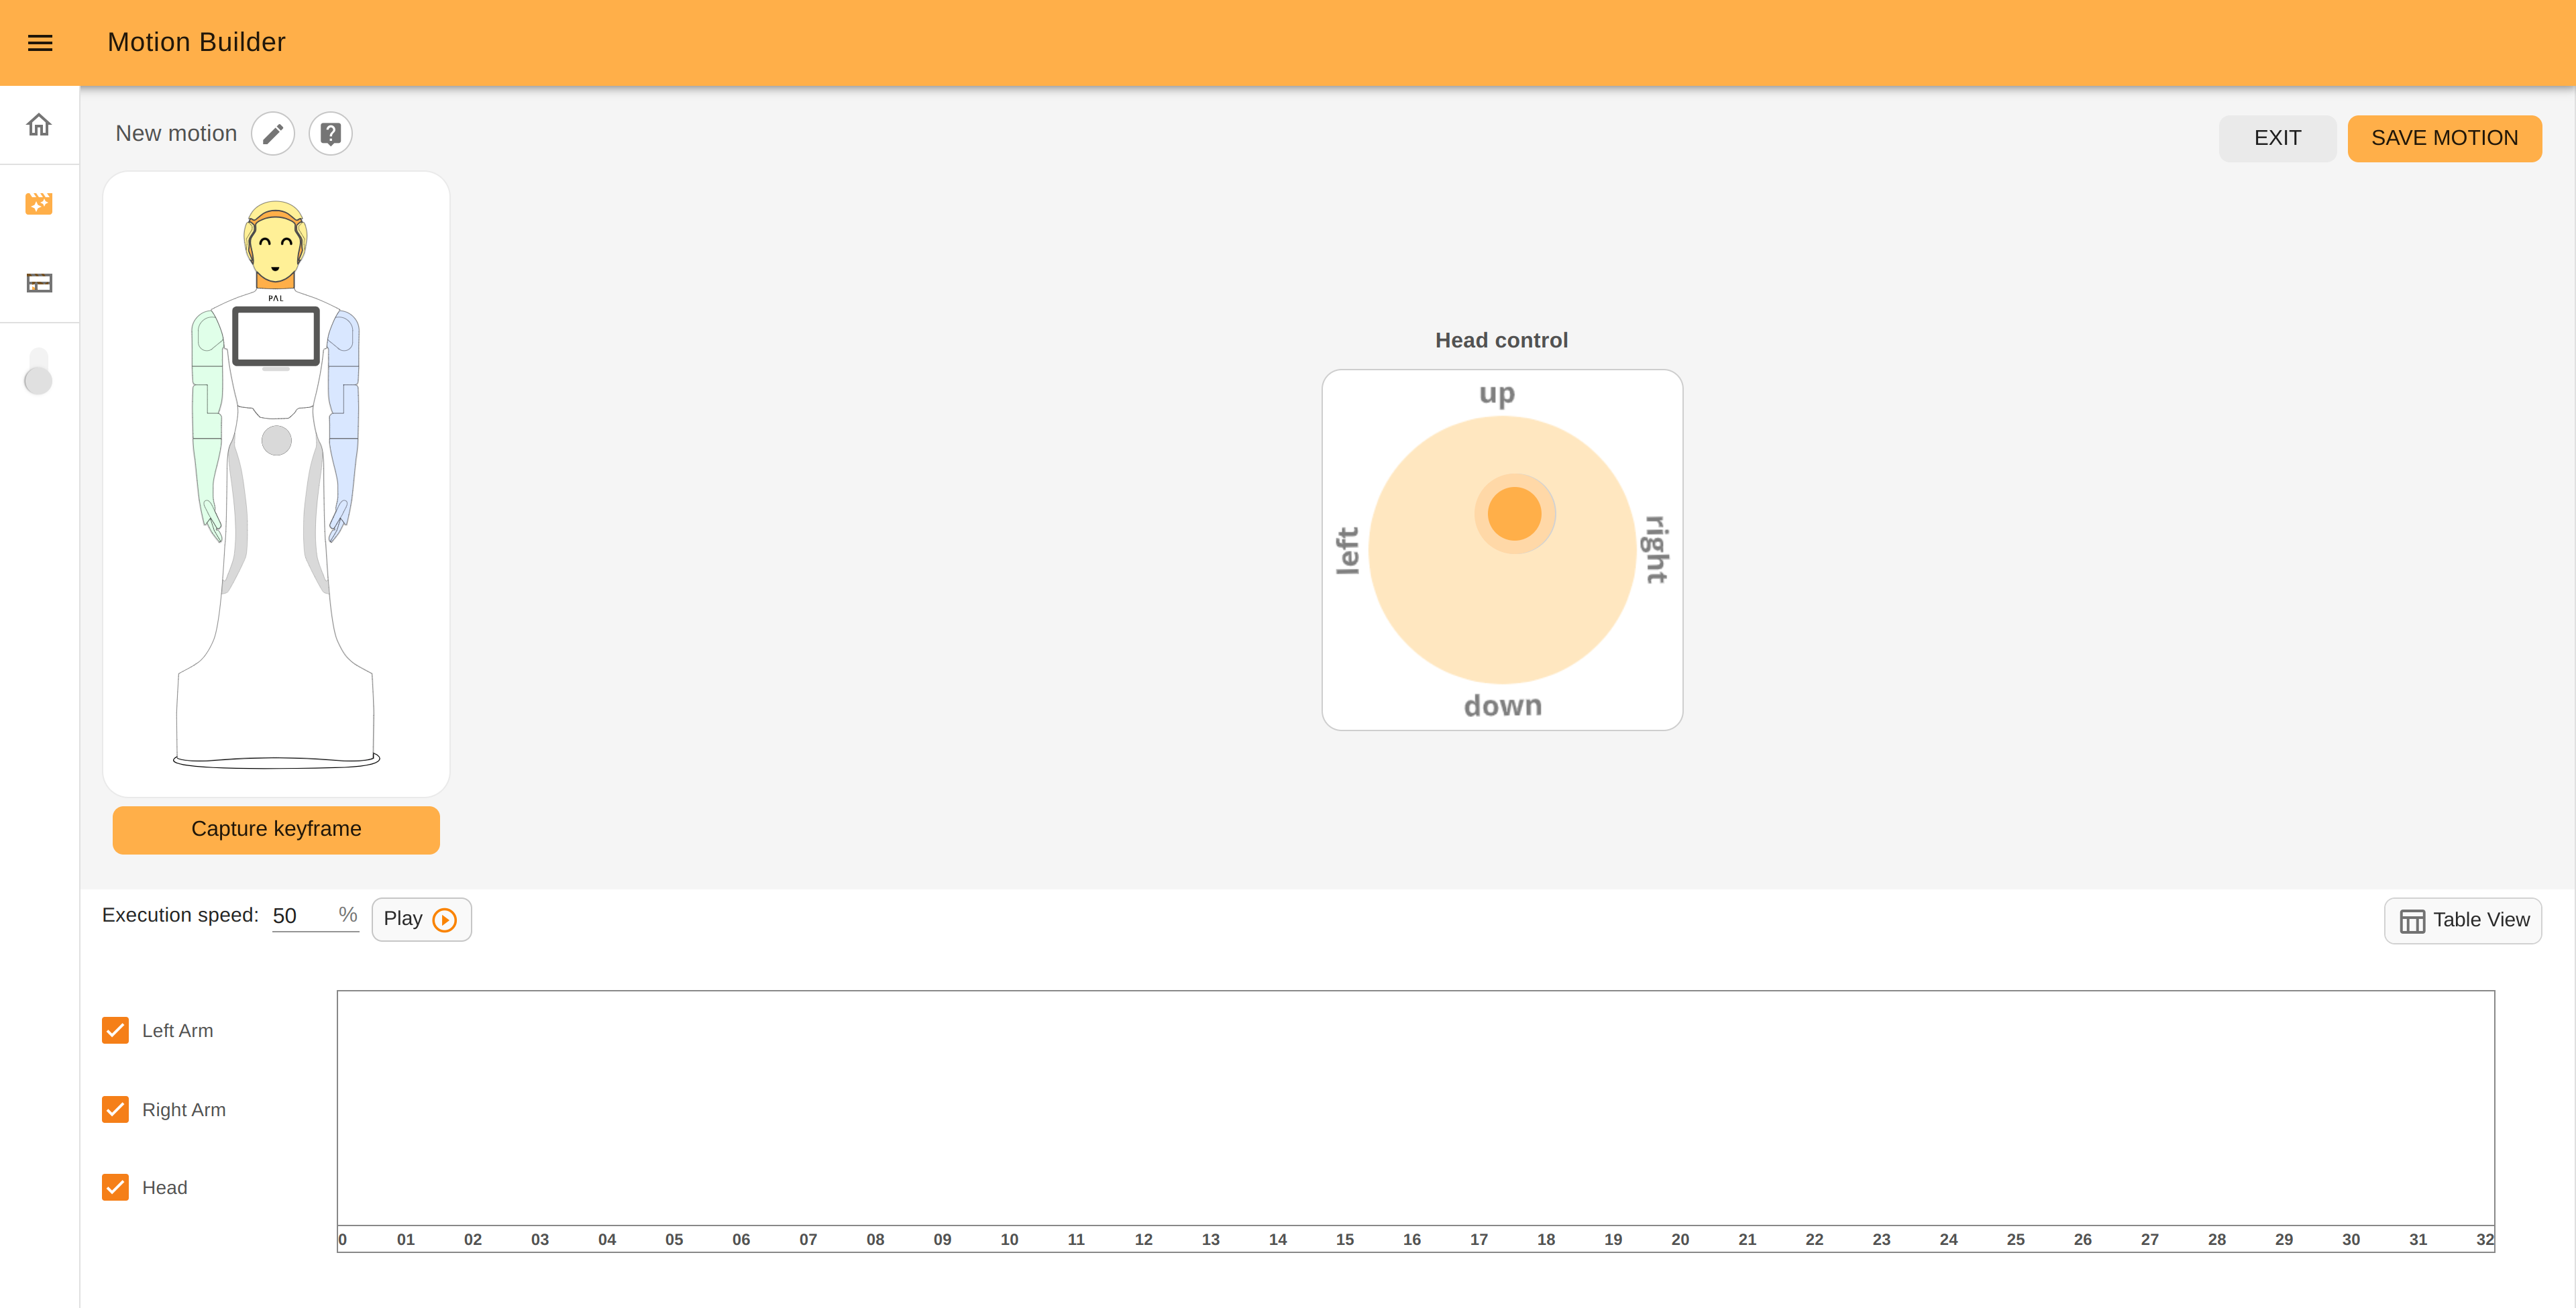
To control the robot’s head use a joystick. Just drag the orange circle (green when the cursor is over it) and look at the robot to see how its pose has changed.
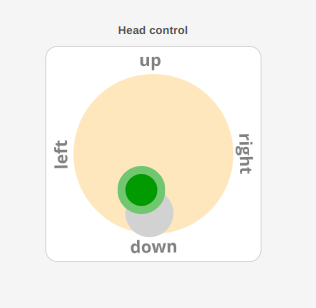
When you move a joystick quickly, it’s possible that the robot takes a bit more of time to reach the requested pose. In this case you will see a grey circle that shows the current pose of the head. When the robot has the same pose as the joystick, the grey circle will disappear.
To store the keyframe click on the Capture it button.

Sliders#
Sliders are used to control groups of robots joints. For instance, click on the robot’s arm:
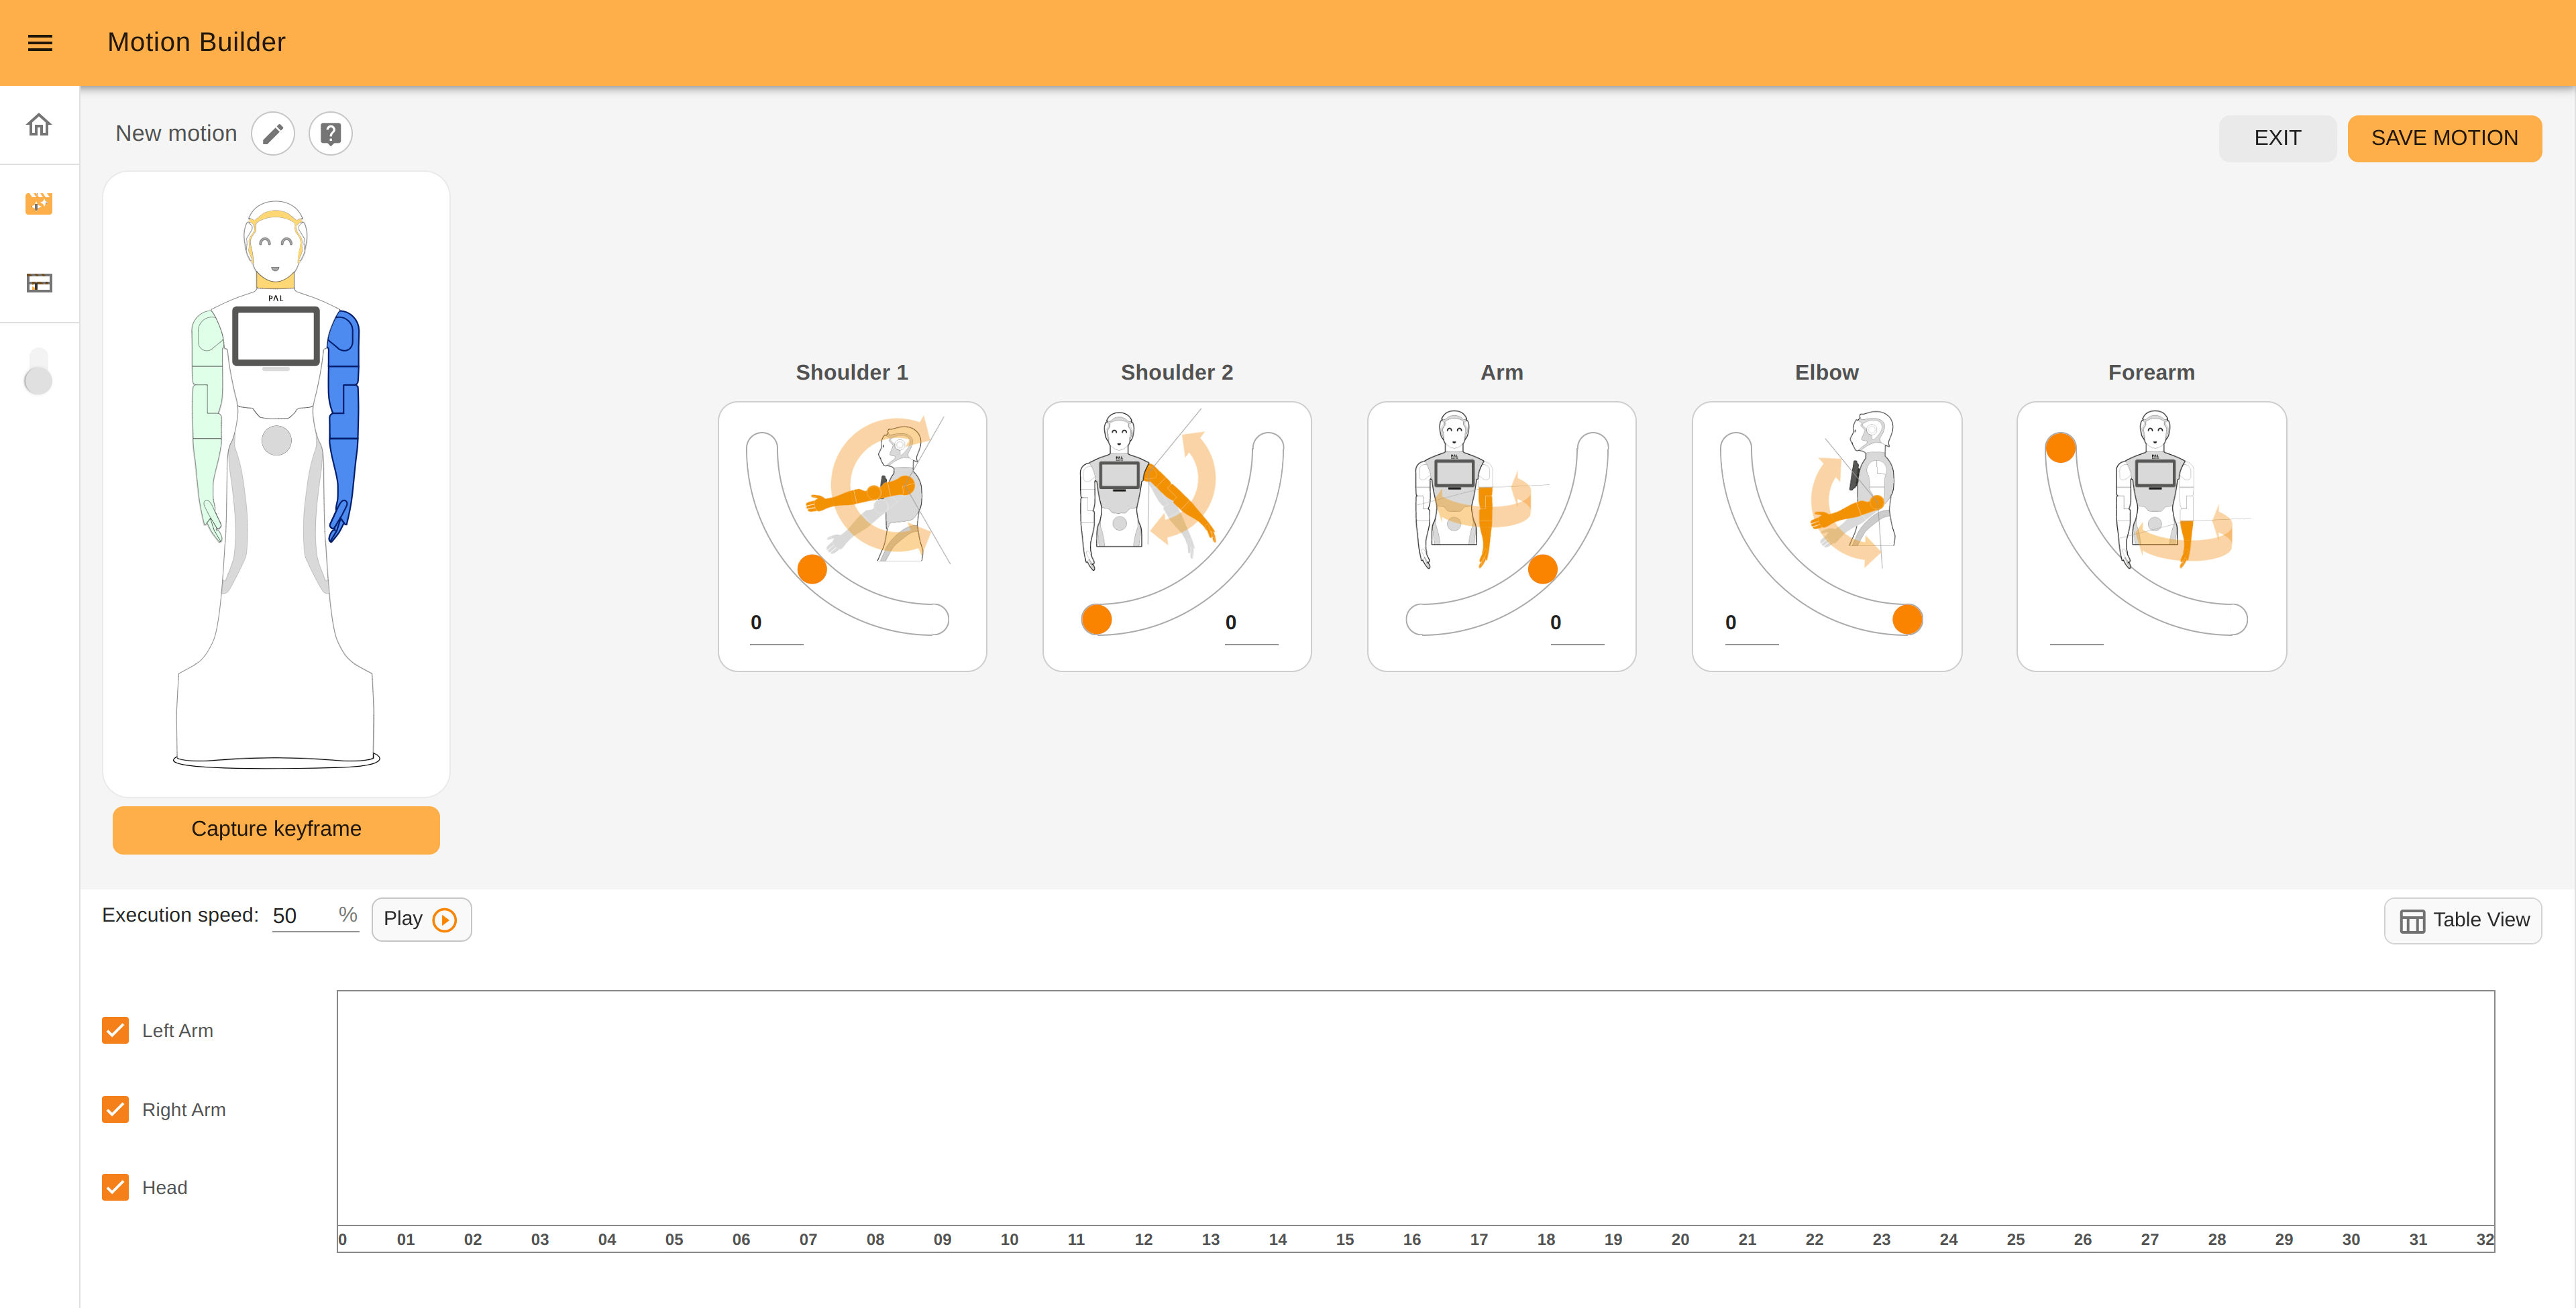
The robot’s arm consists of a group of joints. You can create complex motion by setting each joint separately. Each joint has a title and a description image. To control the joint, drag the slider or change the position number in the input field (type a desired number or use arrows).
Click the Capture it button to store the keyframe.
Gravity compensation mode#
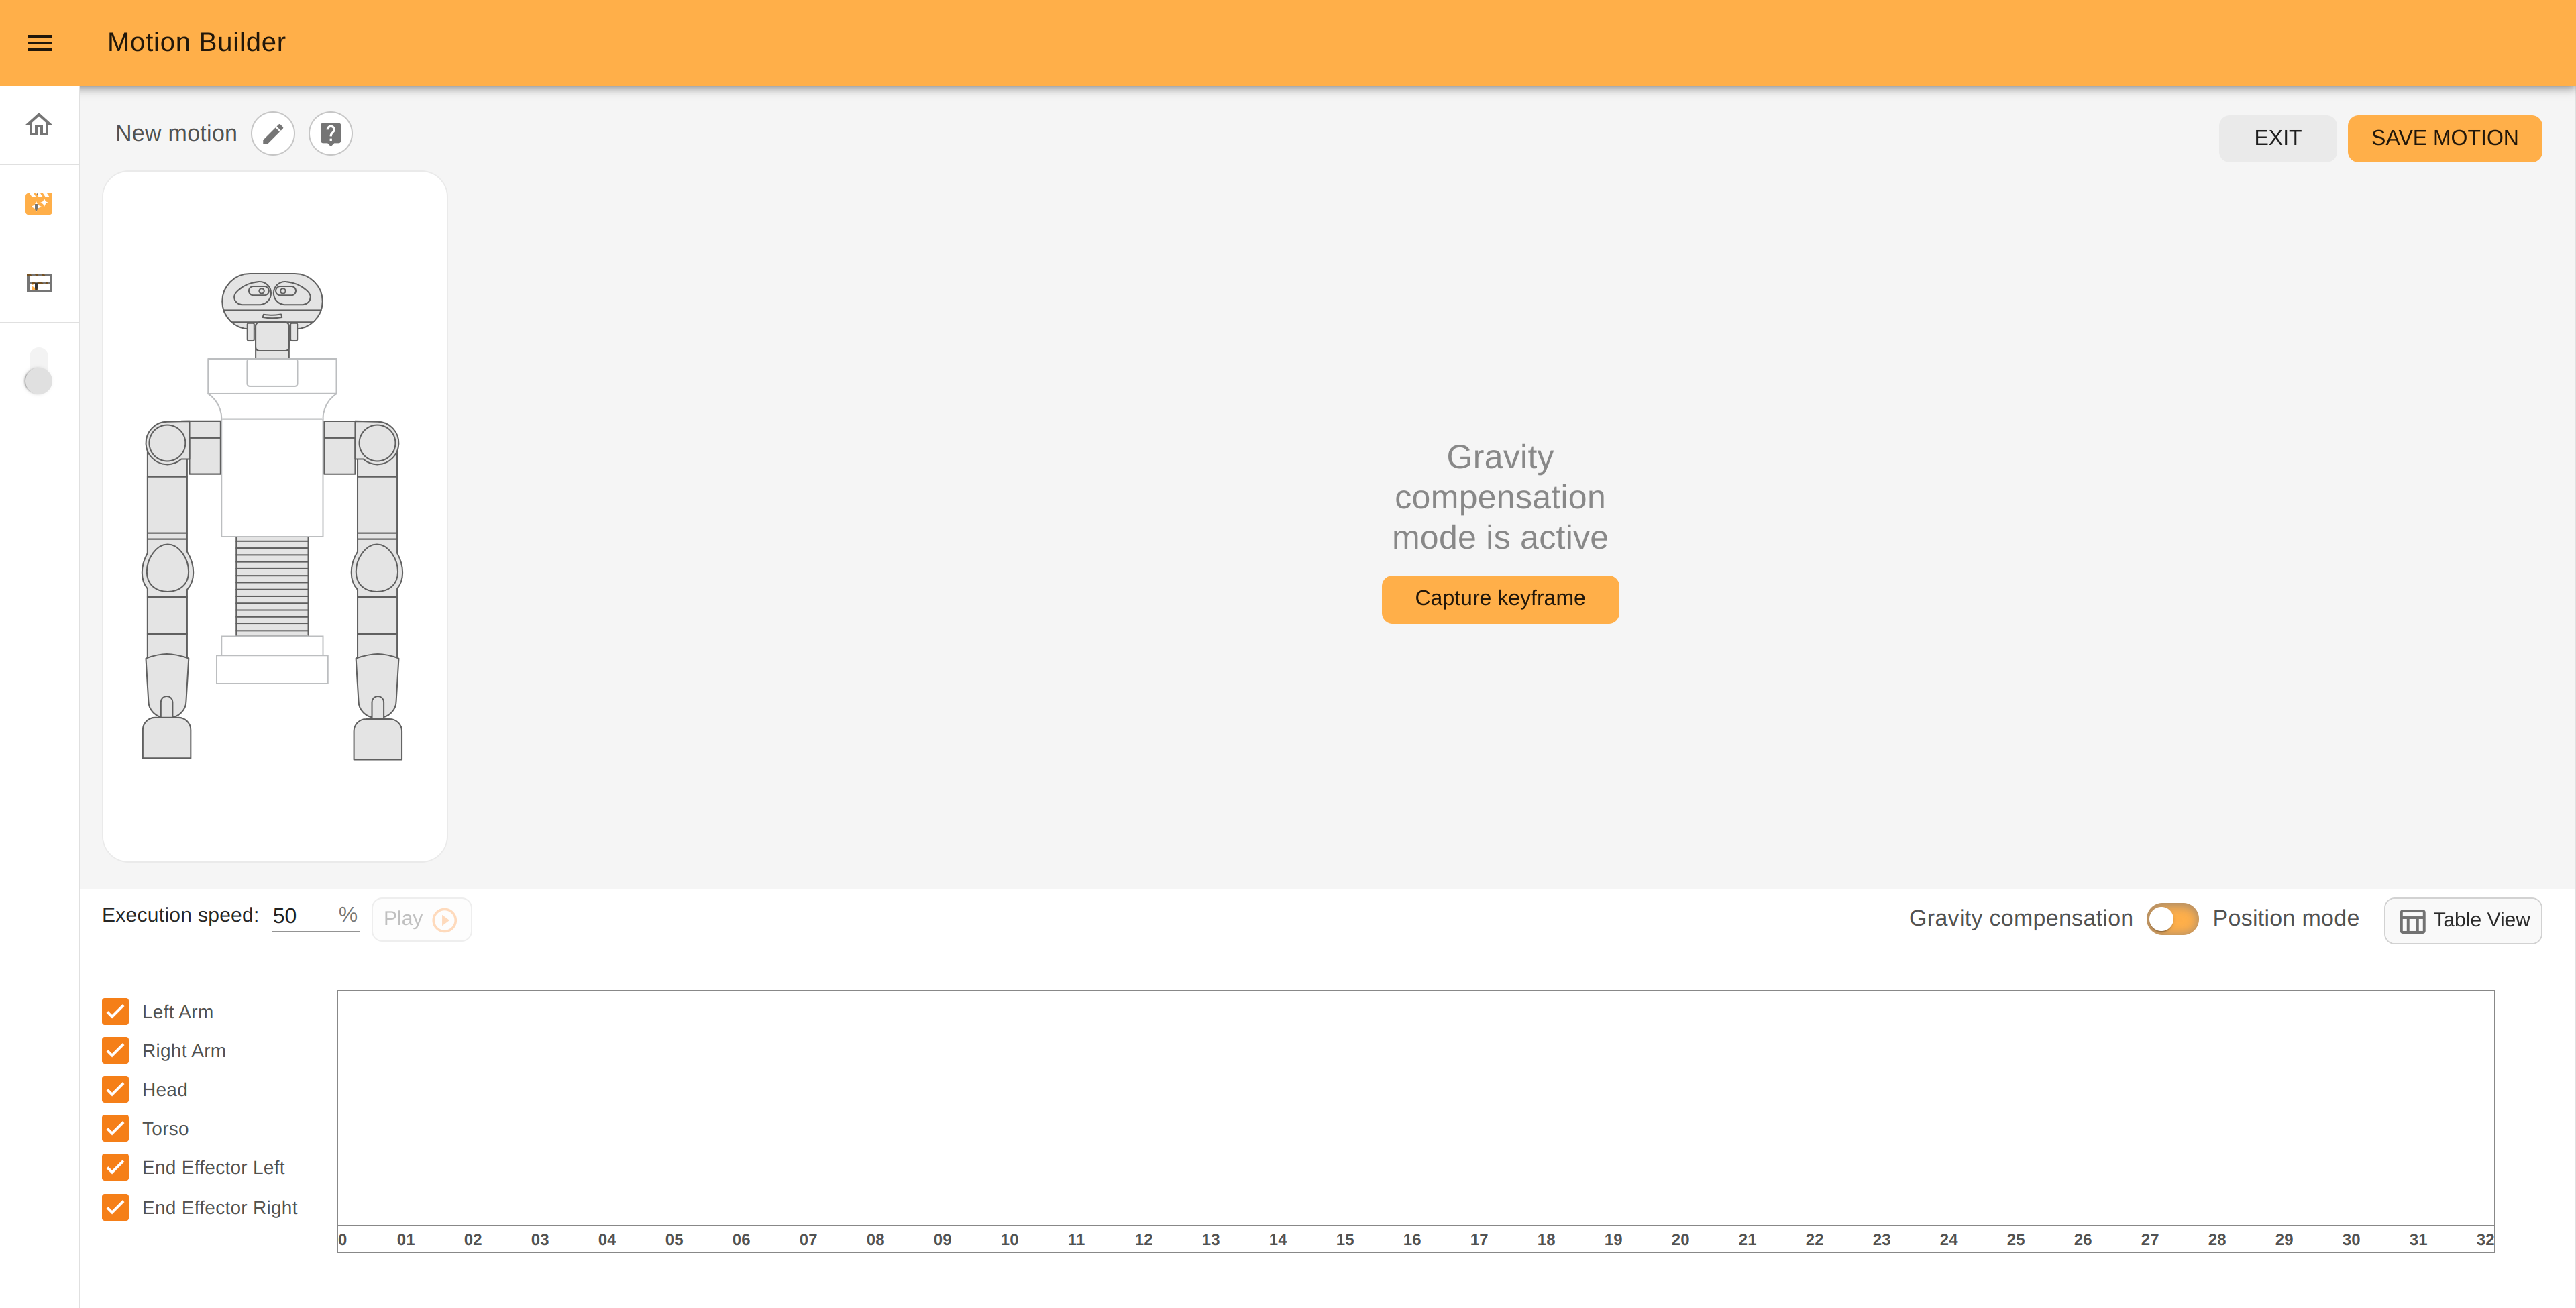
In Gravity compensation mode (if available on your robot), you can freely fix the position of the robot’s limbs (head, arms and hands) by moving them manually.
When the Gravity compensation mode is enabled, PAL’s robots’s image will not be interactive. You should change the robot pose manually and click the Capture it button to store the keyframe.
Timeline#
After creating a new keyframe, it will appear graphically on the timeline as a marker. Depending on the part of the robot that you want to move, it will appear a colored line next to the checkbox. The colors match with the color of the joints group on the robot’s image. For instance, orange for the head, green for the right arm, blue for the left arm.

Each marker is a keyframe that you captured. It is placed on the timeline relative to the time the robot needs to perform the motion. By dragging the marker, you can move the keyframe on the timeline.

By double clicking on a keyframe, you can open a context menu with five options:
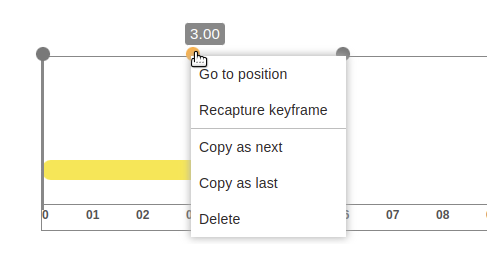
Go to position - moves the robot to the captured position;
Recapture keyframe - replaces the keyframe with the current pose of the robot;
Copy as next - adds a copy of this keyframe right after it;
Copy as last - adds a copy to this keyframe the end of the motion;
Delete - deletes one keyframe.
Tabular view#
The timeline can also be displayed in tabular for. Here you can see detailed info about each keyframe: how long this keyframe lasts (in seconds) and the angular position of each joint in radians:

To change the view click a table button on the top right of the timeline:

Speed-up/slow-down factor#
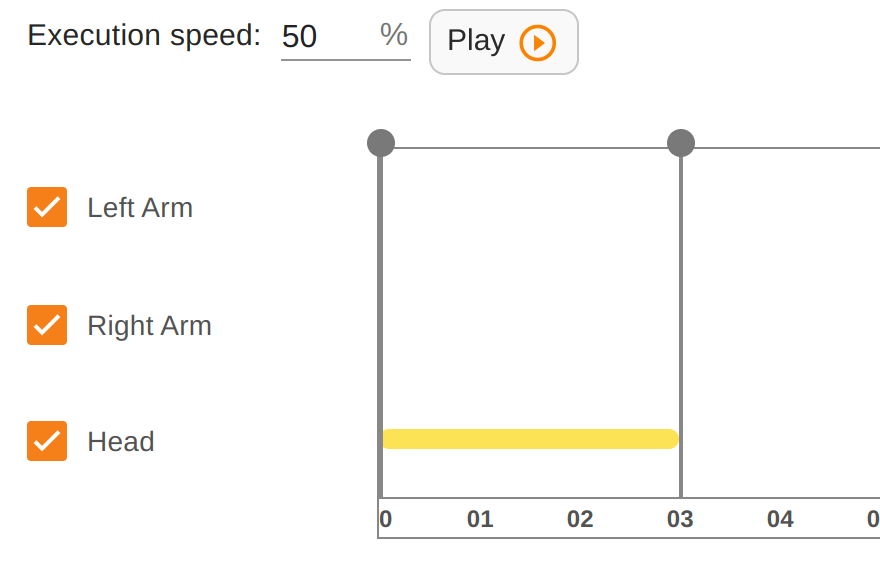
You can specific an overall speed-up/slow-down factor for the motion execution. The default value of 100% to execute the motion at the recorded speed:
Re-play motions#
Several options are available to replay a pre-recorded motion.
From the WebGui#
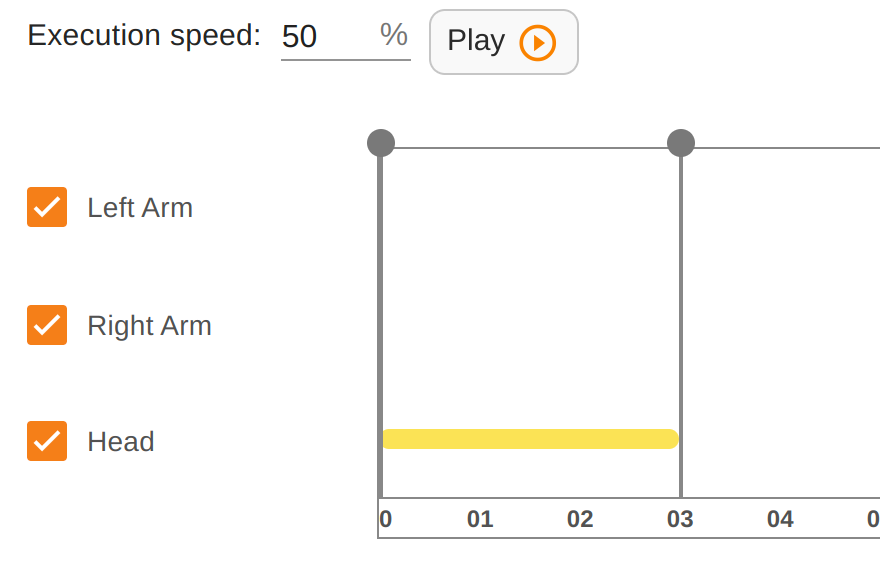
You can play a motion while editing or after it. To play a motion from the editor, click the Play button under the robot’s image:
Alternatively, you can play a motion from the start page, click the Play icon next to the desired motion:

From the WebCommander#
Also you can play motions from the WebCommander interface. See the documentation of the Movements Tab.
From a web page or a presentation#
The robot’s touchscreen allows as well to trigger motions replay.
You can either create a sand-alone content page with buttons that trigger motions, or you can create a complete Presentation that include motions synchronized with web content and/or speech.
Via tagged speech#
An easy way to add gestures or motions to what the robot says is to use special motion markers in the text sent to the TTS engine. See Getting started with ARI - Combine voice, gesture and eyes for details and examples.
Via a script#
Finally, you can also easily execute pre-recorded motions from Python script or C++ programs using the /play_motion ROS action.
You can find examples here: play_motion: How to play a pre-recorded motion.
Save motion#
Click on the Save button to save your motion. You can also discard your changes and leave the editor without saving by clicking on Cancel.
Remember that the ROS name is a required field. Fill it in before saving a motion and leaving editor.

Next steps#
How to use pre-recorded motions in your presentations: Presentations.
How to use pre-recorded motions in your programs: play_motion: How to play a pre-recorded motion.