TIAGo Pro power management and docking
Switching on/off TIAGo Pro
On/off buttons
To operate the TIAGo Pro, there are two key components for powering it on and off:
The Electrical Switch Key : Controls the robot’s main power.
The Power Button : Turns the onboard computer on and off.
Turning TIAGo Pro ON:
Turn the key of the electrical switch clockwise to power up the robot’s electronics.
Press and hold the power button for 1 second.
When the light indicator turns green, the onboard computer is ON, and the robot is ready to use.
Turning TIAGo Pro OFF:
Press and hold the power button for 2 seconds until the green light indicator turns OFF.
Turn the key of the electrical switch counterclockwise to shut down the robot’s electronics.
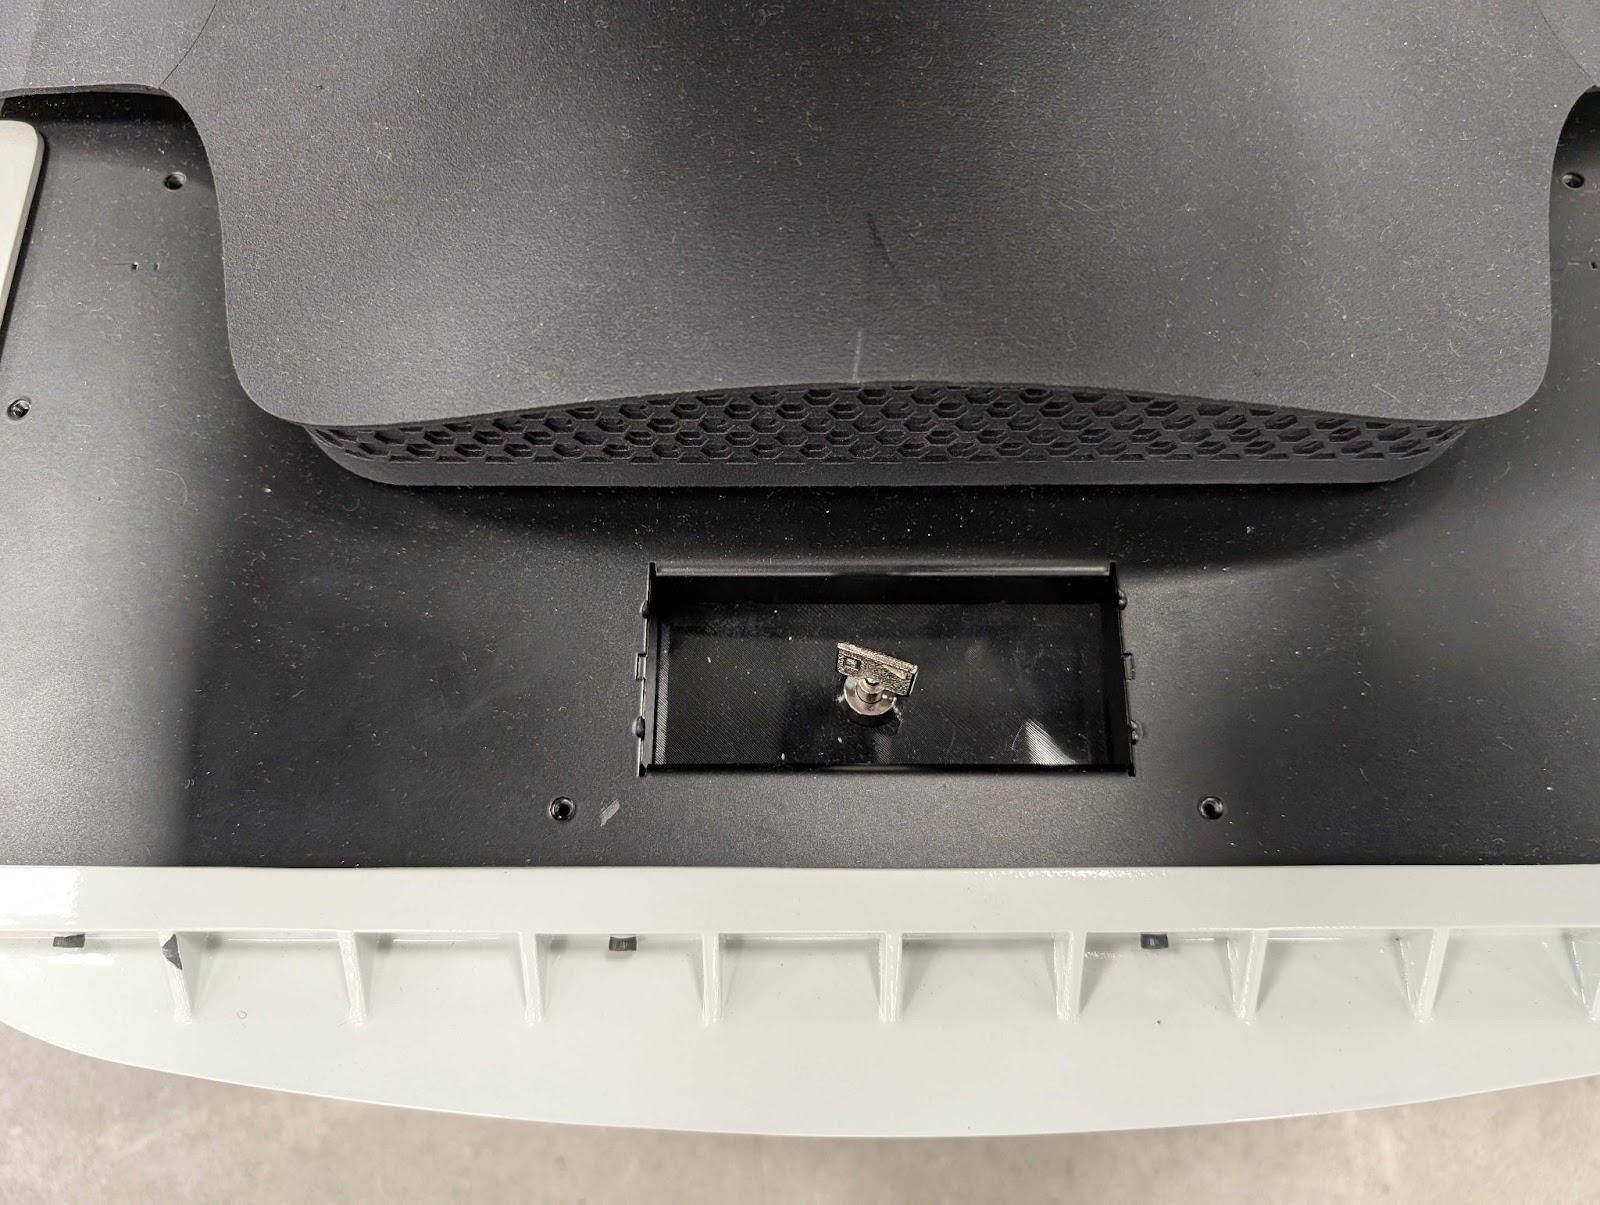
Figure: Key of the electrical switch
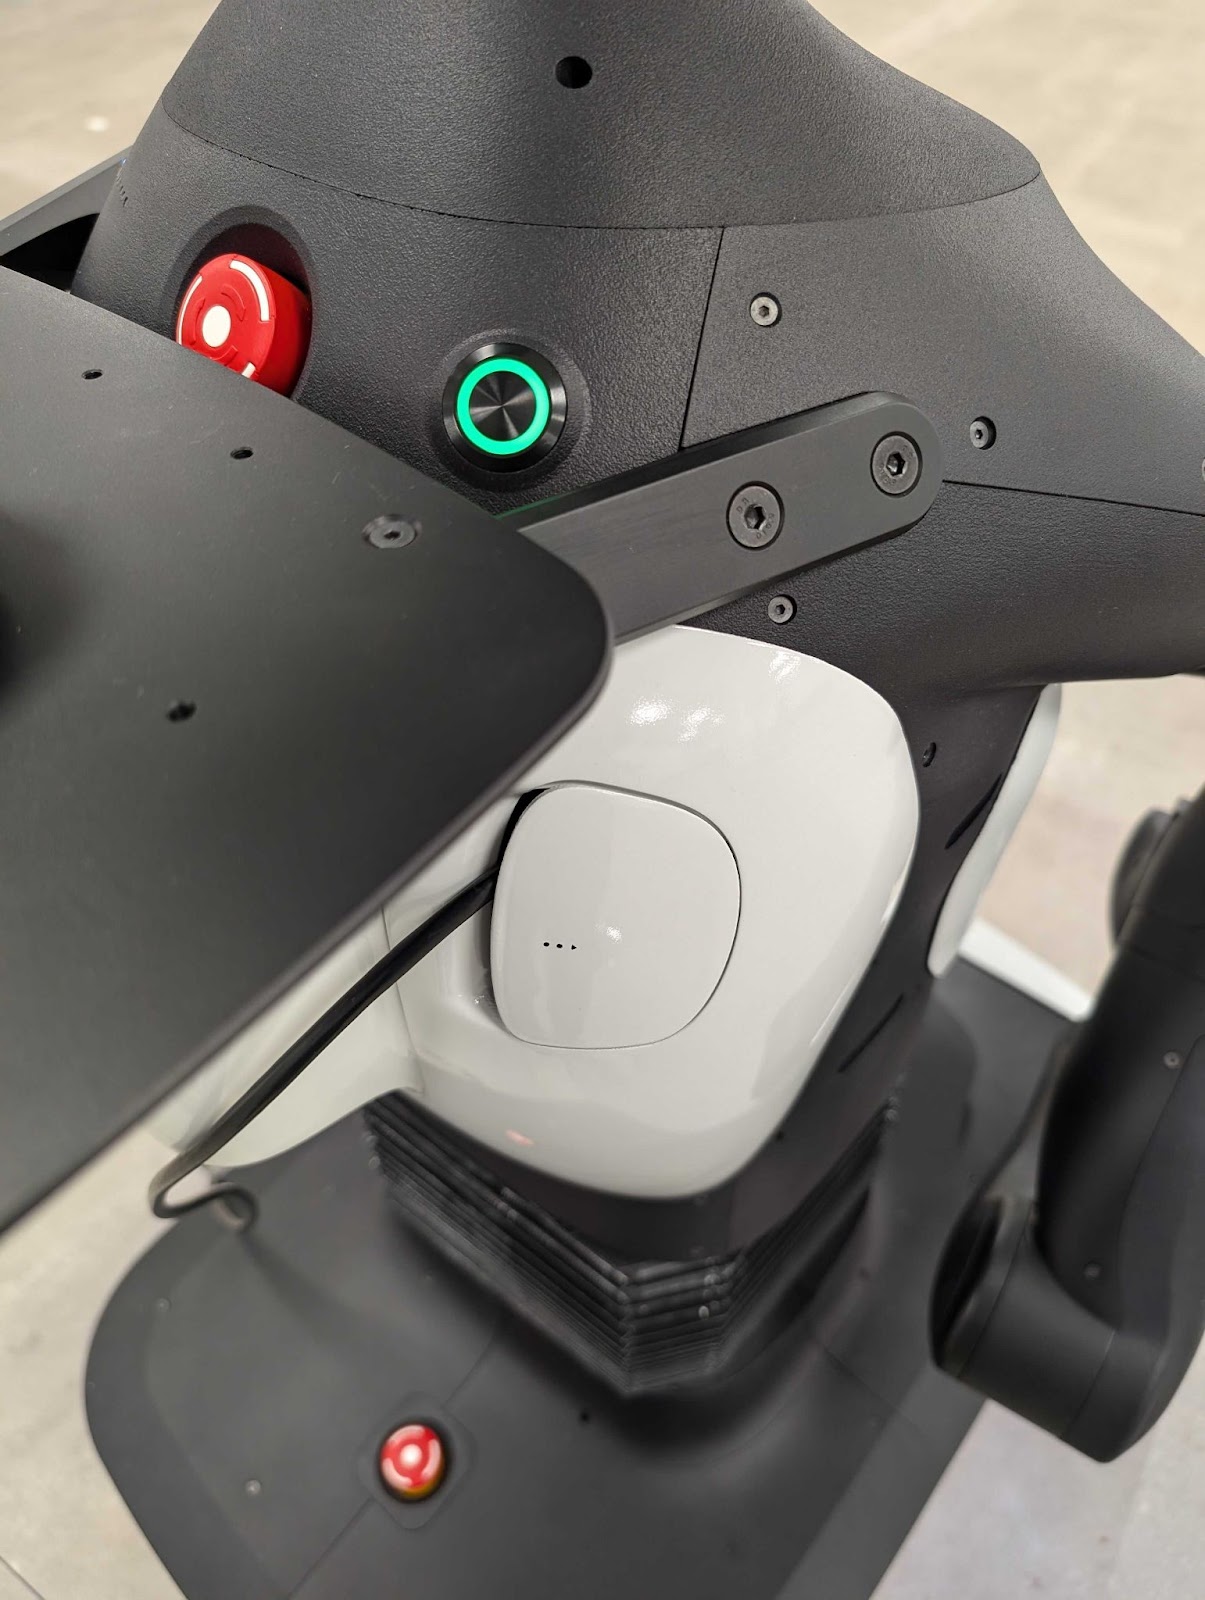
Figure: Power button
Emergency stop
The TIAGo Pro is equipped with three emergency buttons:
One on the torso
One on the base
One wireless button
For the robot to function properly, all emergency buttons must be released.
Activating the Emergency Stop
To trigger an emergency stop, press any of the emergency buttons. This will engage the motor brakes, ensuring the robot halts immediately. Deactivating the Emergency Stop:
Rotate the pressed emergency button clockwise until it pops out.
Ensure all emergency buttons are released.
Restarting the Robot After an Emergency Stop
To resume operations after pressing an emergency button, follow these steps:
Release the emergency button.
Wait for the computer button to change from red to blinking yellow.
Press the computer button.
Wait until the button turns green and stops blinking.
Run the following command to restart the robot services:
sudo systemctl restart pal_startup.service
Charging the battery
In order to have information about how to charge the battery of your robot, please refer to omni base battery and power supply.