Motion Builder
Overview
Motion Builder is a web-based app used to edit and create new expressive motions for the robot, in an intuitive and easy way. A motion is considered as a series of poses to be reached at specific times, where a pose is a specific position of the robot joints.
Start page
The motion builder home page displays the New Motion button, as well as a list of motions loaded on the robot.
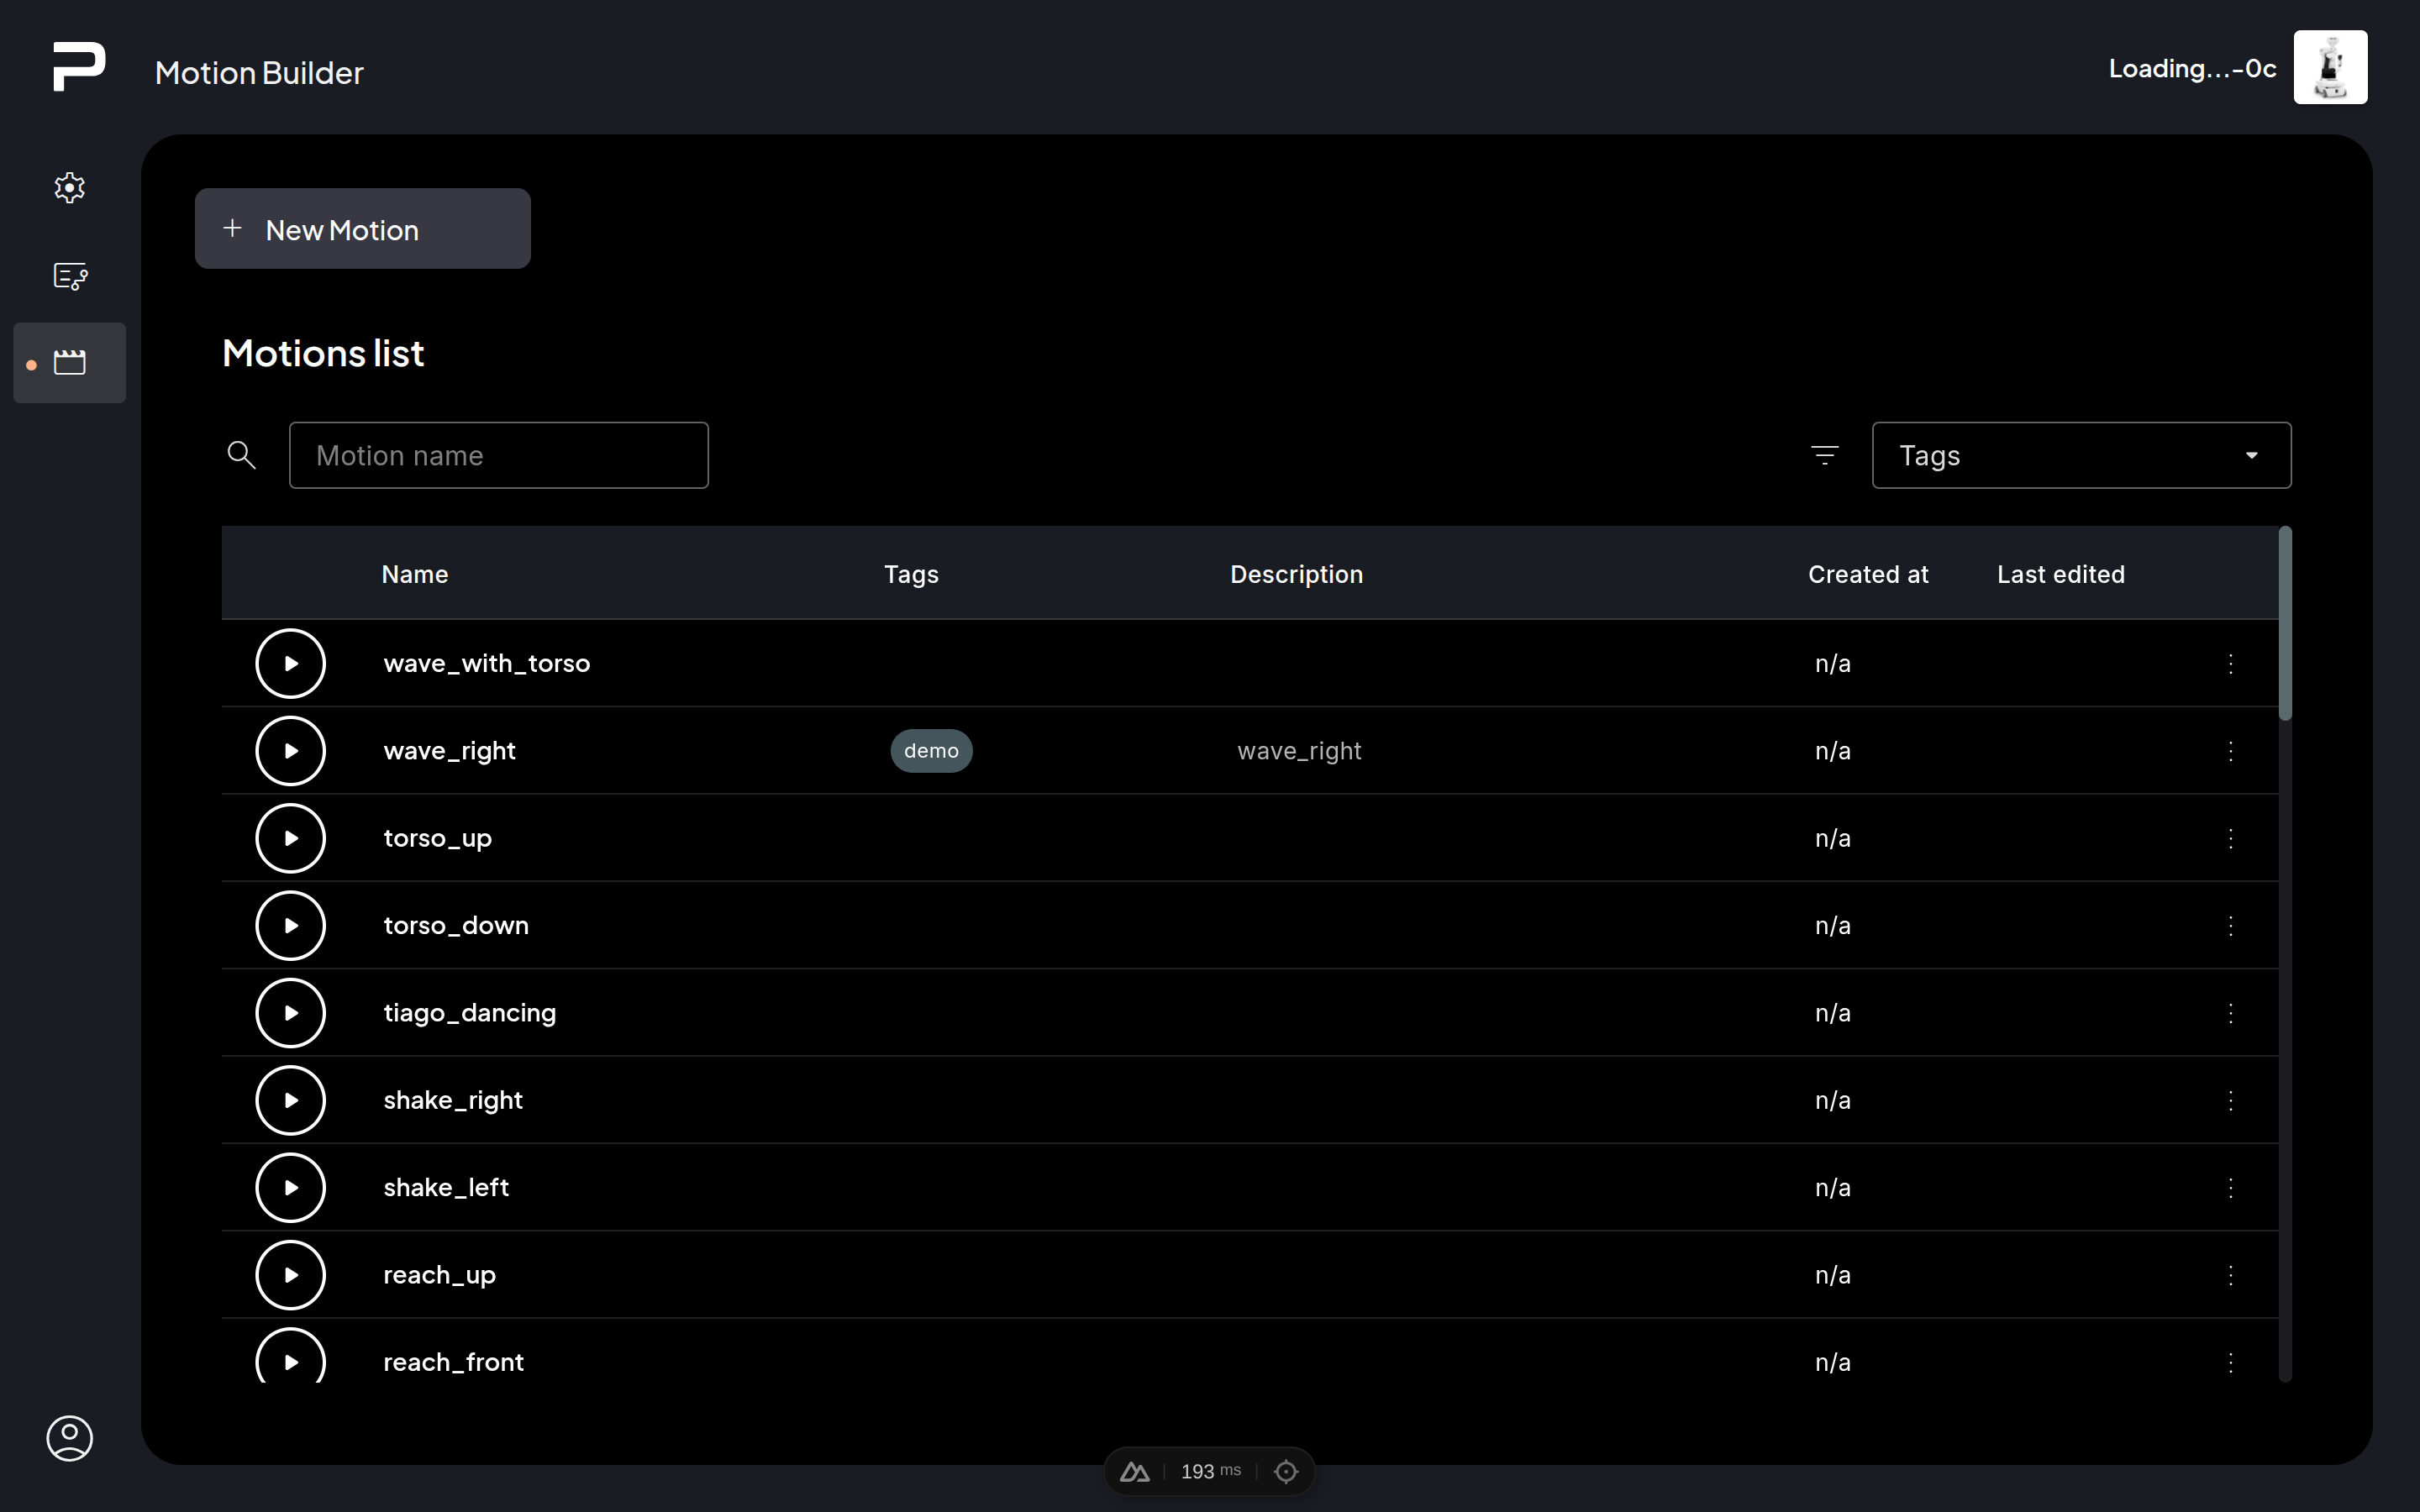
Start screen with motions list
Motions list
Filter bar
The list of motions can be filtered by name or by tags assigned to the motion.
List
For each motion, the following information is shown:
 Play button: Allows playing (and stopping) a motion.
Name: Click on the motion name to open it in the editor.
Tags
Description
Creation date
Updating date
Context menu
Copy and edit: Create a copy of this motion, and open the editor. with the copy loaded.
Delete: Remove a motion from the robot.
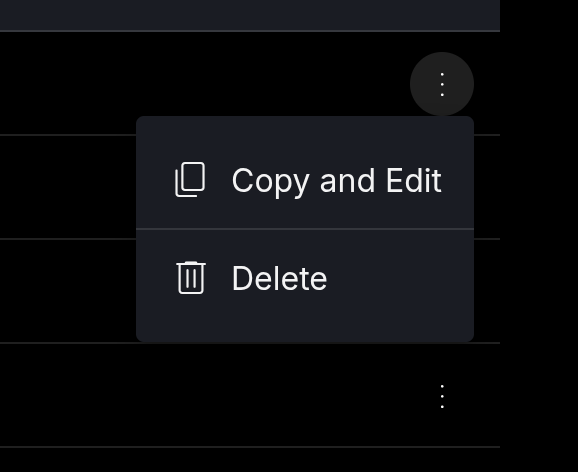
Context menu for motions in the list
Editor
The motion builder editor allows visualizing and manipulating the motion using a visual interface.
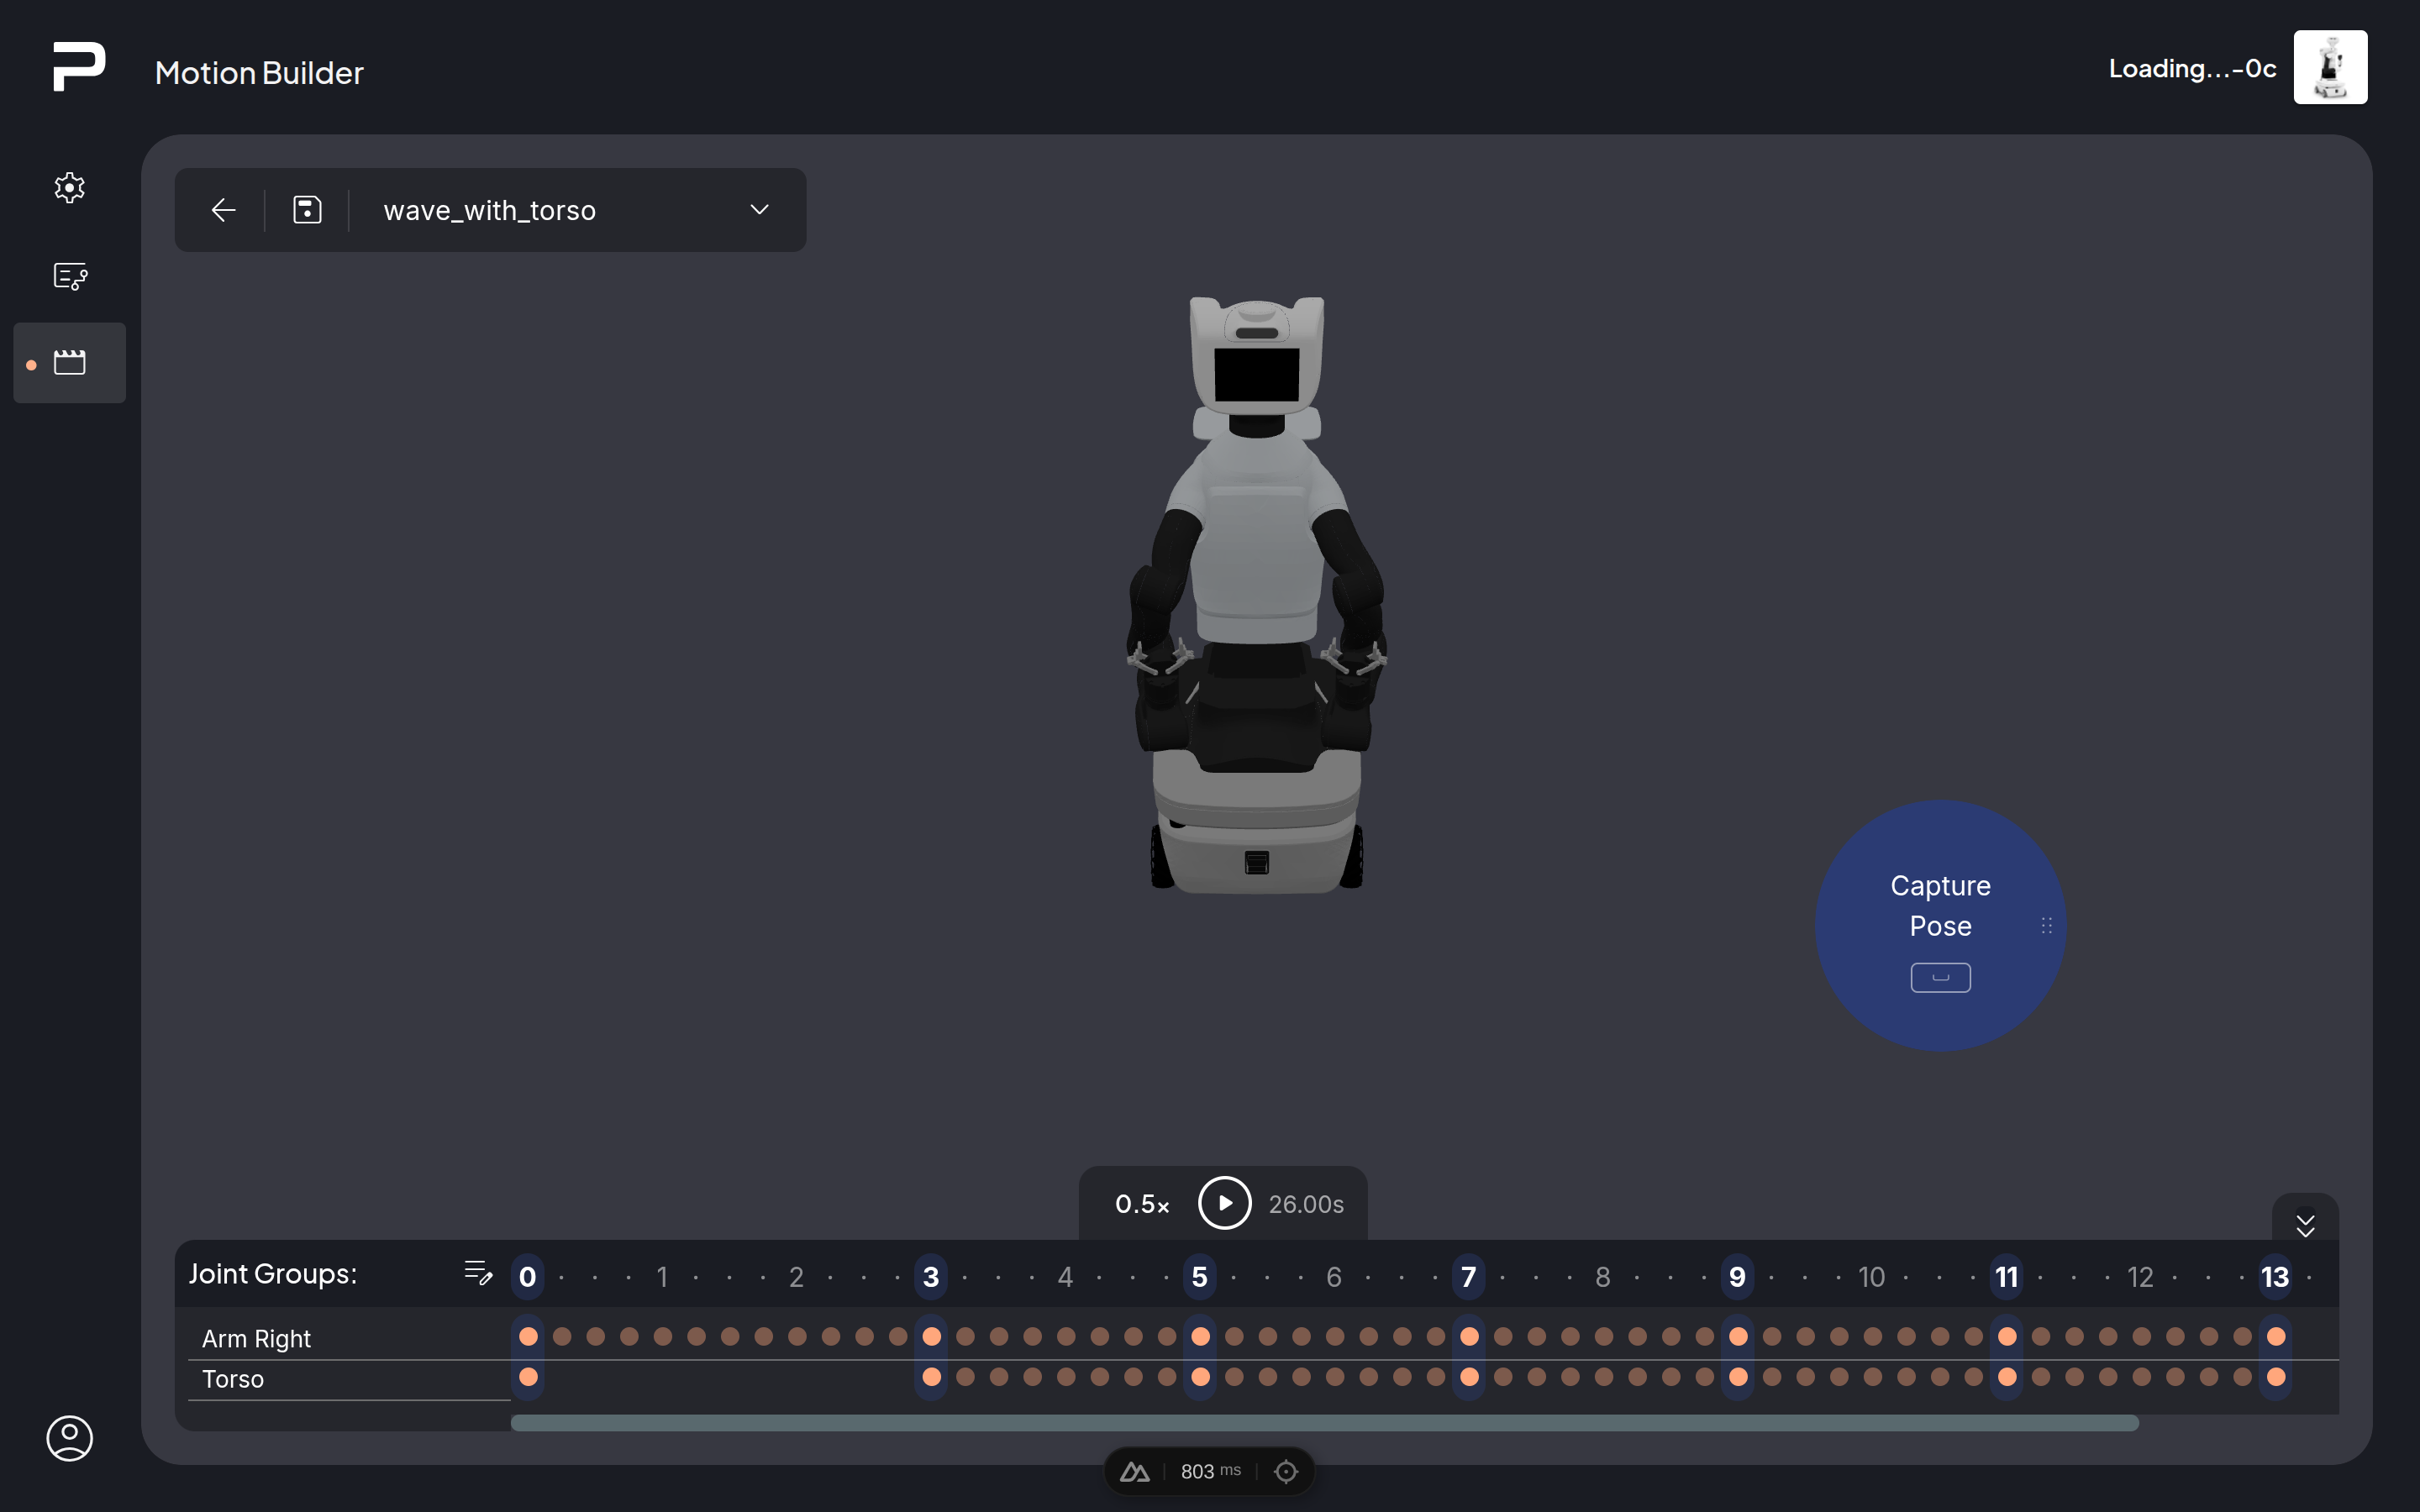
Motion Builder editor interface
Top Left panel
The top left panel provides options to save and leave edition mode.
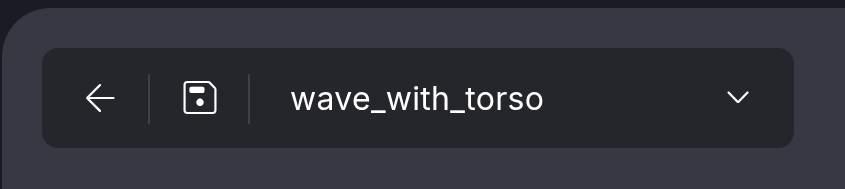
Go back, save, rename motion
![]() The back button returns to the motion list page. If there are
unsaved changes a prompt will open to confirm leaving without
saving the changes.
The back button returns to the motion list page. If there are
unsaved changes a prompt will open to confirm leaving without
saving the changes.
![]() The save button allows saving the current motion. It will show
a small red dot to indicate there are unsaved changes.
The save button allows saving the current motion. It will show
a small red dot to indicate there are unsaved changes.
Finally, a field to edit the name of the motion, and a collapsable menu to modify and edit the tags and description of the motion.
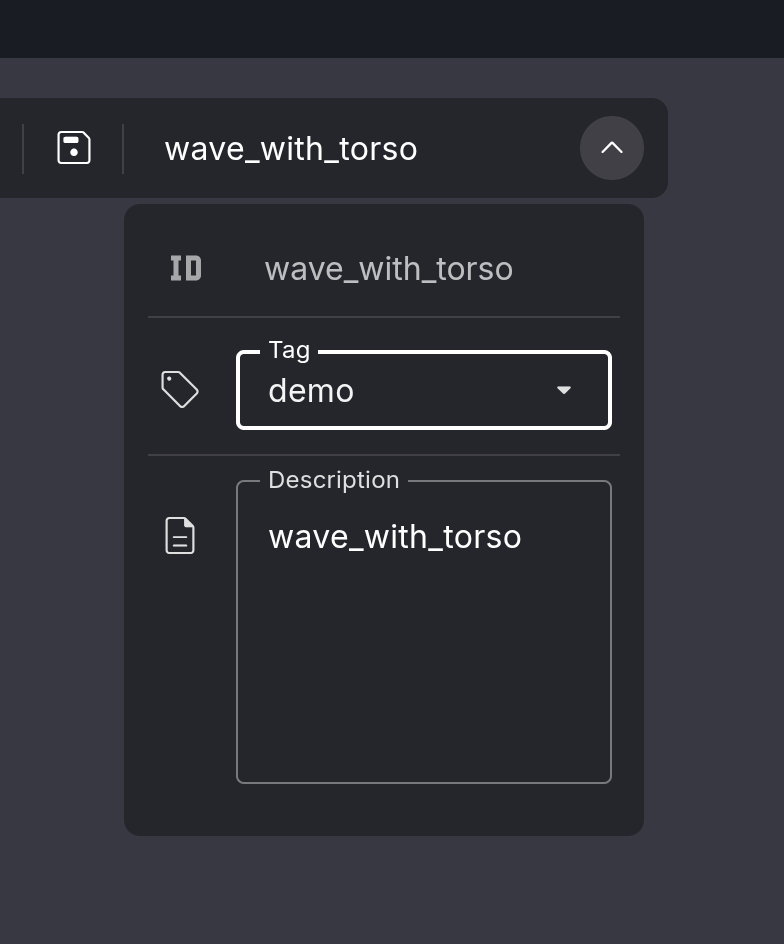
Drop-down menu to add or edit tags and description
In addition, the ROS key of this motion is displayed on the ID field. This ID is autogenerated based on the name, and it can’t be modified.
Workspace
In the workspace, a 3D representation of the current pose of the robot is shown. This pose corresponds to the real pose of the robot. The camera can be zoomed in and out by using the scroll wheel (or two fingers on a touchpad), panned by holding the right mouse button and moving the mouse, and rotated around the center of the workspace by holding the left mouse button and moving the mouse.
Camera control using the mouse
The navy blue Capture Pose button allows capturing the current pose of the robot, to add it at the end of the timeline as a new pose in the motion. This button can also be triggered by pressing the space bar. It can also be repositioned by using the drag & drop handle on the right side of the button.
Drag and drop the Capture button
Timeline
The timeline at the bottom of the screen displays the current motion.

Timeline panel expanded

Timeline panel collapsed
Play panel
At the top of the timeline a small panel allows playing the motion.
On the left of the play button a speed multiplayer is provided to allow the motion to be executed at slower speeds for testing purposes.
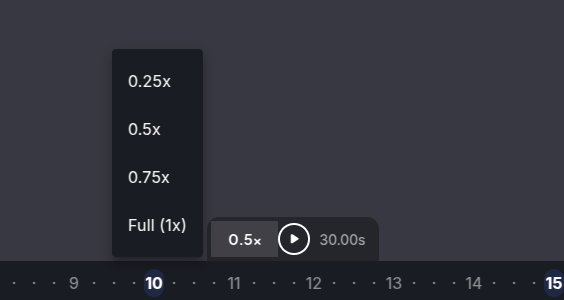
Play motion speed menu
On the right of the play button the total time that the motion will take at the currently selected speed is displayed.
On the top right of the timeline a small button allows folding and unfolding the timeline, for ease of use.
Joint Groups panel
The Joint Groups panel allows changing the groups of joints that will be used in this motion. Joint groups that are not used on a motion are “free”, and thus are allowed to stay at any position or move freely while the motion is executed.
Manage joints to be used in the motion
Warning
When unselecting a joint group and leaving it uncontrolled, the current positions at each pose will be erased. When adding a previously uncontrolled joint group, its joints will be initialized at their current position, which could lead to self collisions. It is strongly recommended to review the motion and correct any poses as needed.
Important
Leaving a Joint group uncontrolled might create a situation in which the robot collides with itself. It is recommended to carefully consider the risks of collision before determining that a joint group can be left “free”.
Pose display
On the remaining space of the timeline the full motion is displayed. The timeline table displays a line for each joint group, and columns for time, in 0.25 seconds increments.
For each joint group at each time there can be:
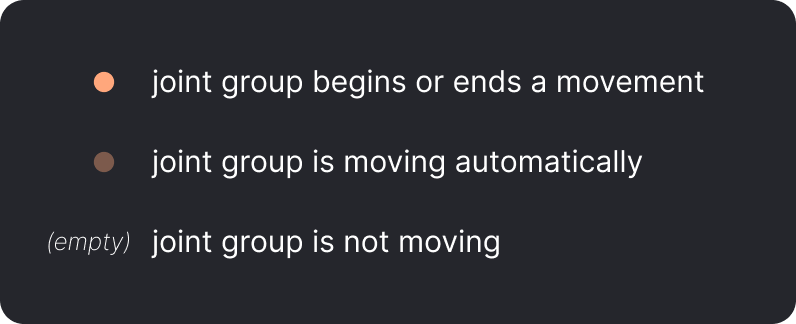
A peach-colored dot if at that point in time there is a pose in which that group either begins or ends a movement.
A faded out dot if the joint group is automatically moving at that point in time.
An empty cell if the joint group is not moving at that point in time.
Poses can be moved by dragging and dropping. A pose can’t be moved to a point back in time that is equal or smaller to an existing pose (i.e. if there is a pose at time 1 and another at time 2, the second pose can’t be moved any earlier than 1.25). If a pose is moved to a later time, and there are other poses afterwards they will be moved by the same amount (i.e. in the previous case, if we move the pose at time 1 to time 3 the pose at time 2 will move to time 4).

Dragging poses in the timeline
Right-clicking on a pose opens the context menu to manipulate that pose:
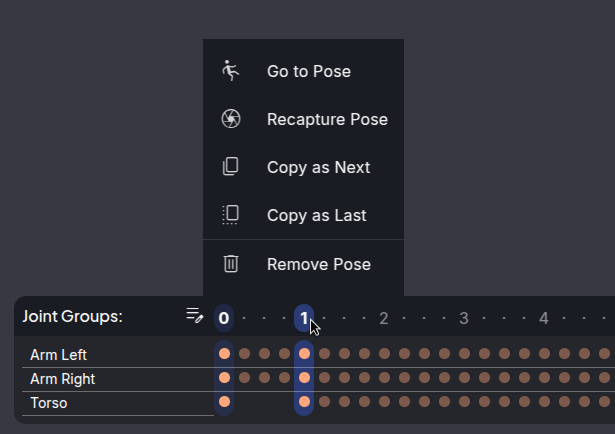
Pose context menu
The menu allows the following options:
Go To Pose: Move the robot so that it takes that pose.
Recapture Pose: Edit this pose to become the current pose of the robot.
Copy as Next: Create a new pose, equal to this one, at time t+0.25
Copy as Last: Create a new pose, equal to this one, at time [last pose time]+0.25
Remove Pose: remove this pose from the motion, without affecting other motions.